
I'm also taking suggestions for a better thread title ^_^'7
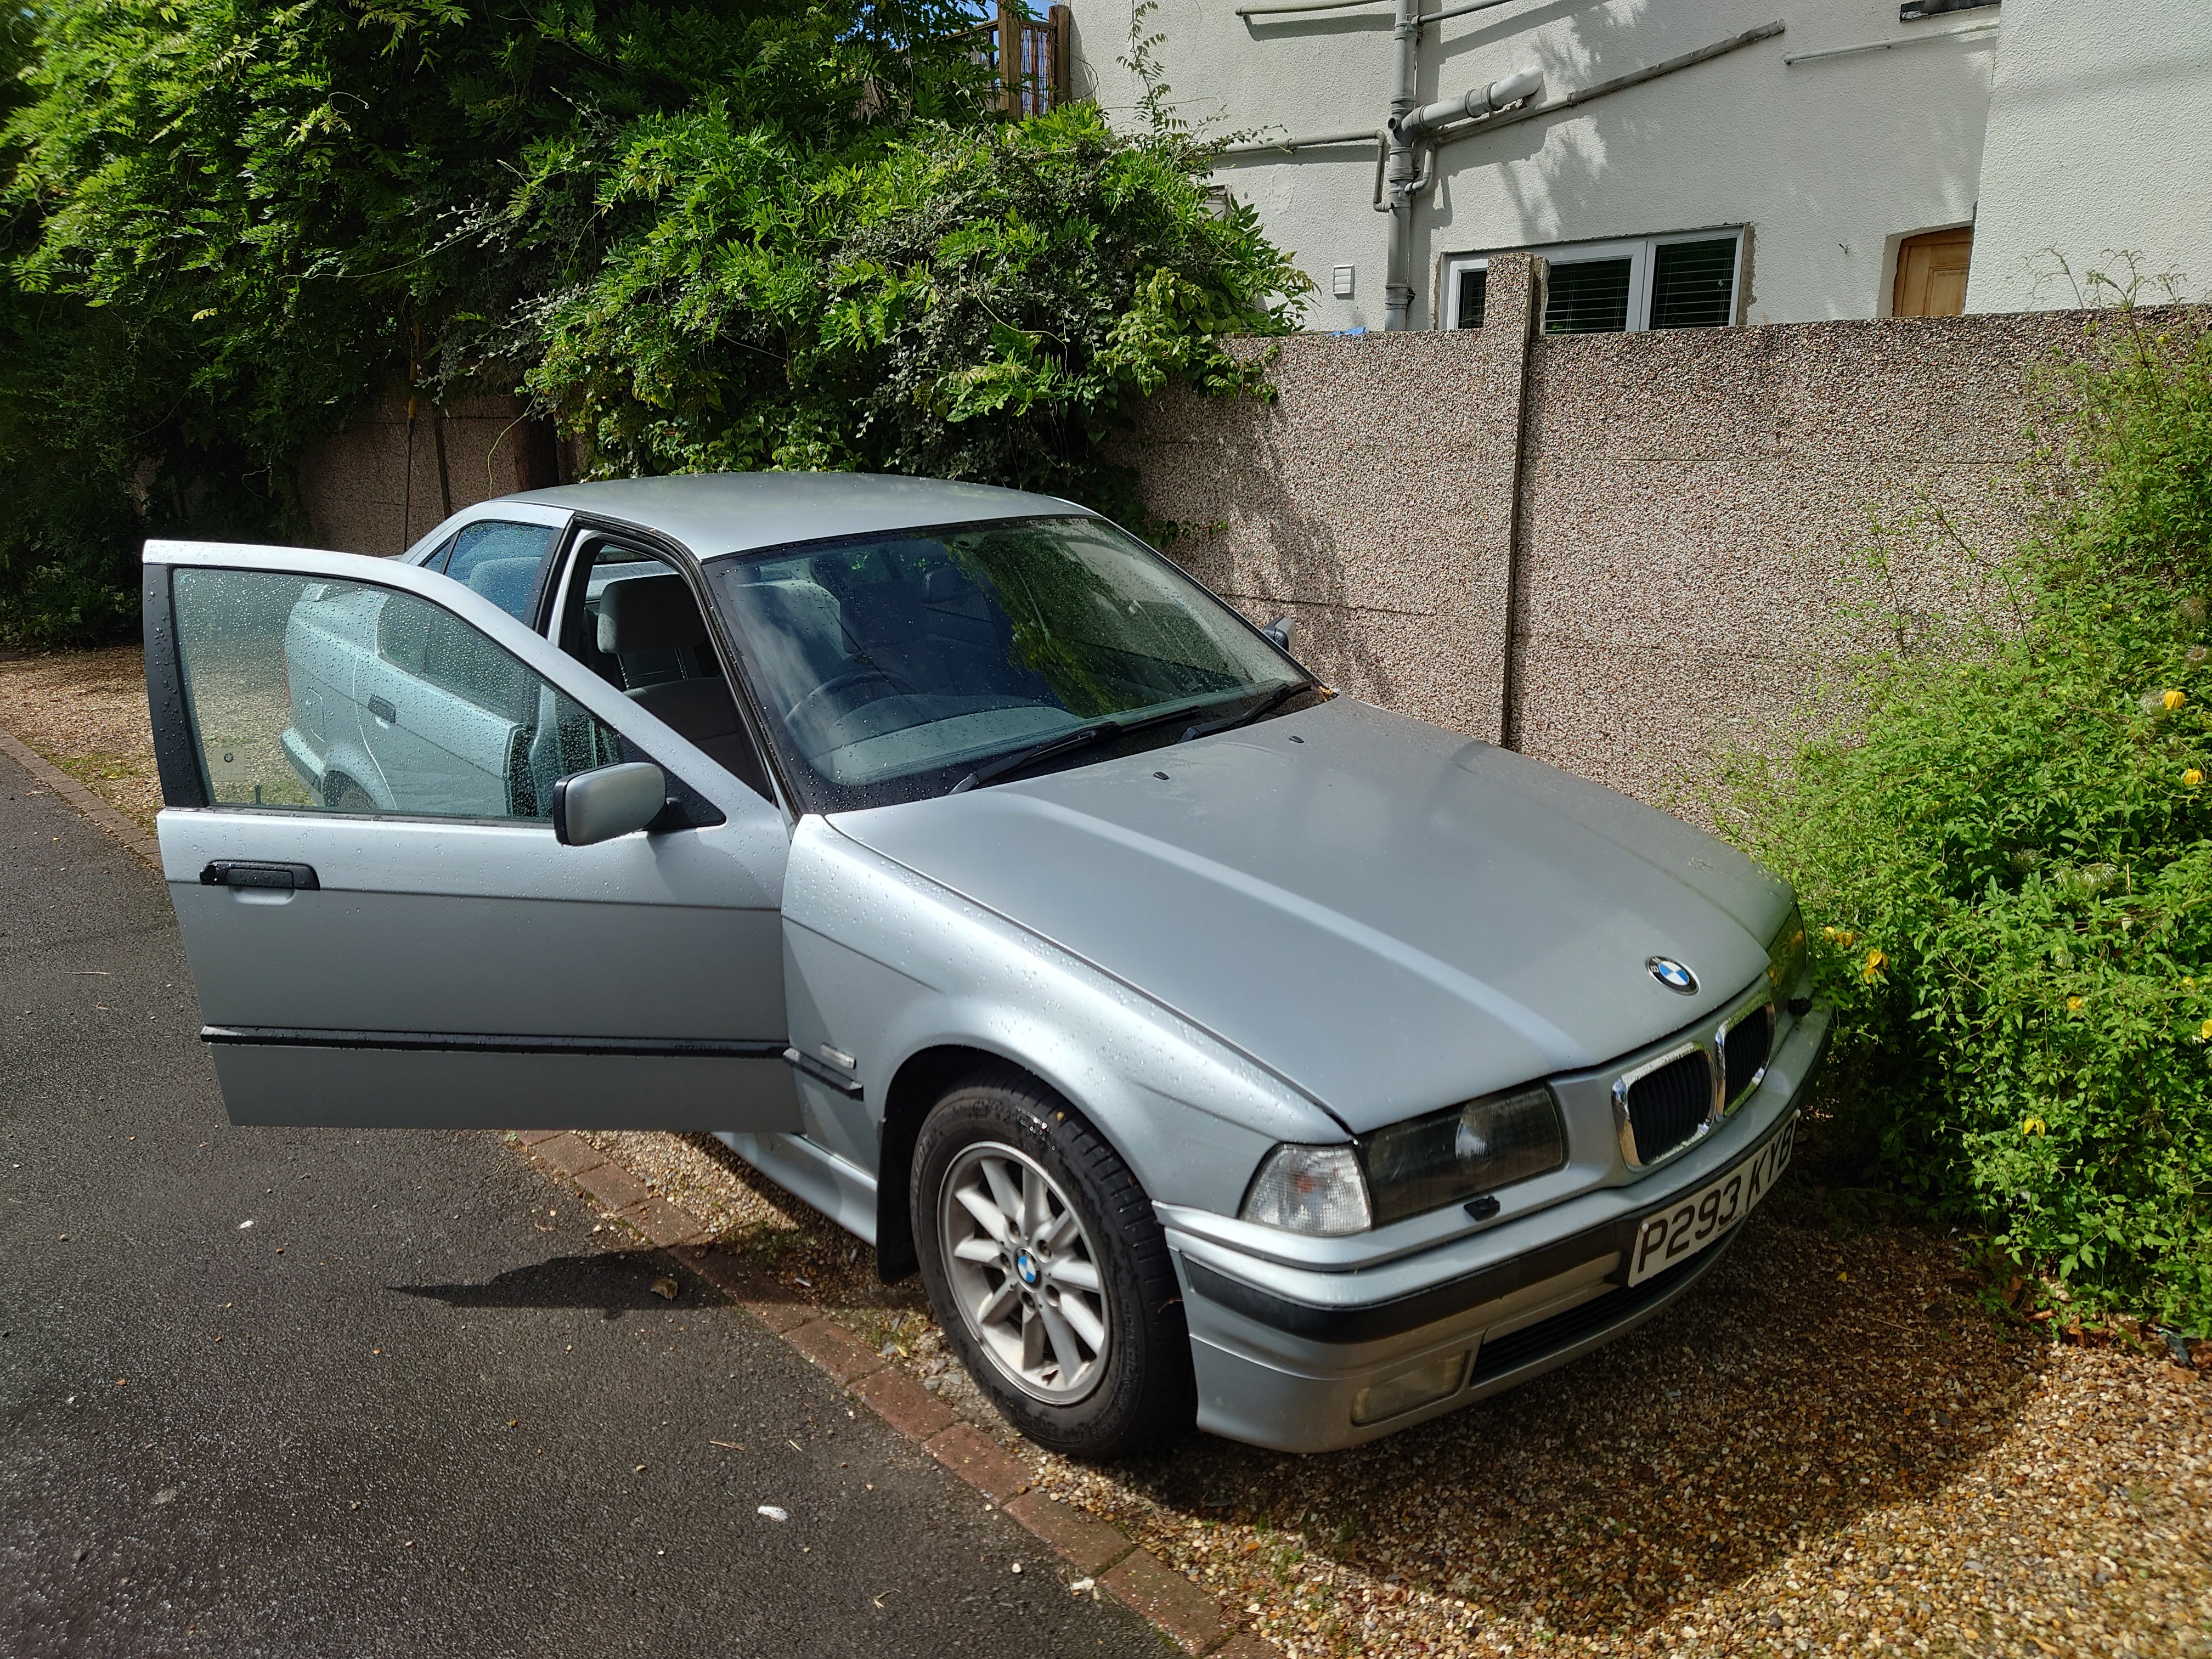
My E36
14 days later

Apologies, a bit of a late followup, but here's the rest!
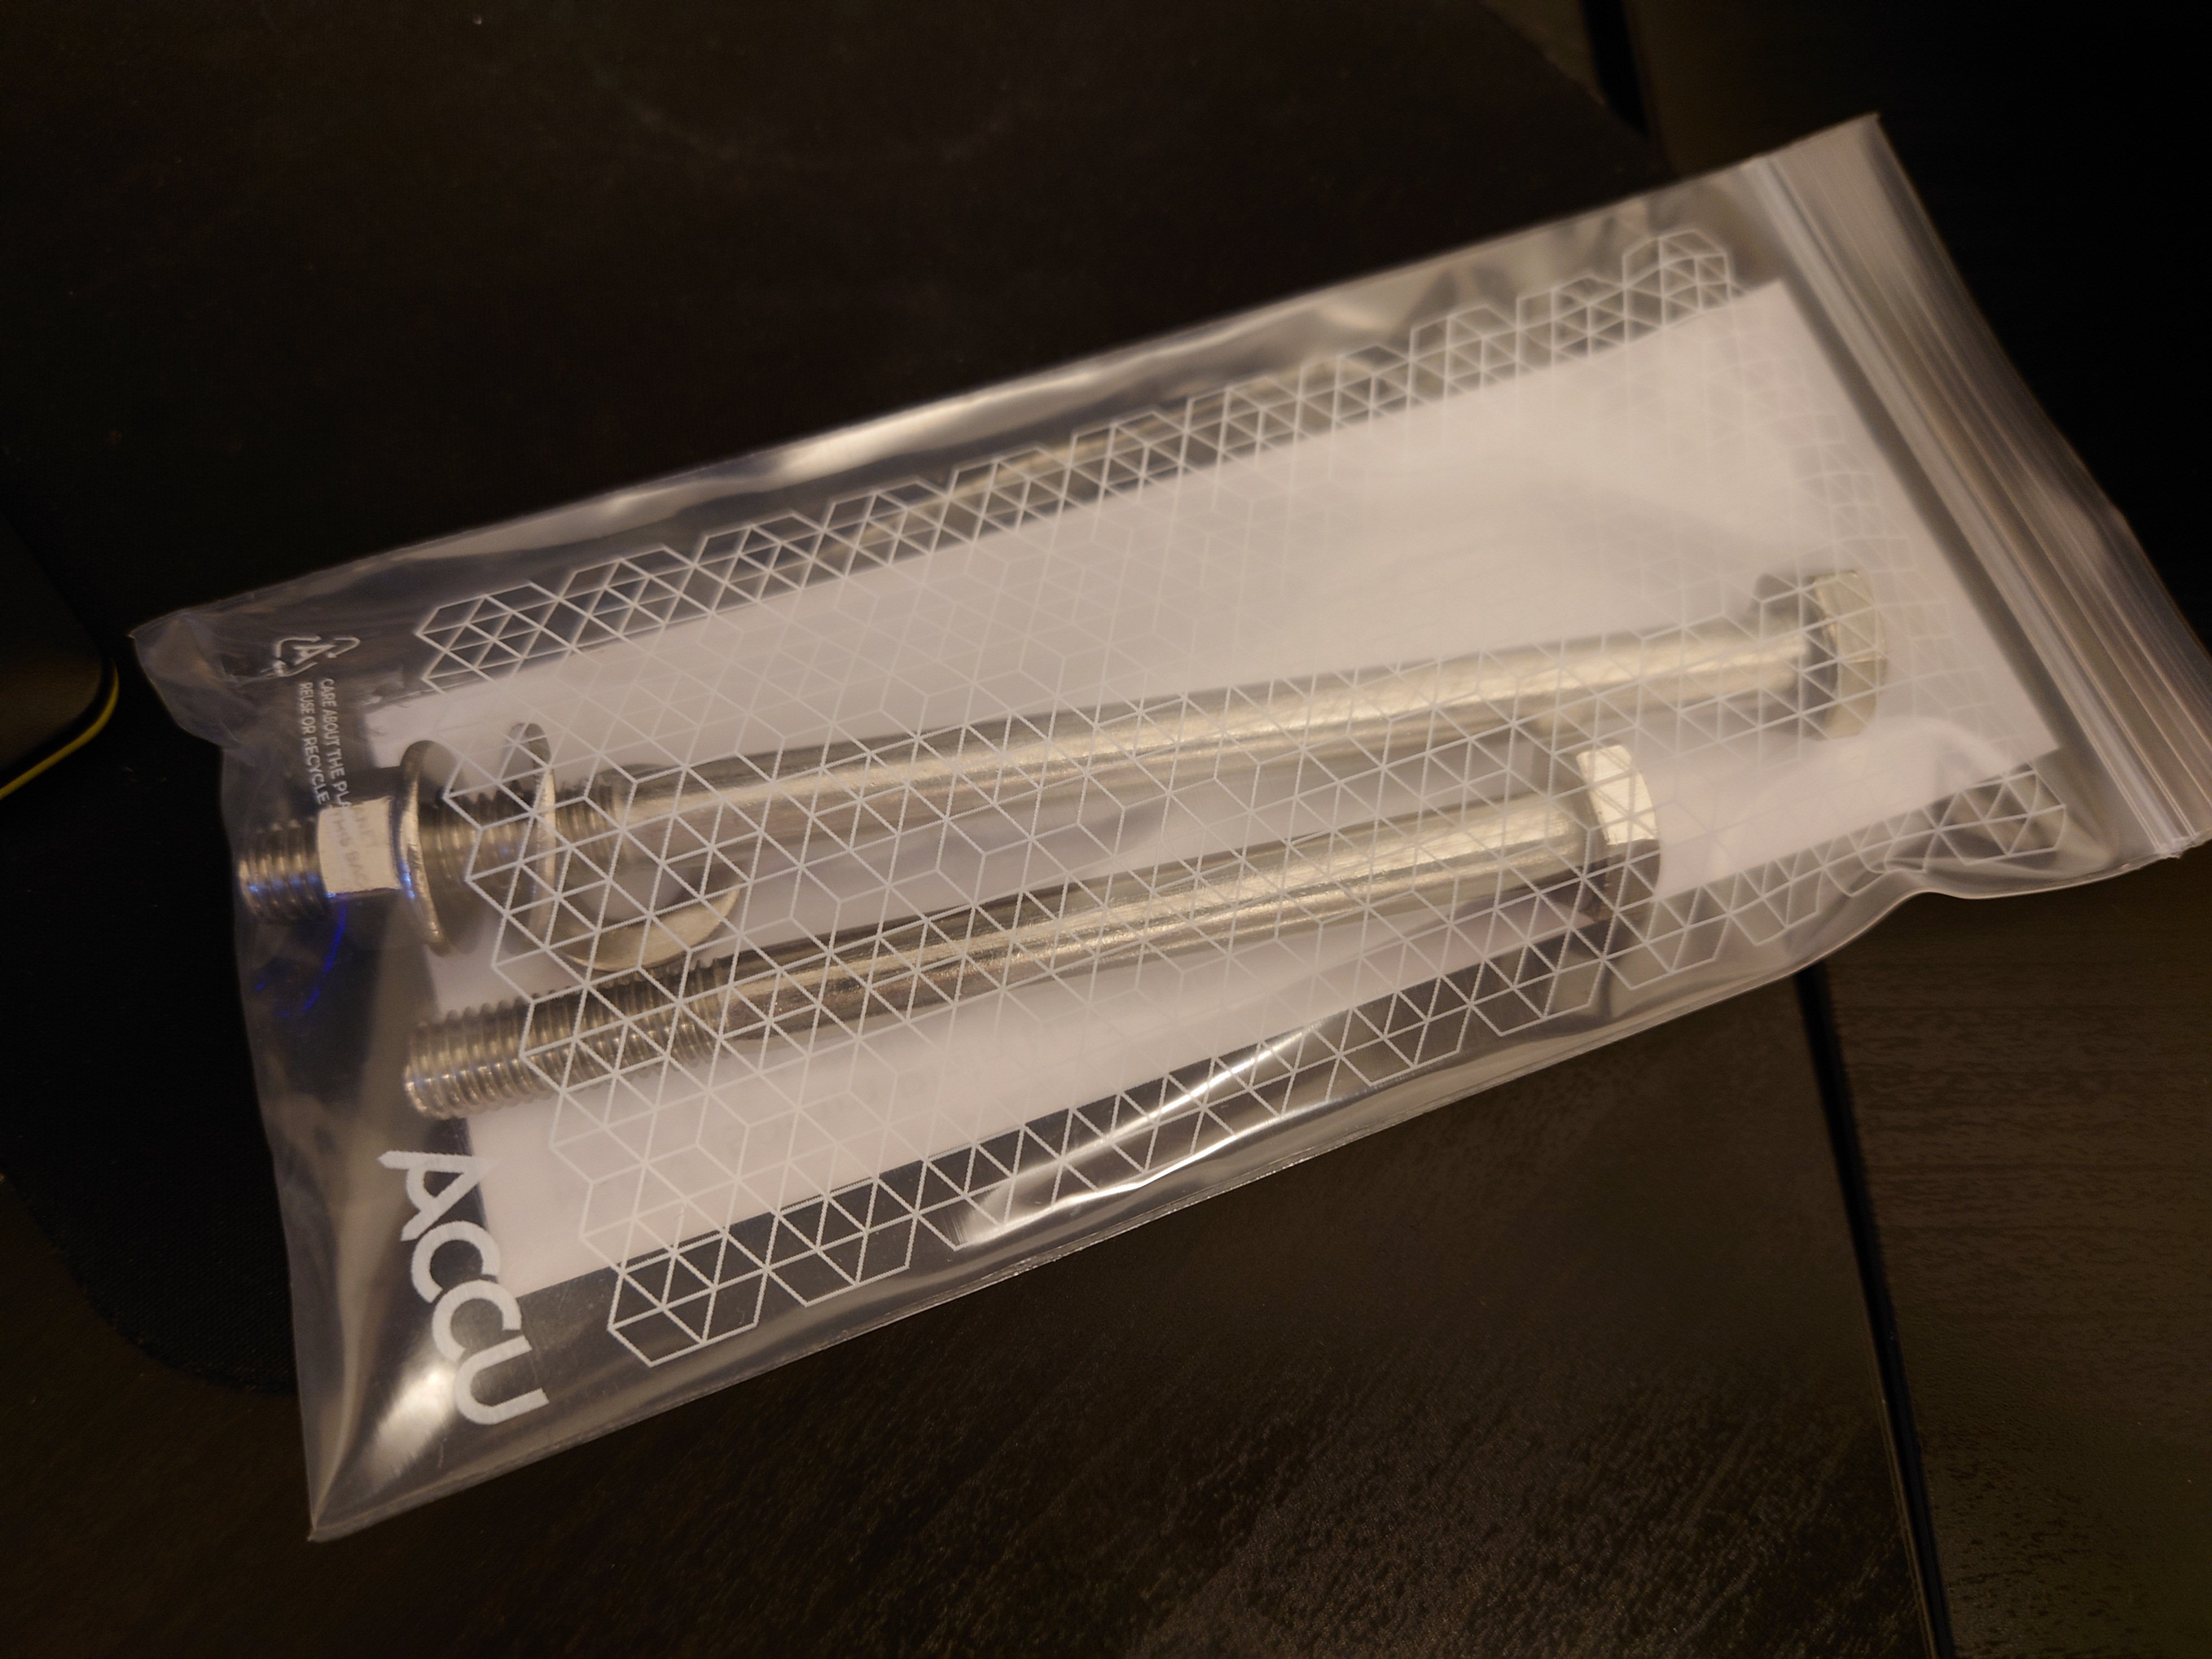
So the bolts arrived on the 10th, nice and shiny ^_^
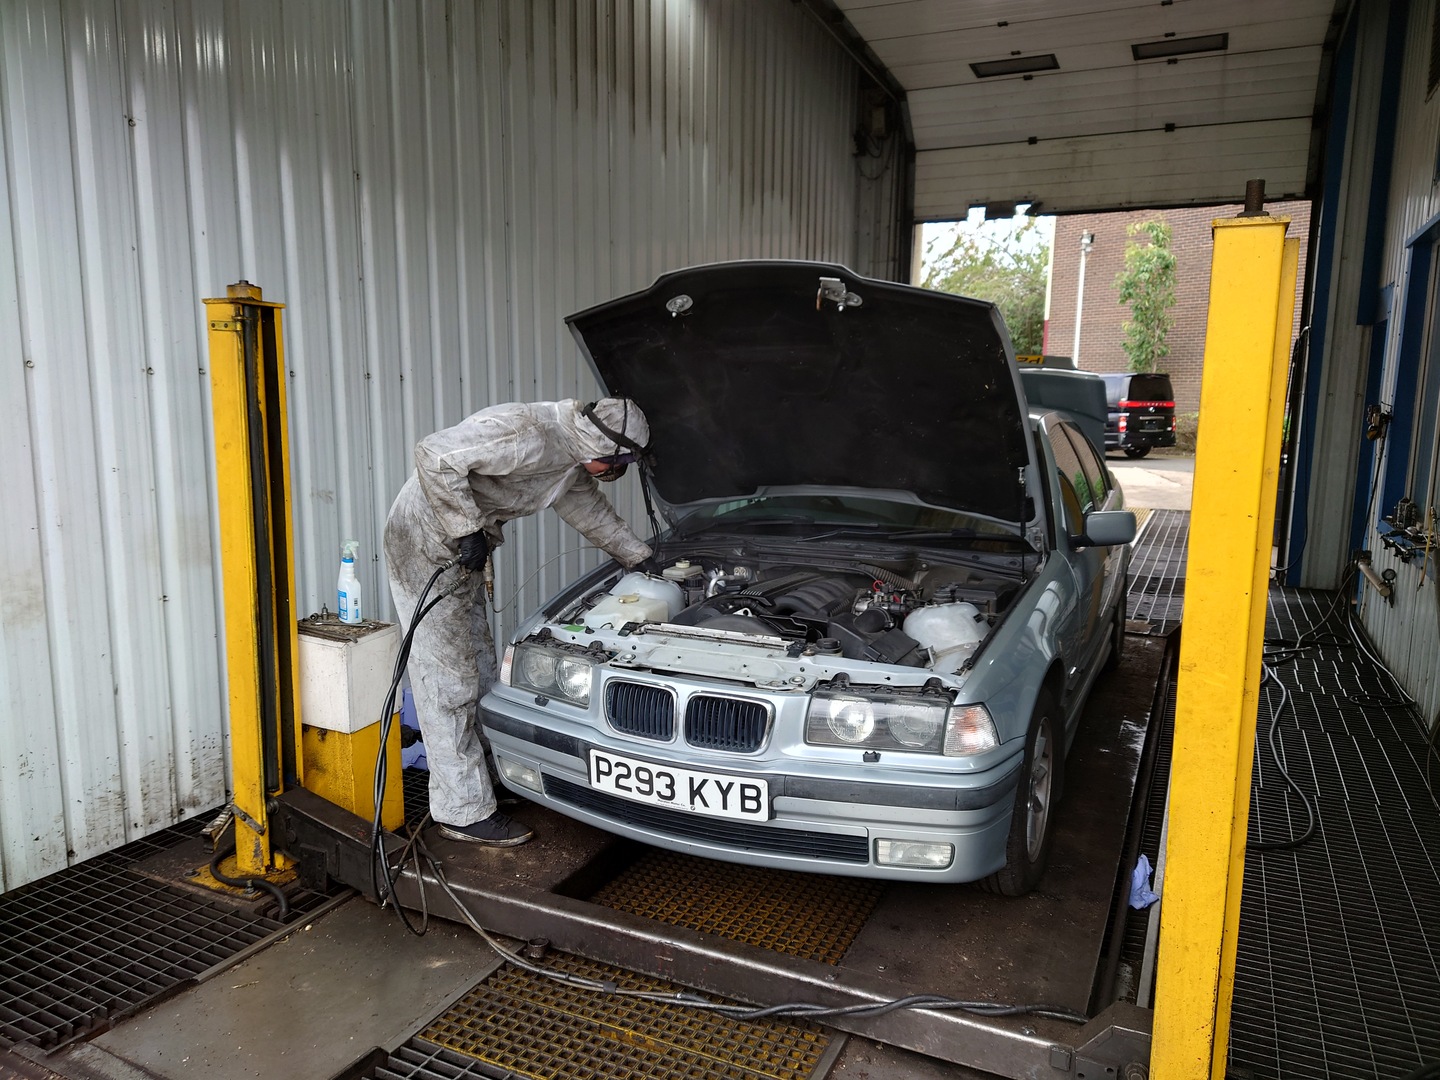
So time to get back to it! I also only just today realised that the passanger-side headlight sprinkler if fucked again >_< Looks like it isn't reseating properly for some reason. Oh well, I guess that's for another day.
Fortunately, it looks like both bolts fit nicely, diamater-wise! So M10 it is.
So like before, connect up the wires to the new alternator, and secure the weather cover thingy in place. It requires a bit of stretching and force to properly get it around the rim - it helps to get the "bottom" part (i.e. the end into which the cables disappear) on first. The alternator will now be quite difficult to turn by hand when connected to the rest of the electrical system - don't do it :)
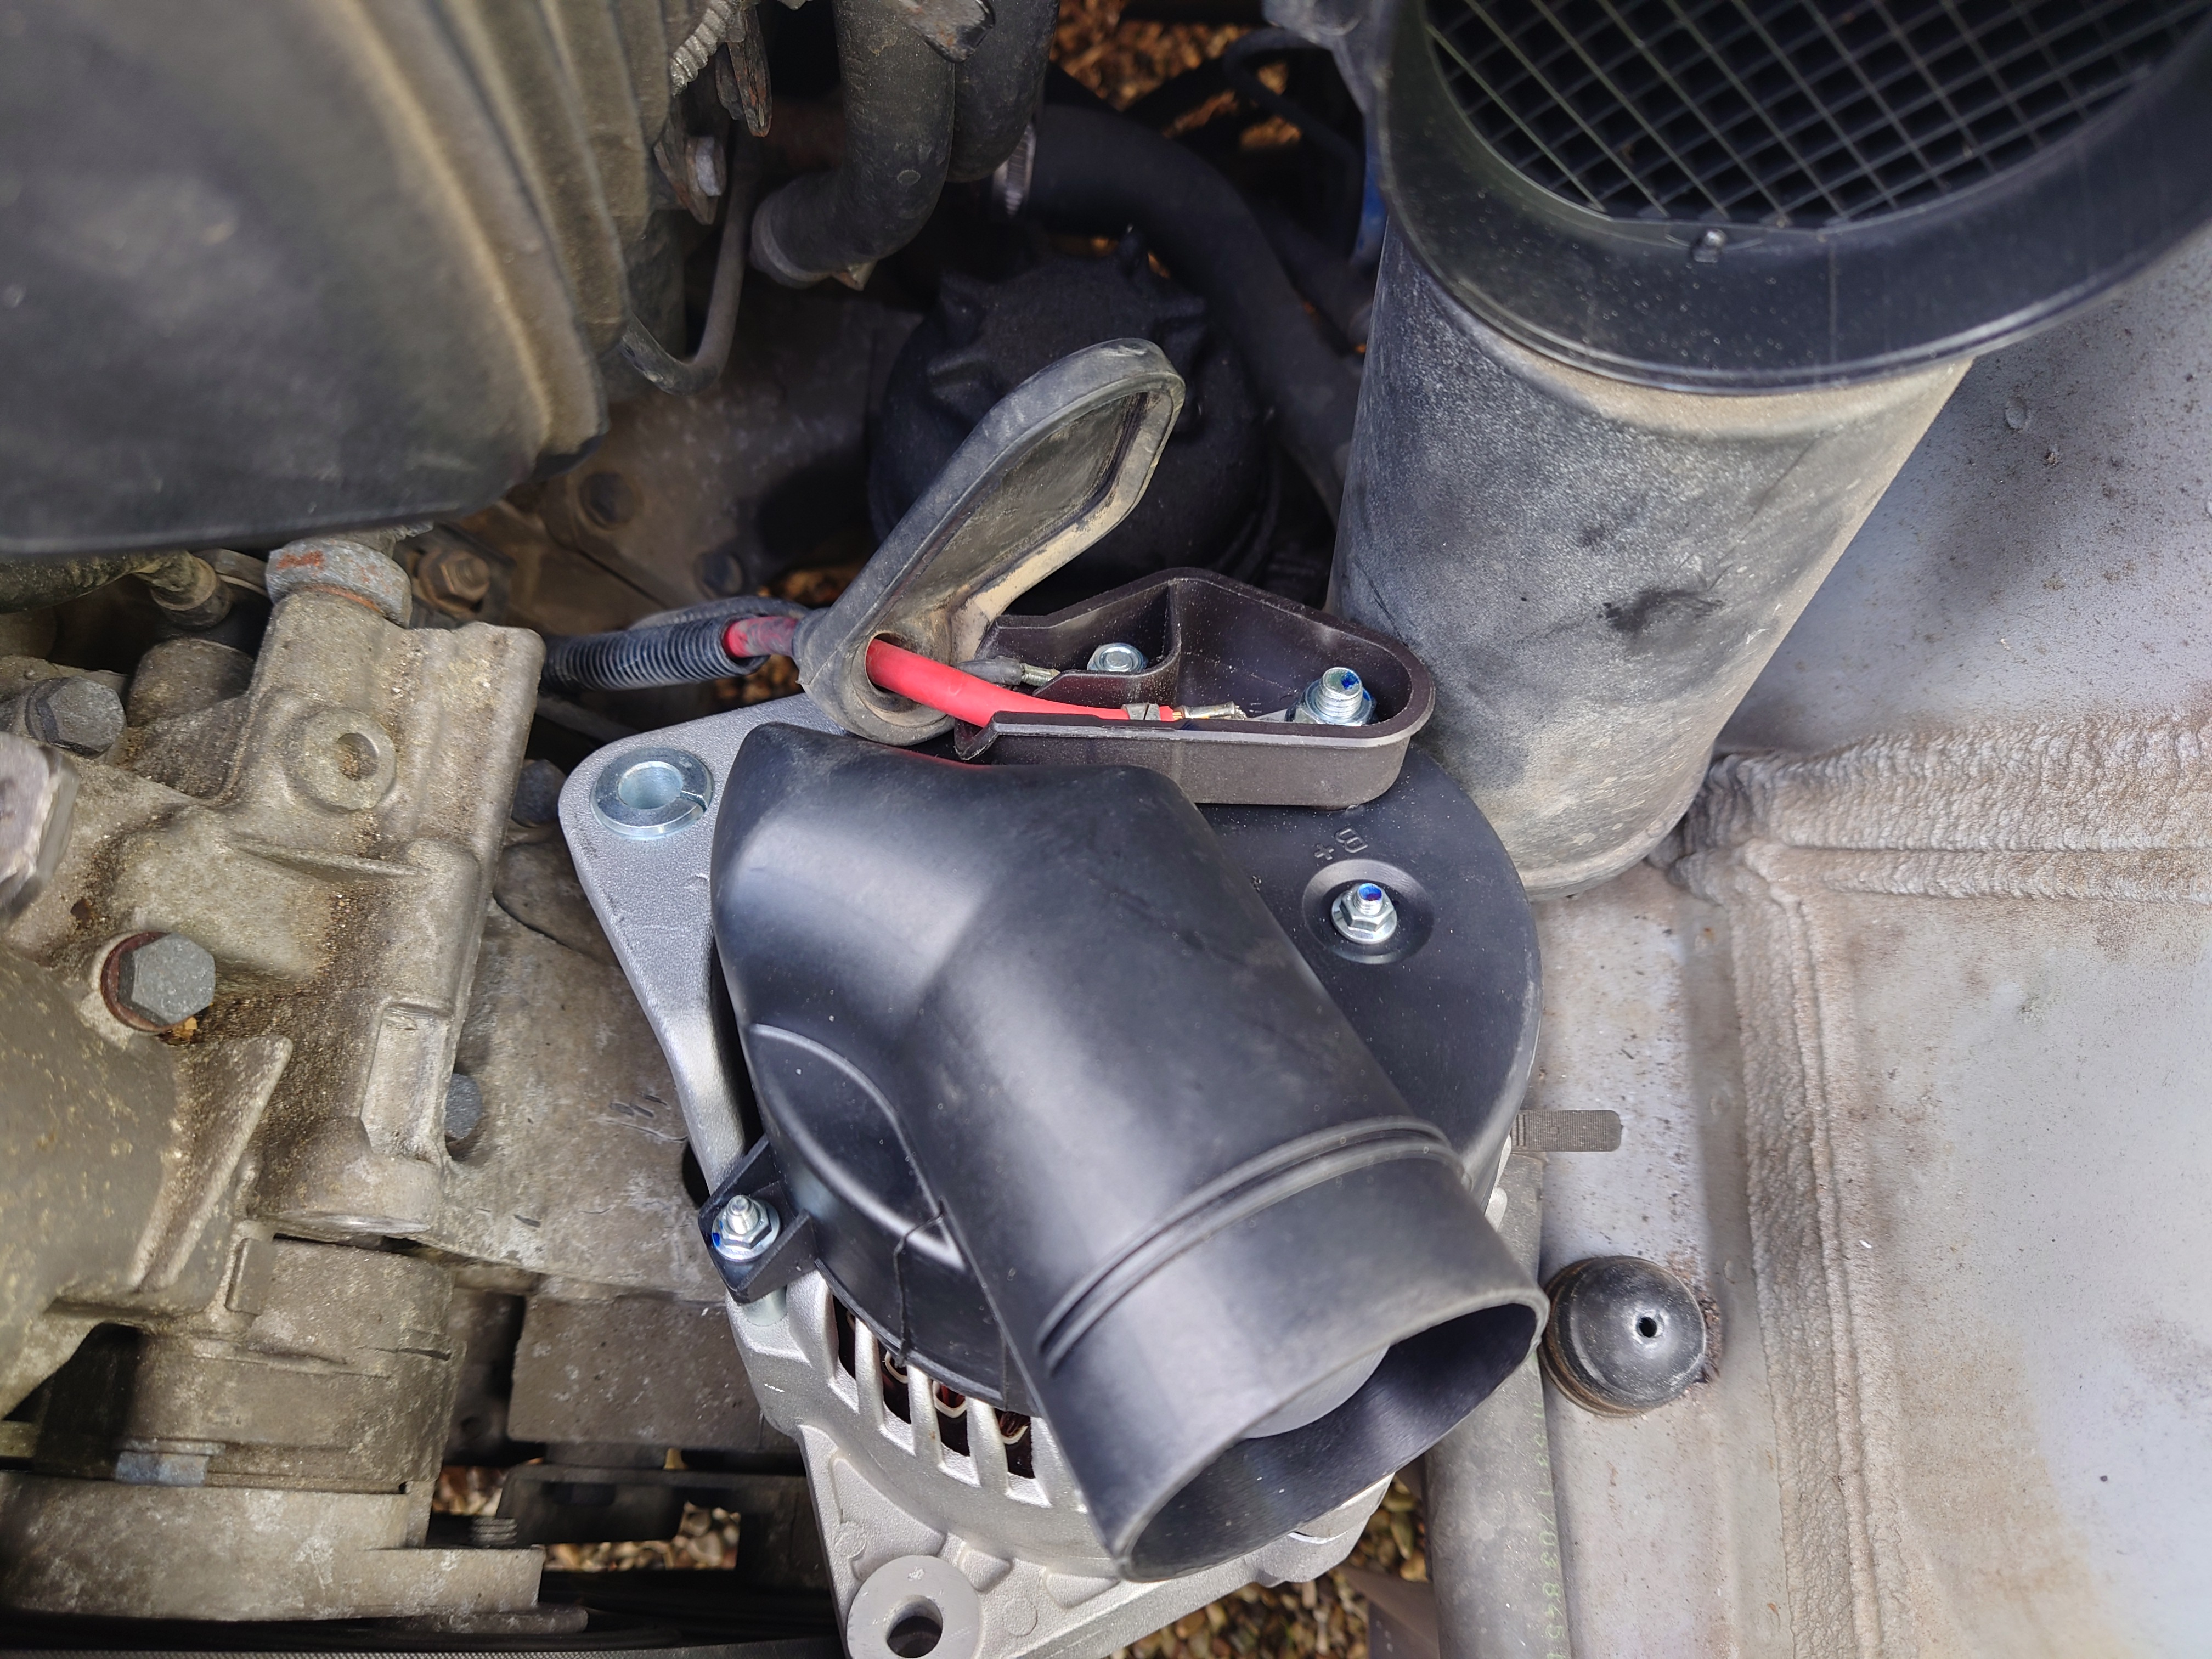
Now it's time to finally mount the new alternator. This is pretty straightforward - it just sorta fits into place. However, it isn't very well supported in its mount without the bolts, so it's probably easiest to get the top in first, slide the bolt through, then swing the bottom into place.
Remember to slide the washers onto the bolts before putting them in!
Just double checking that 150mm is enough for the bottom bolt:
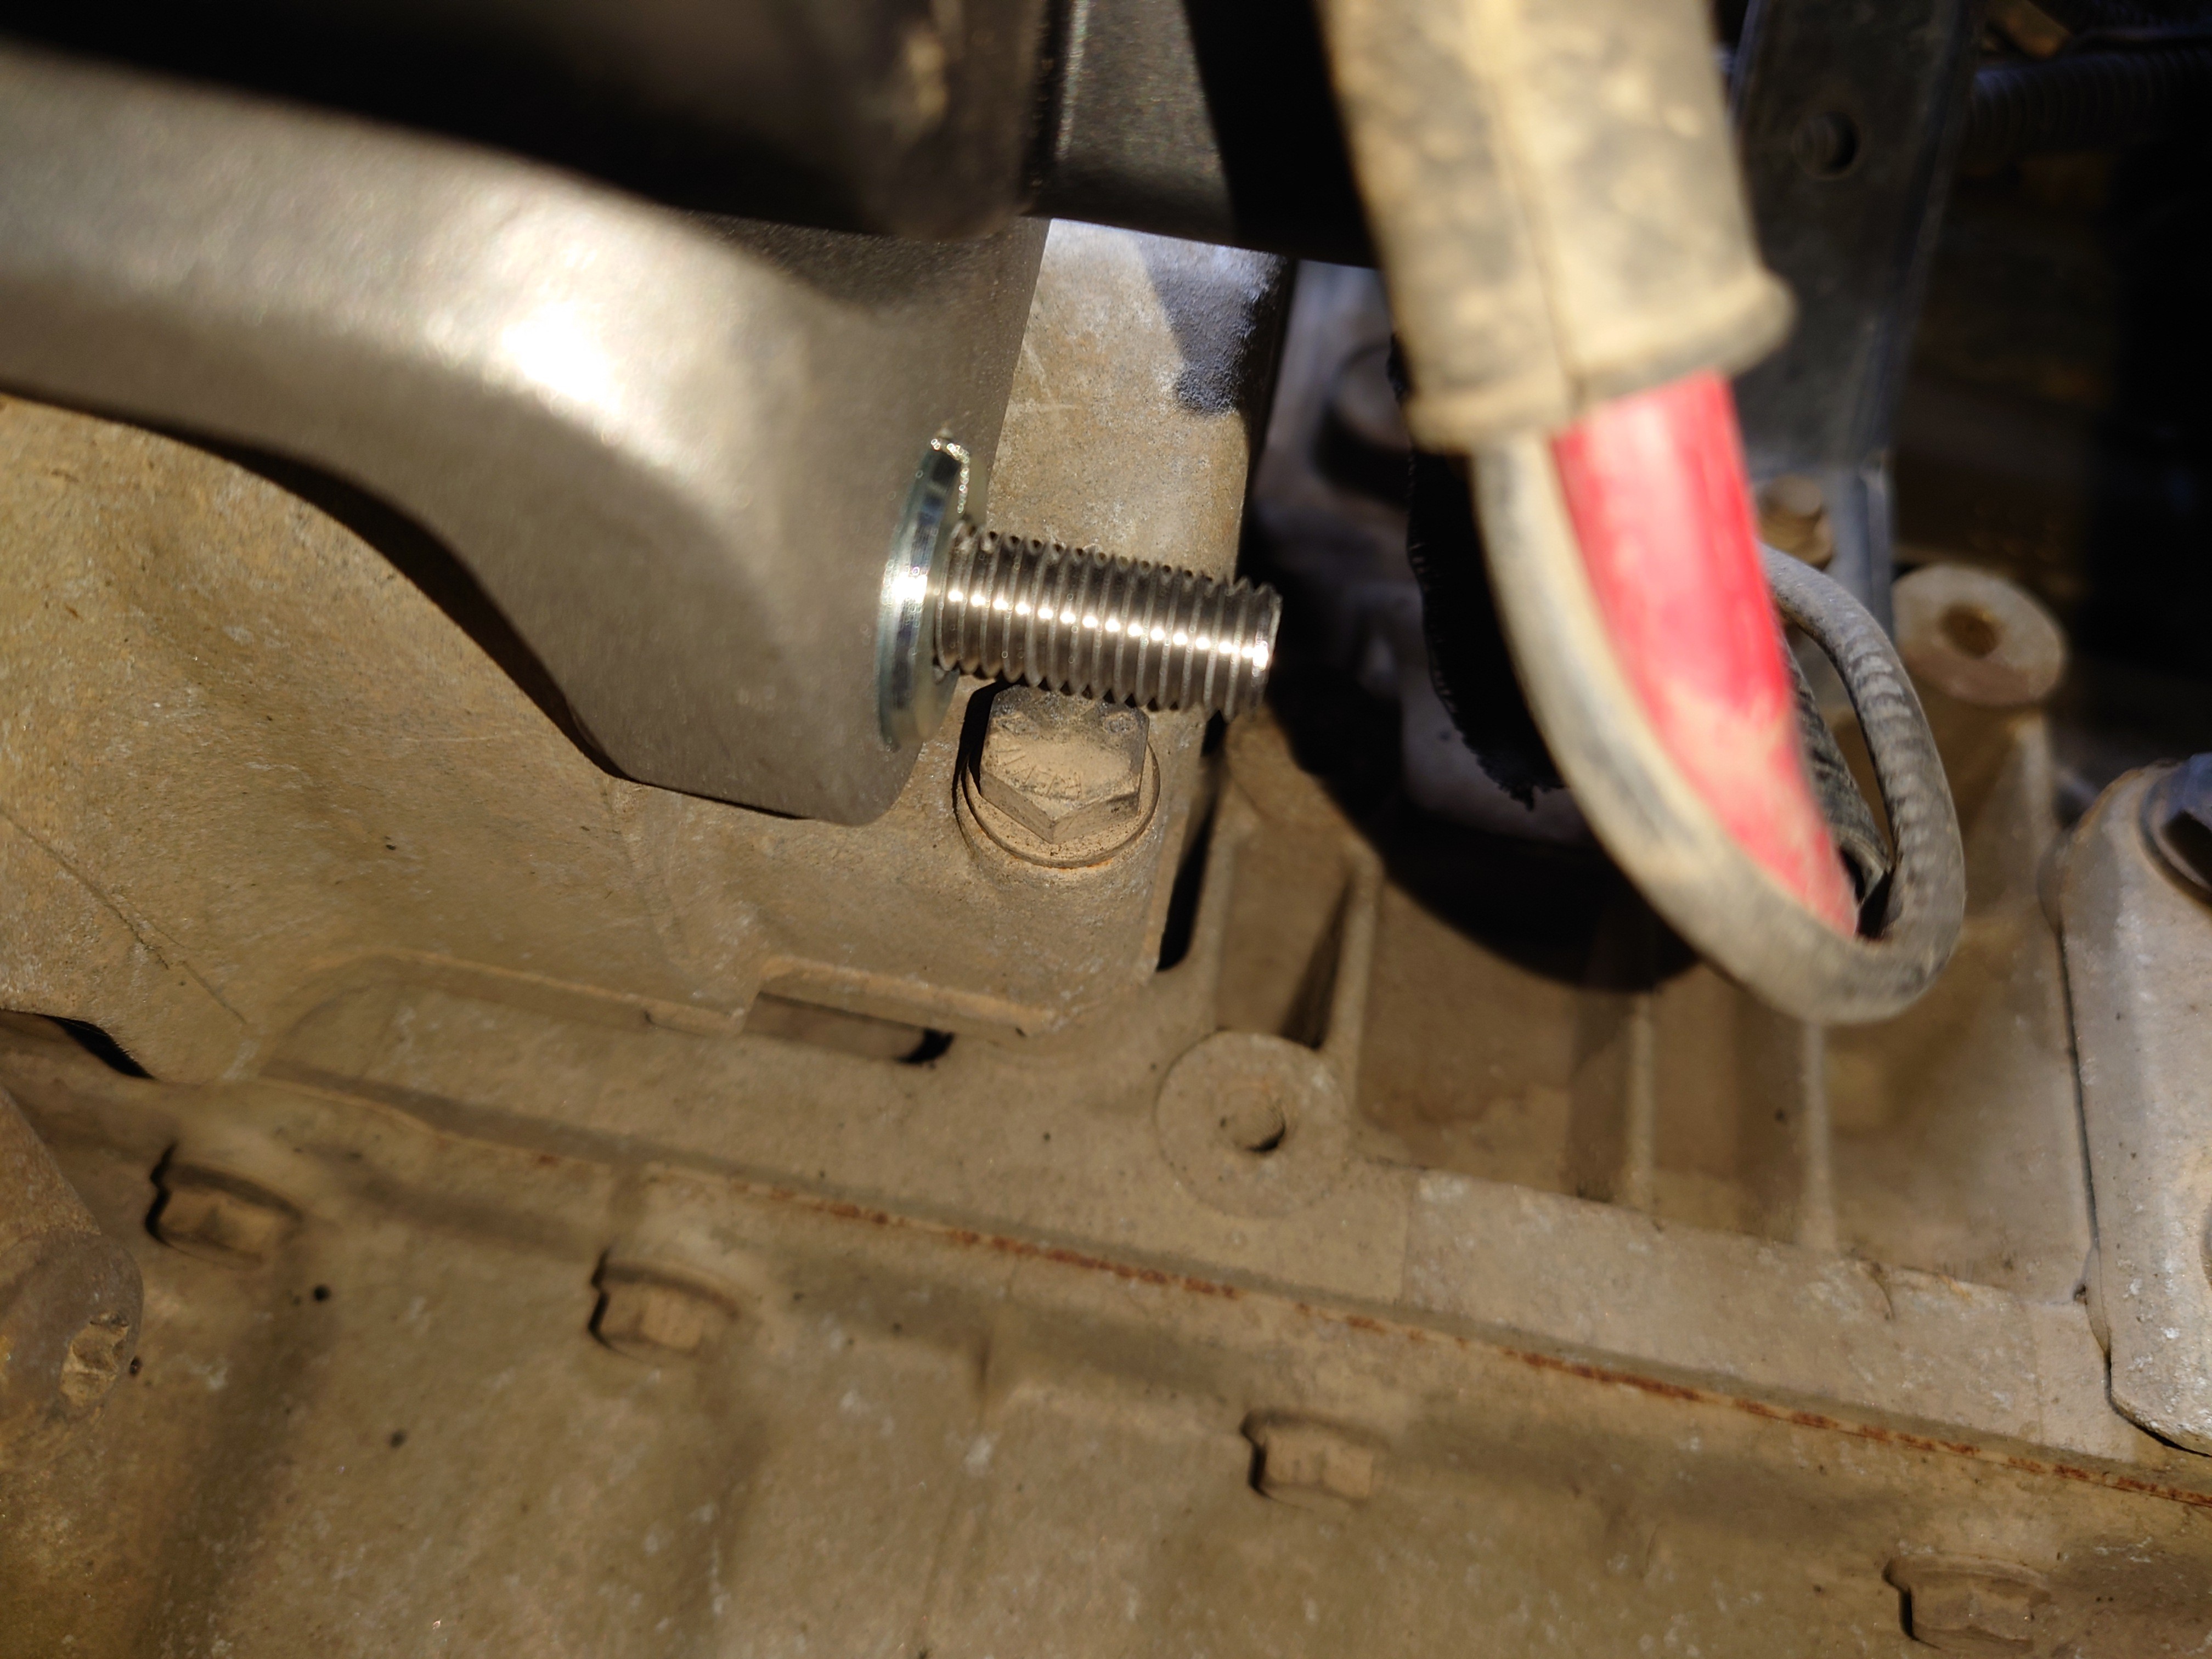
Looks like there's plenty of thread to work with there ^_^
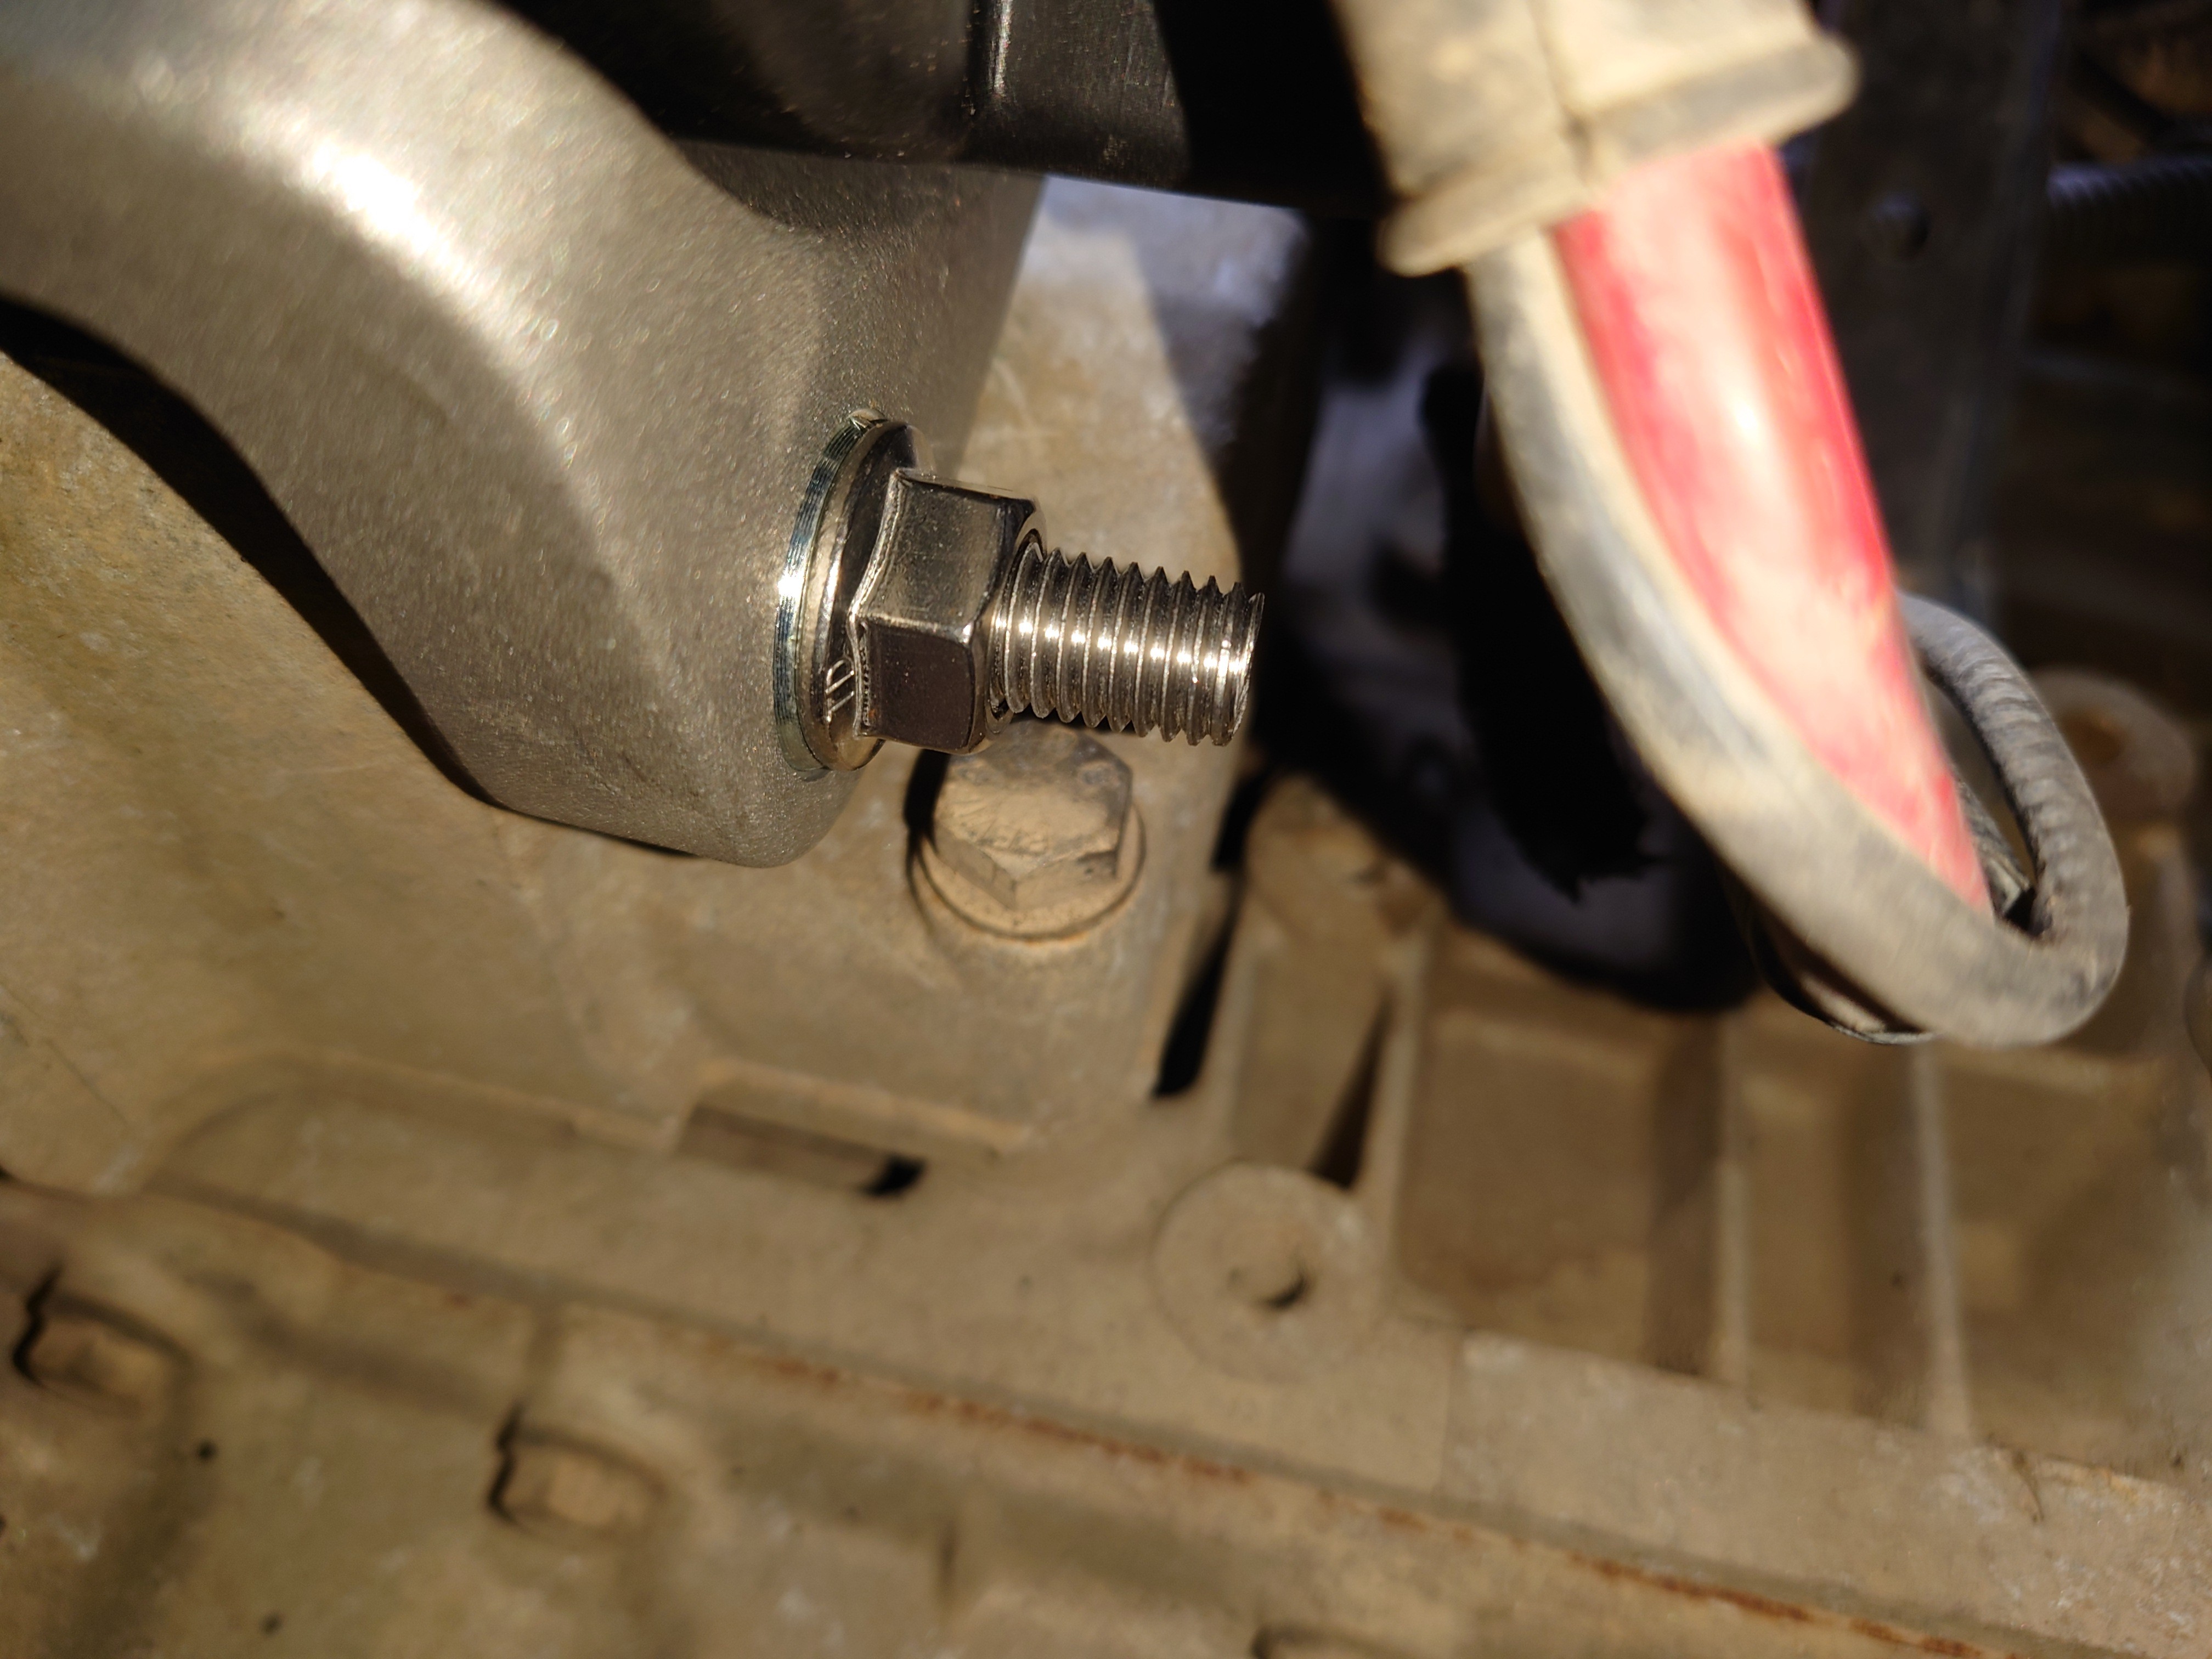
Getting the top bolt in is rather straightforward since we can access it quite easily - do not tighten it yet!
The bottom one, however, is kinda buried behind and under the alternator, so you might struggle unless you have twink arms. Fortunately, I have twink arms, so I could feel my way around to hand tighten the nut first, then get a 15mm flat spanner onto the flanged bolt I bought with the bolts.
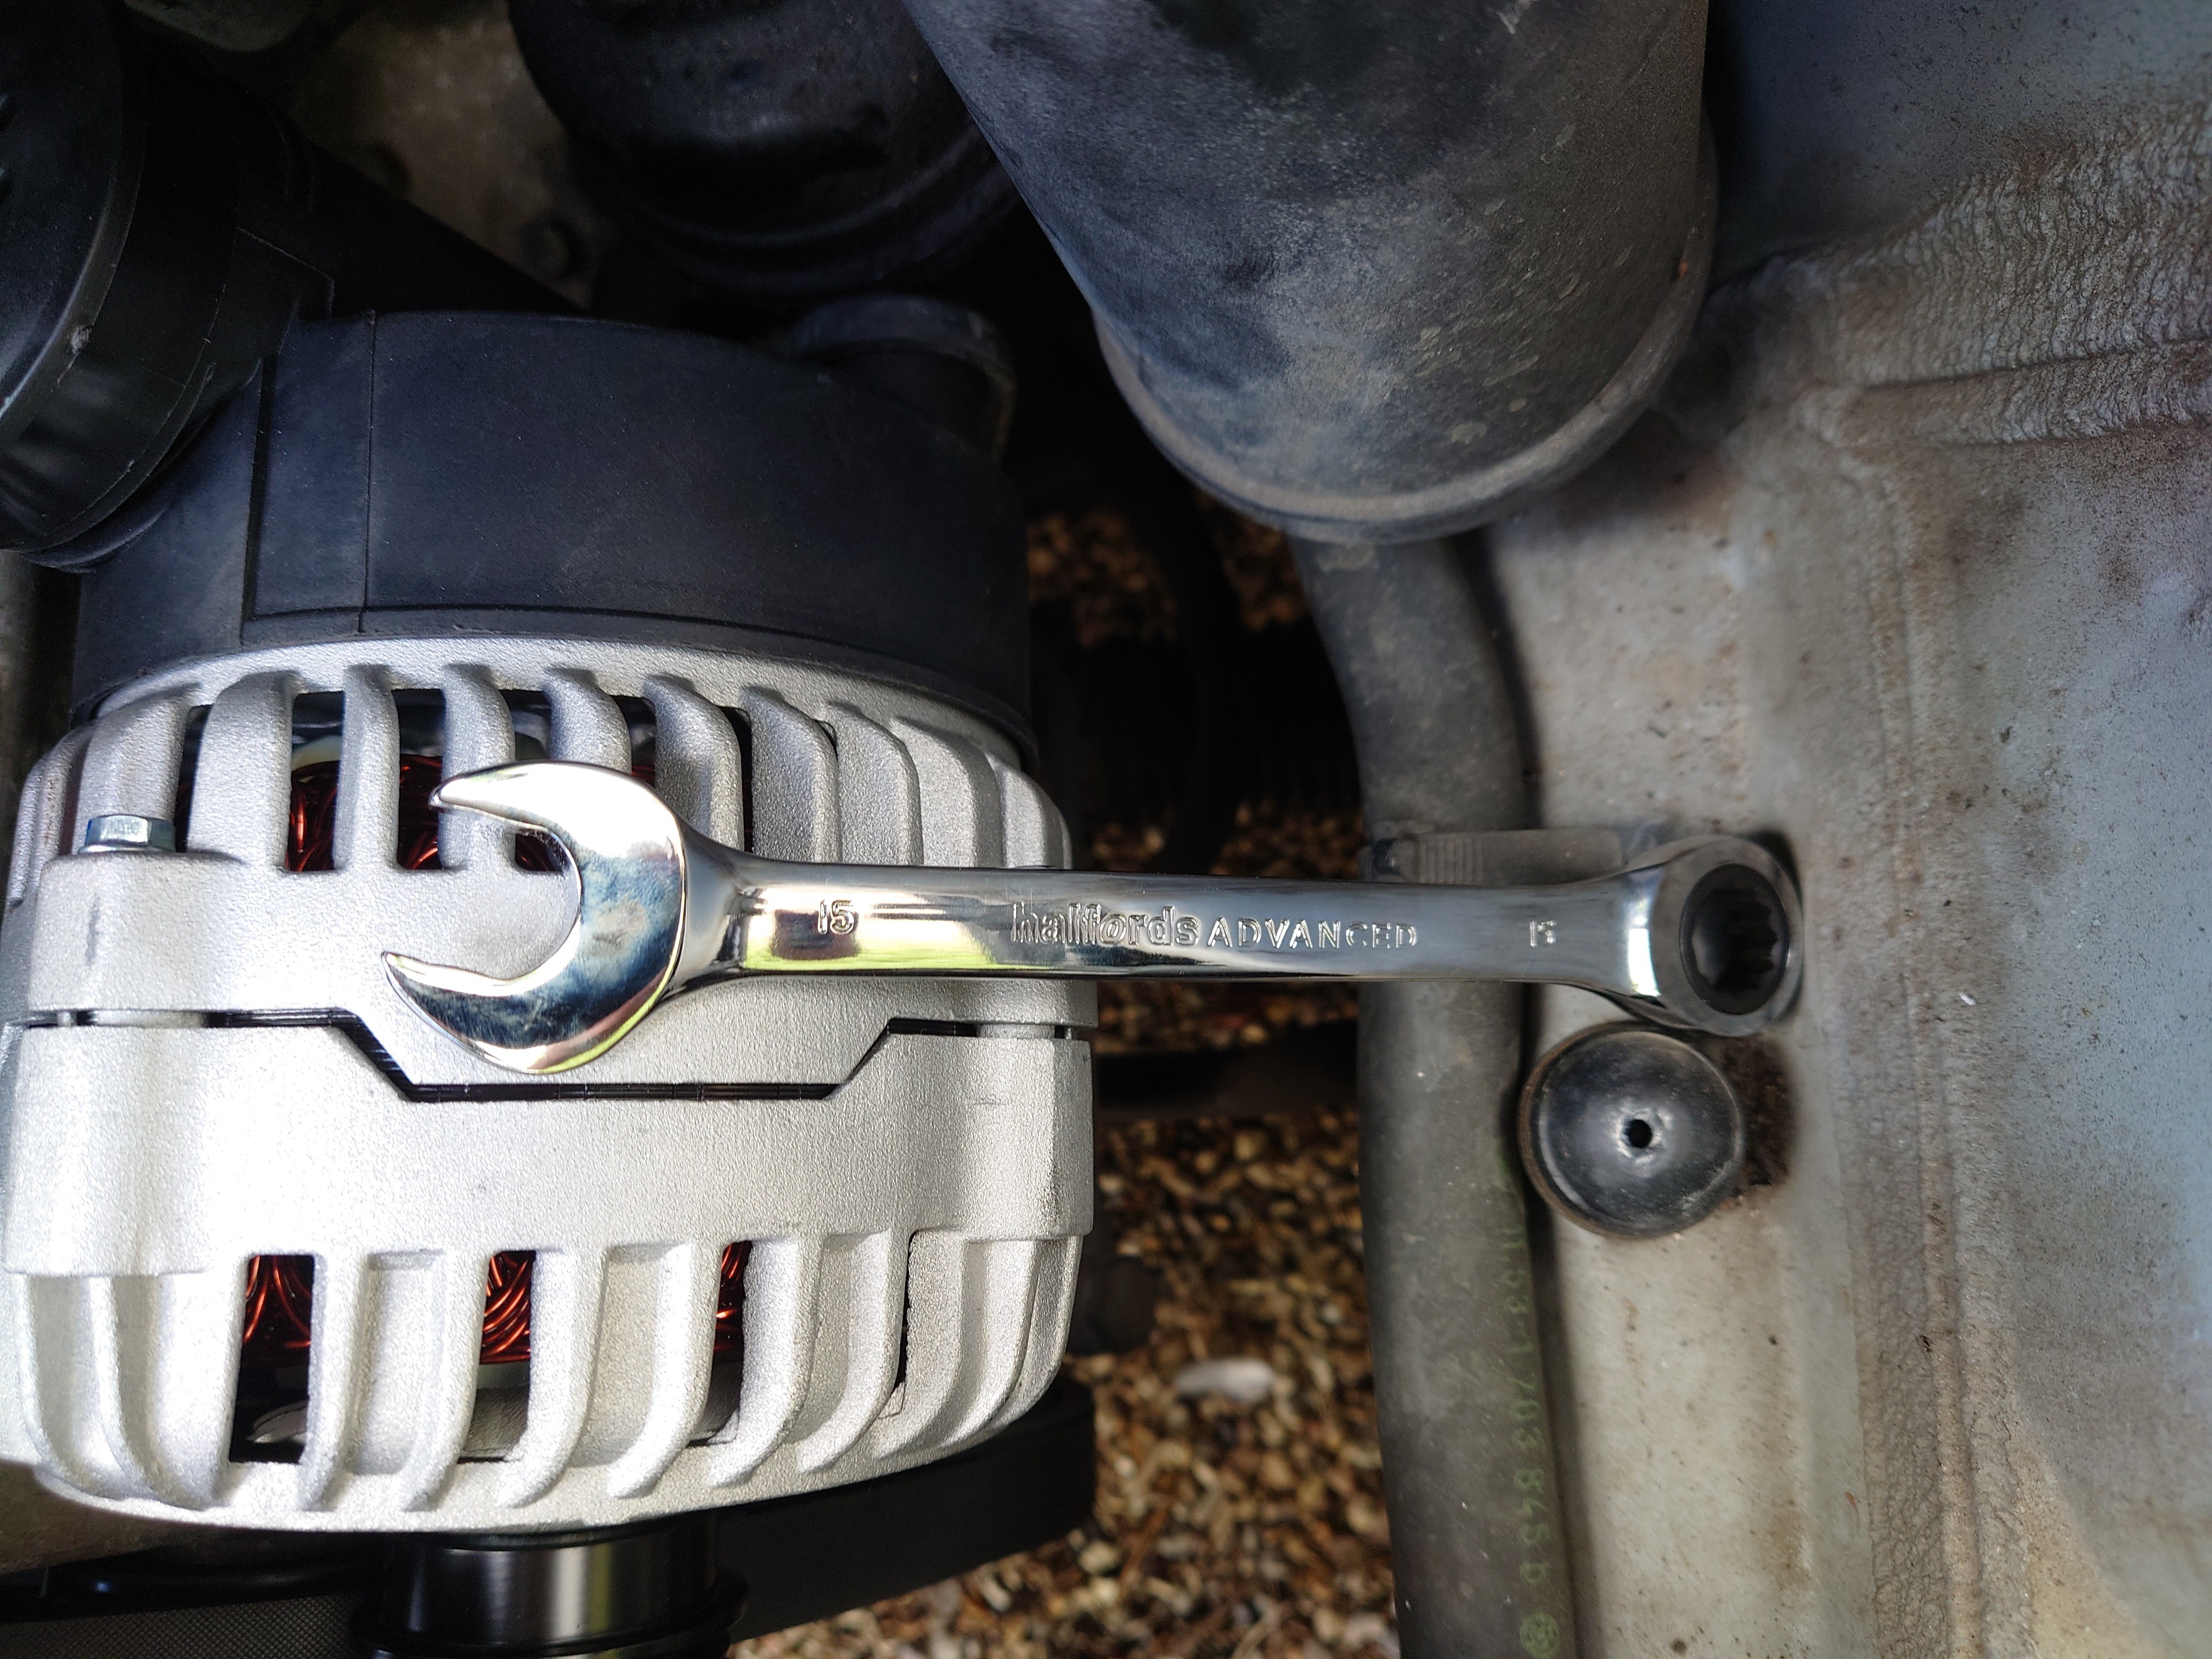
Do not tighen all the way yet!
You may find that the top bolt is actually a little bit loose side to side. Line the alternator up, then tighten the top bolt all the way - the slack should disappear :)
I'm not sure what the torque specs are - I think I read somewhere a number around 30 Nm, but I don't have a torque wrench that operates in that range, so I just tightened until it felt okay. Remember, the engine block is made of aluminium, so it is humanly possible to overtighten, especially if you're using long tools.
Apparently some manuals give numbers in the 70-80 Nm range - this is almost definitely for the alternator pulley itself - you'll most likely wreck the threads in the engine block by applying that much torque to M10 bolts. Damage isn't as likely with the bottom bolt in this case, since it's screwing into a stainless steel nut, not the aluminium engine block, but still.
You can use a bit of thread locker if you're paranoid - I'll probably just check to make sure it's still tight after a while.
Once you have the top bolt tightened, go ahead and tighten the bottom. In my case, the alternator has that smooth insert for the bolt. As I tightened, the insert got pulled further in by the bolt/nut. This is probably fine - it'll likely just make the alternator more difficult to remove, like the old one was.
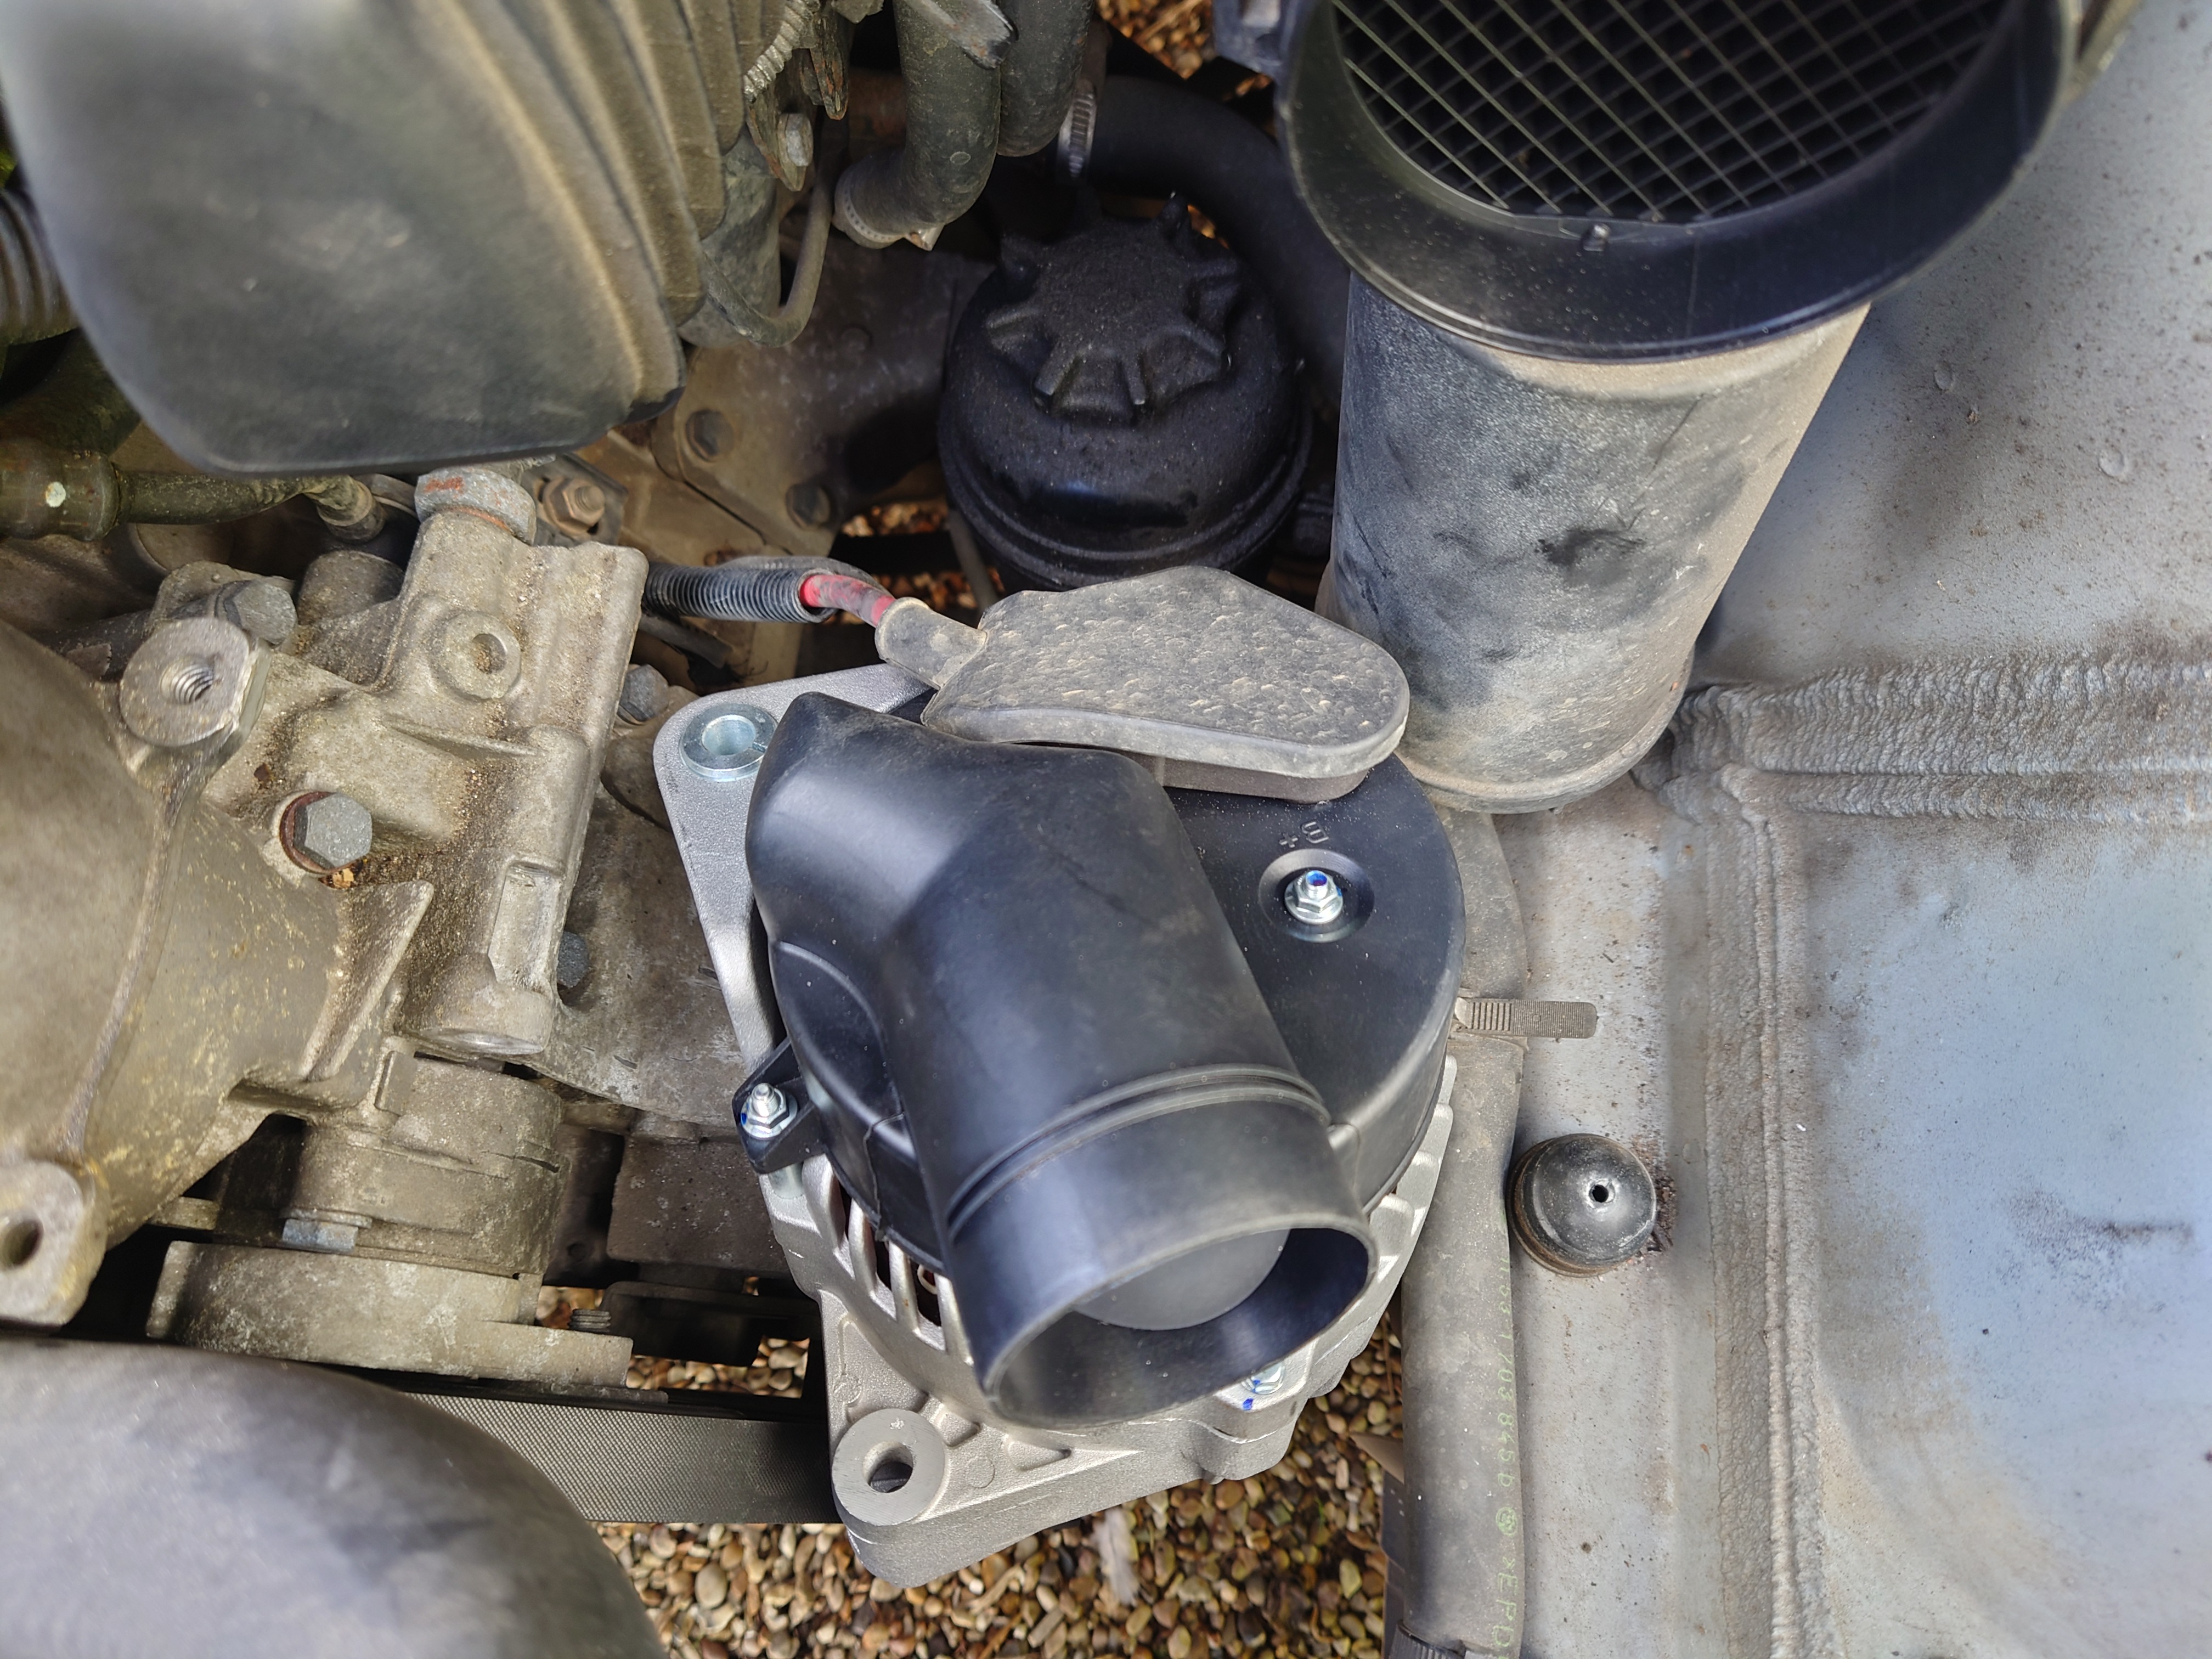
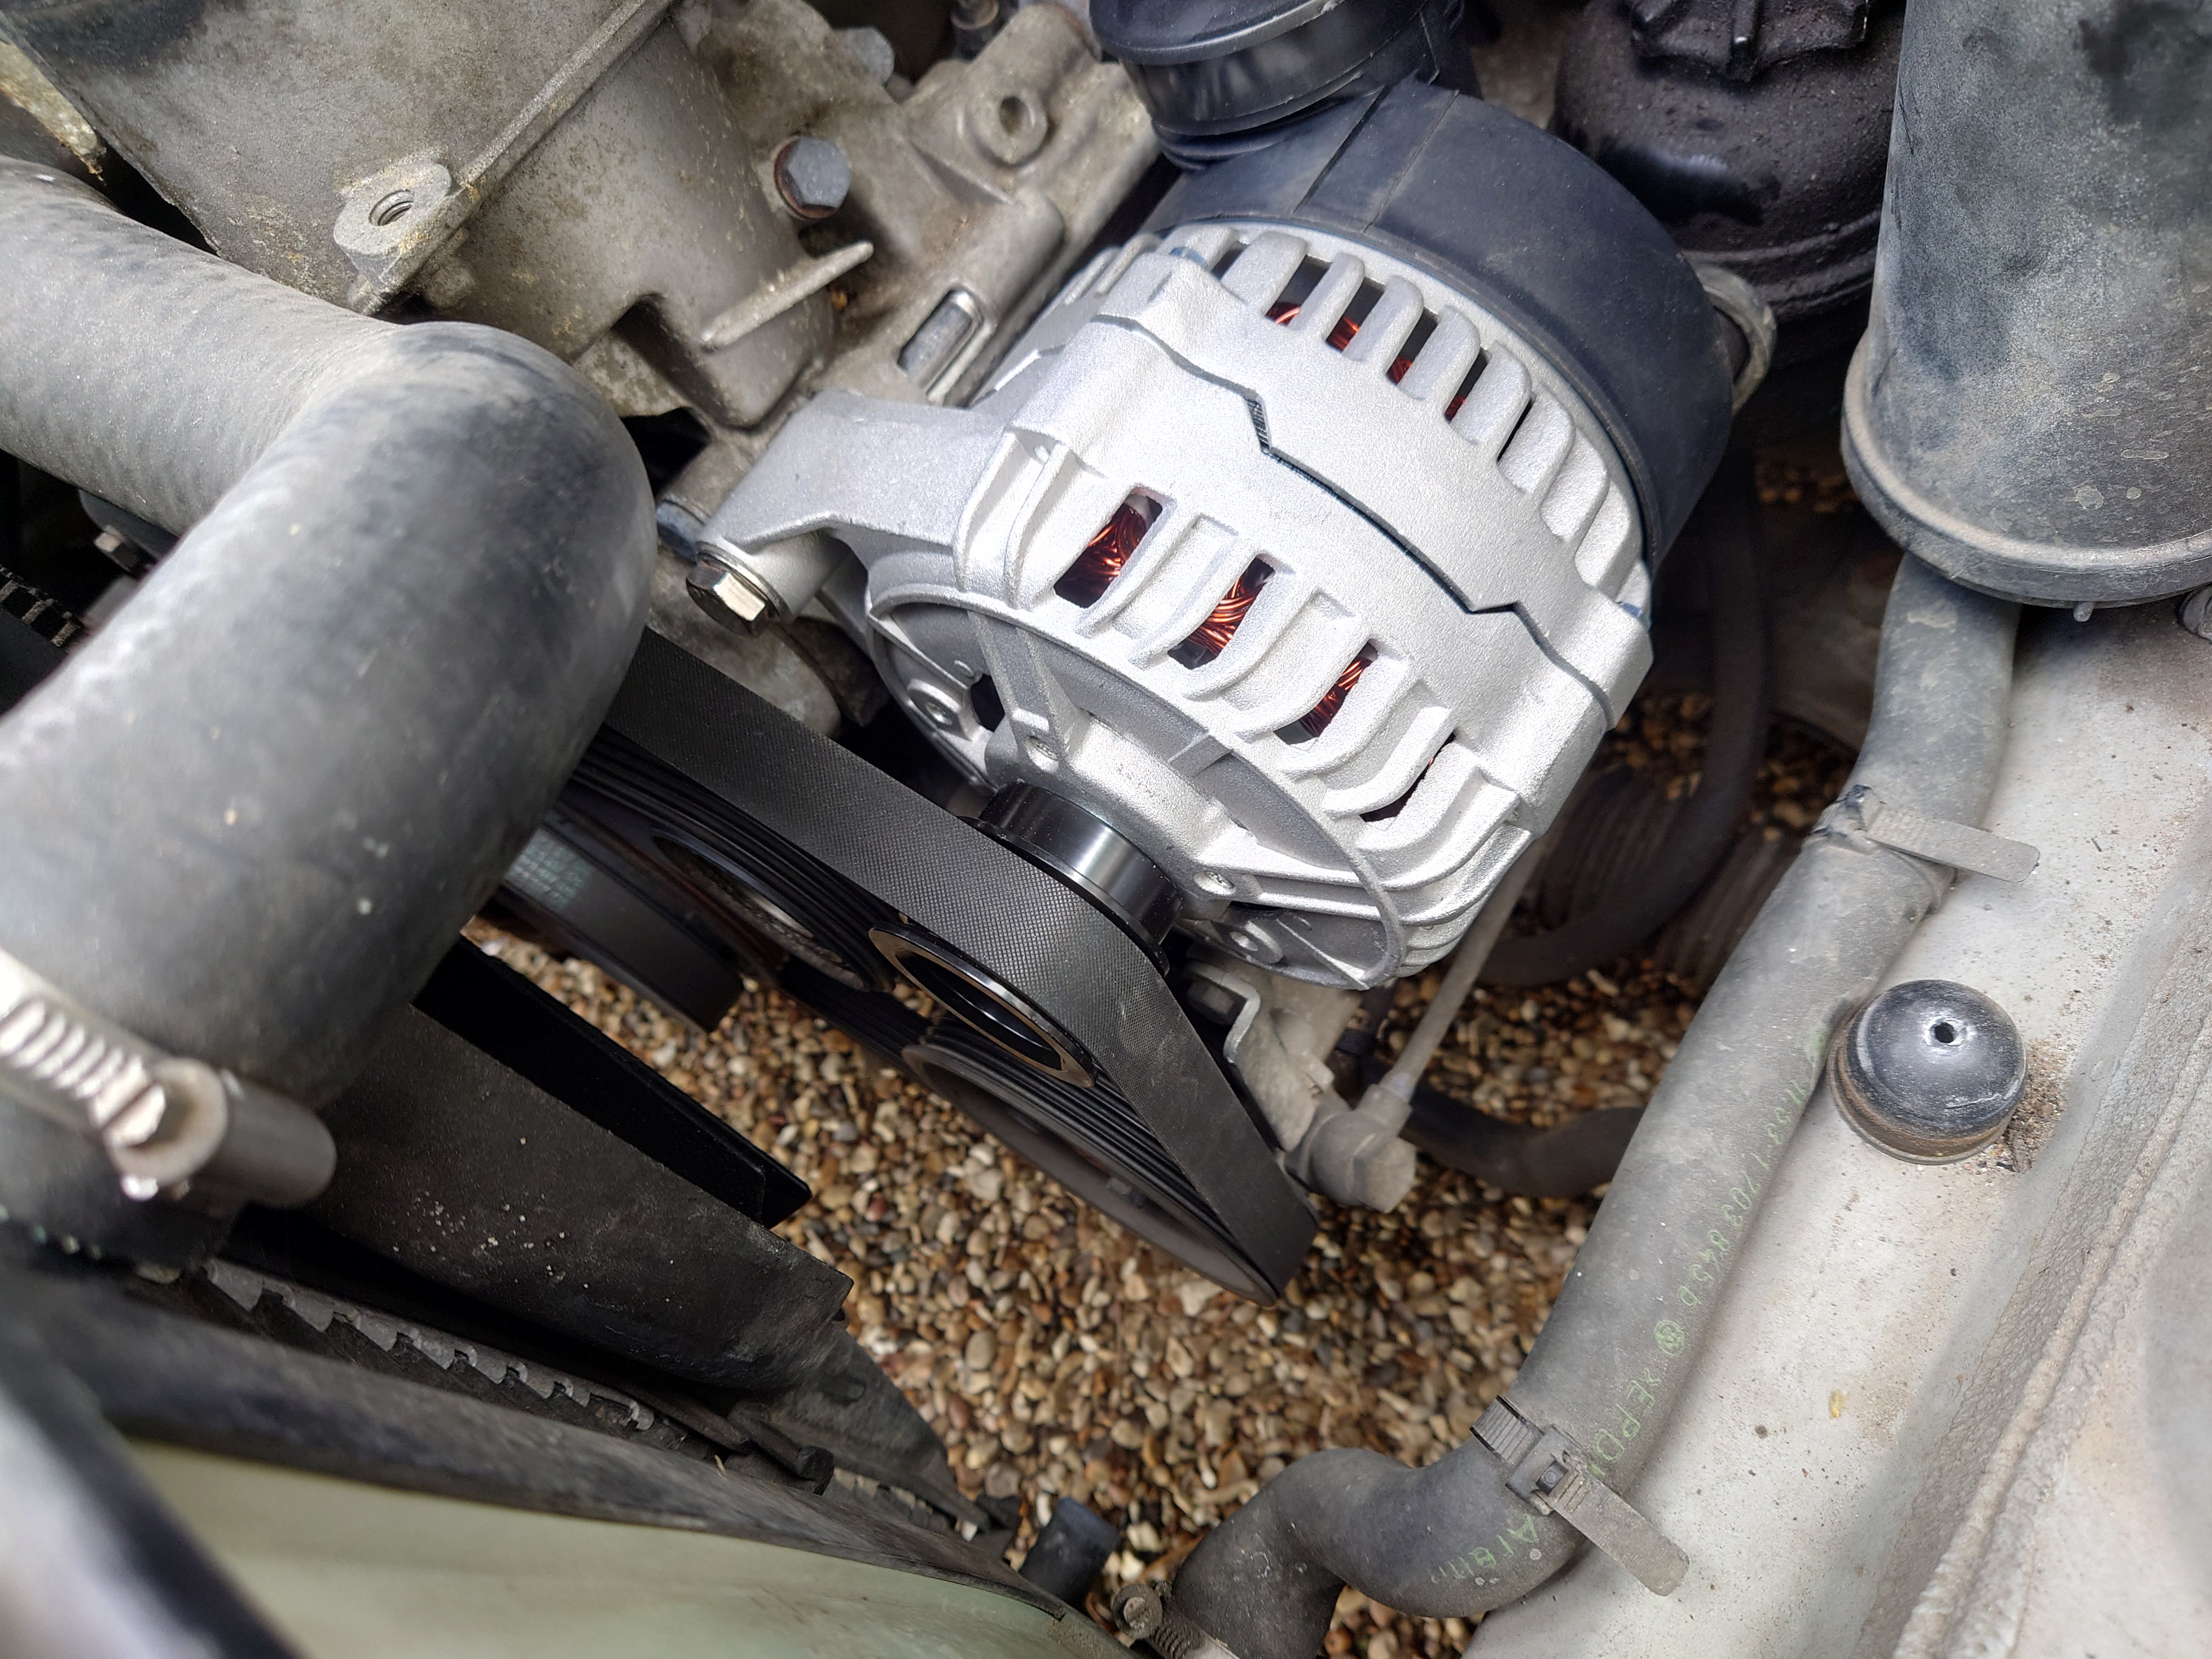
It's in!
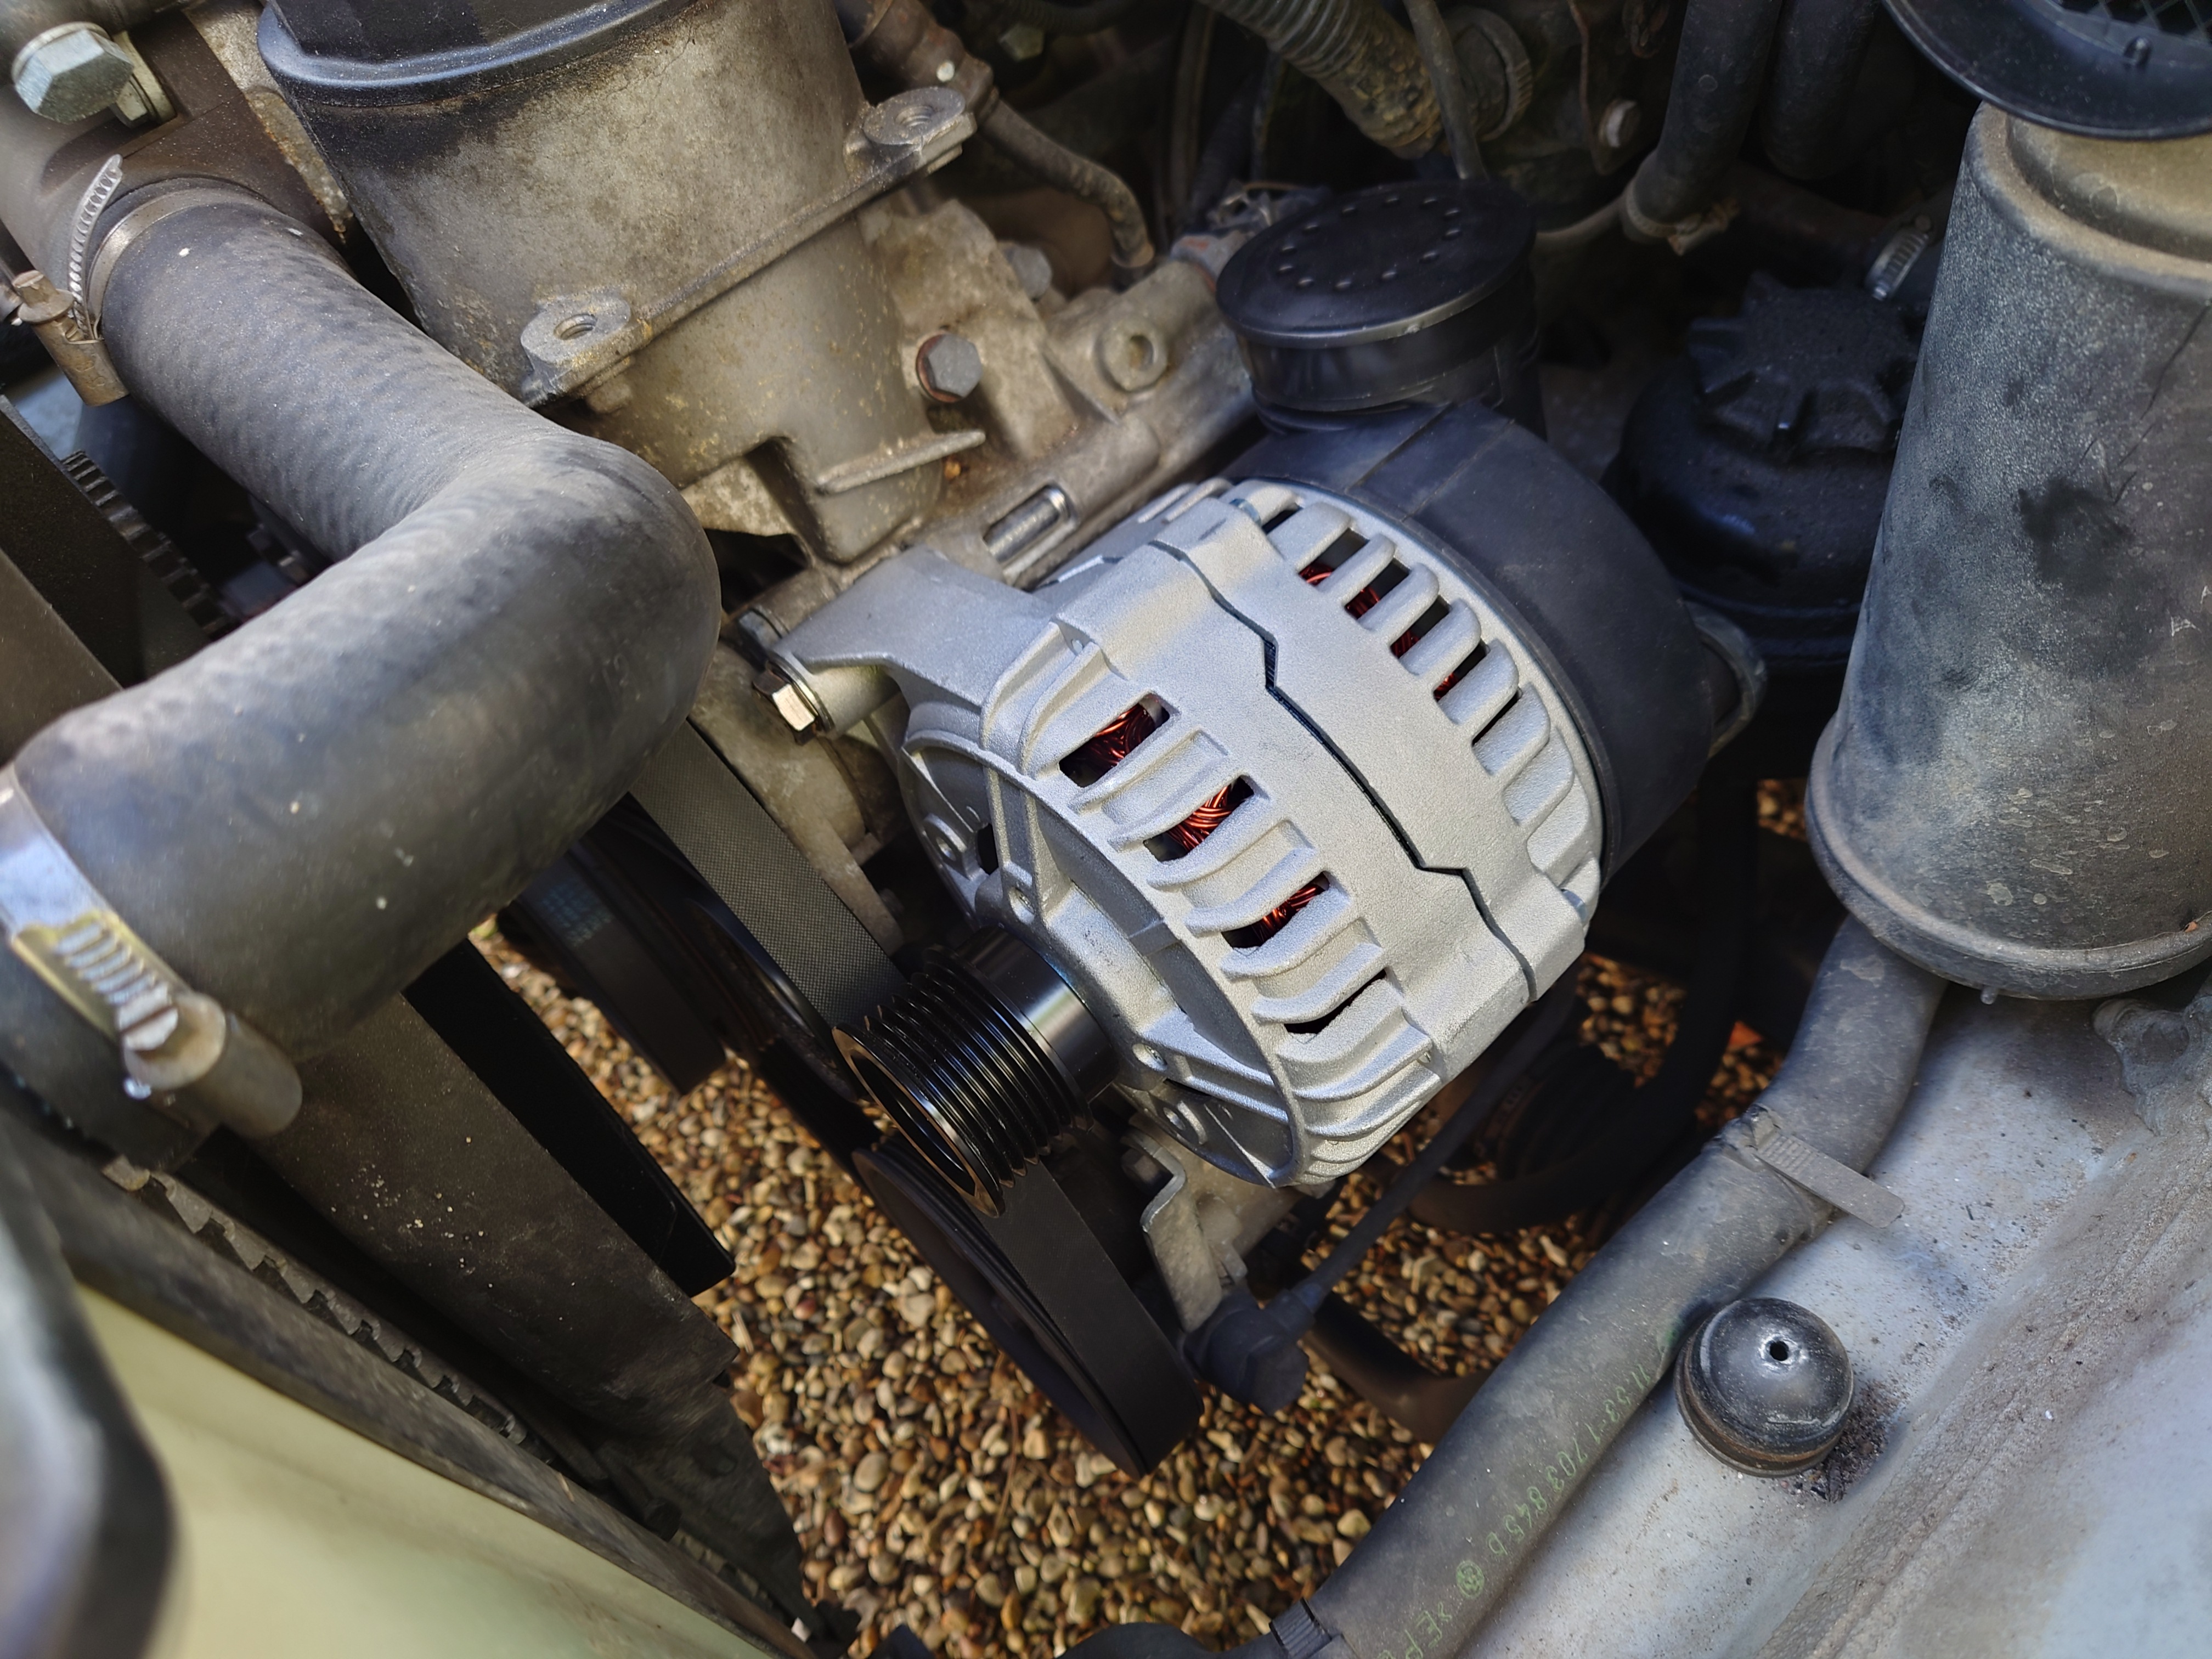
Now just to get the drive belt back on. Wipe any dirt of dust that might've accumulated on the pulley first. Same process with the tensioner pulley, get a 16mm socket on it, and loosen the belt until you can slip it over the alternator pulley.
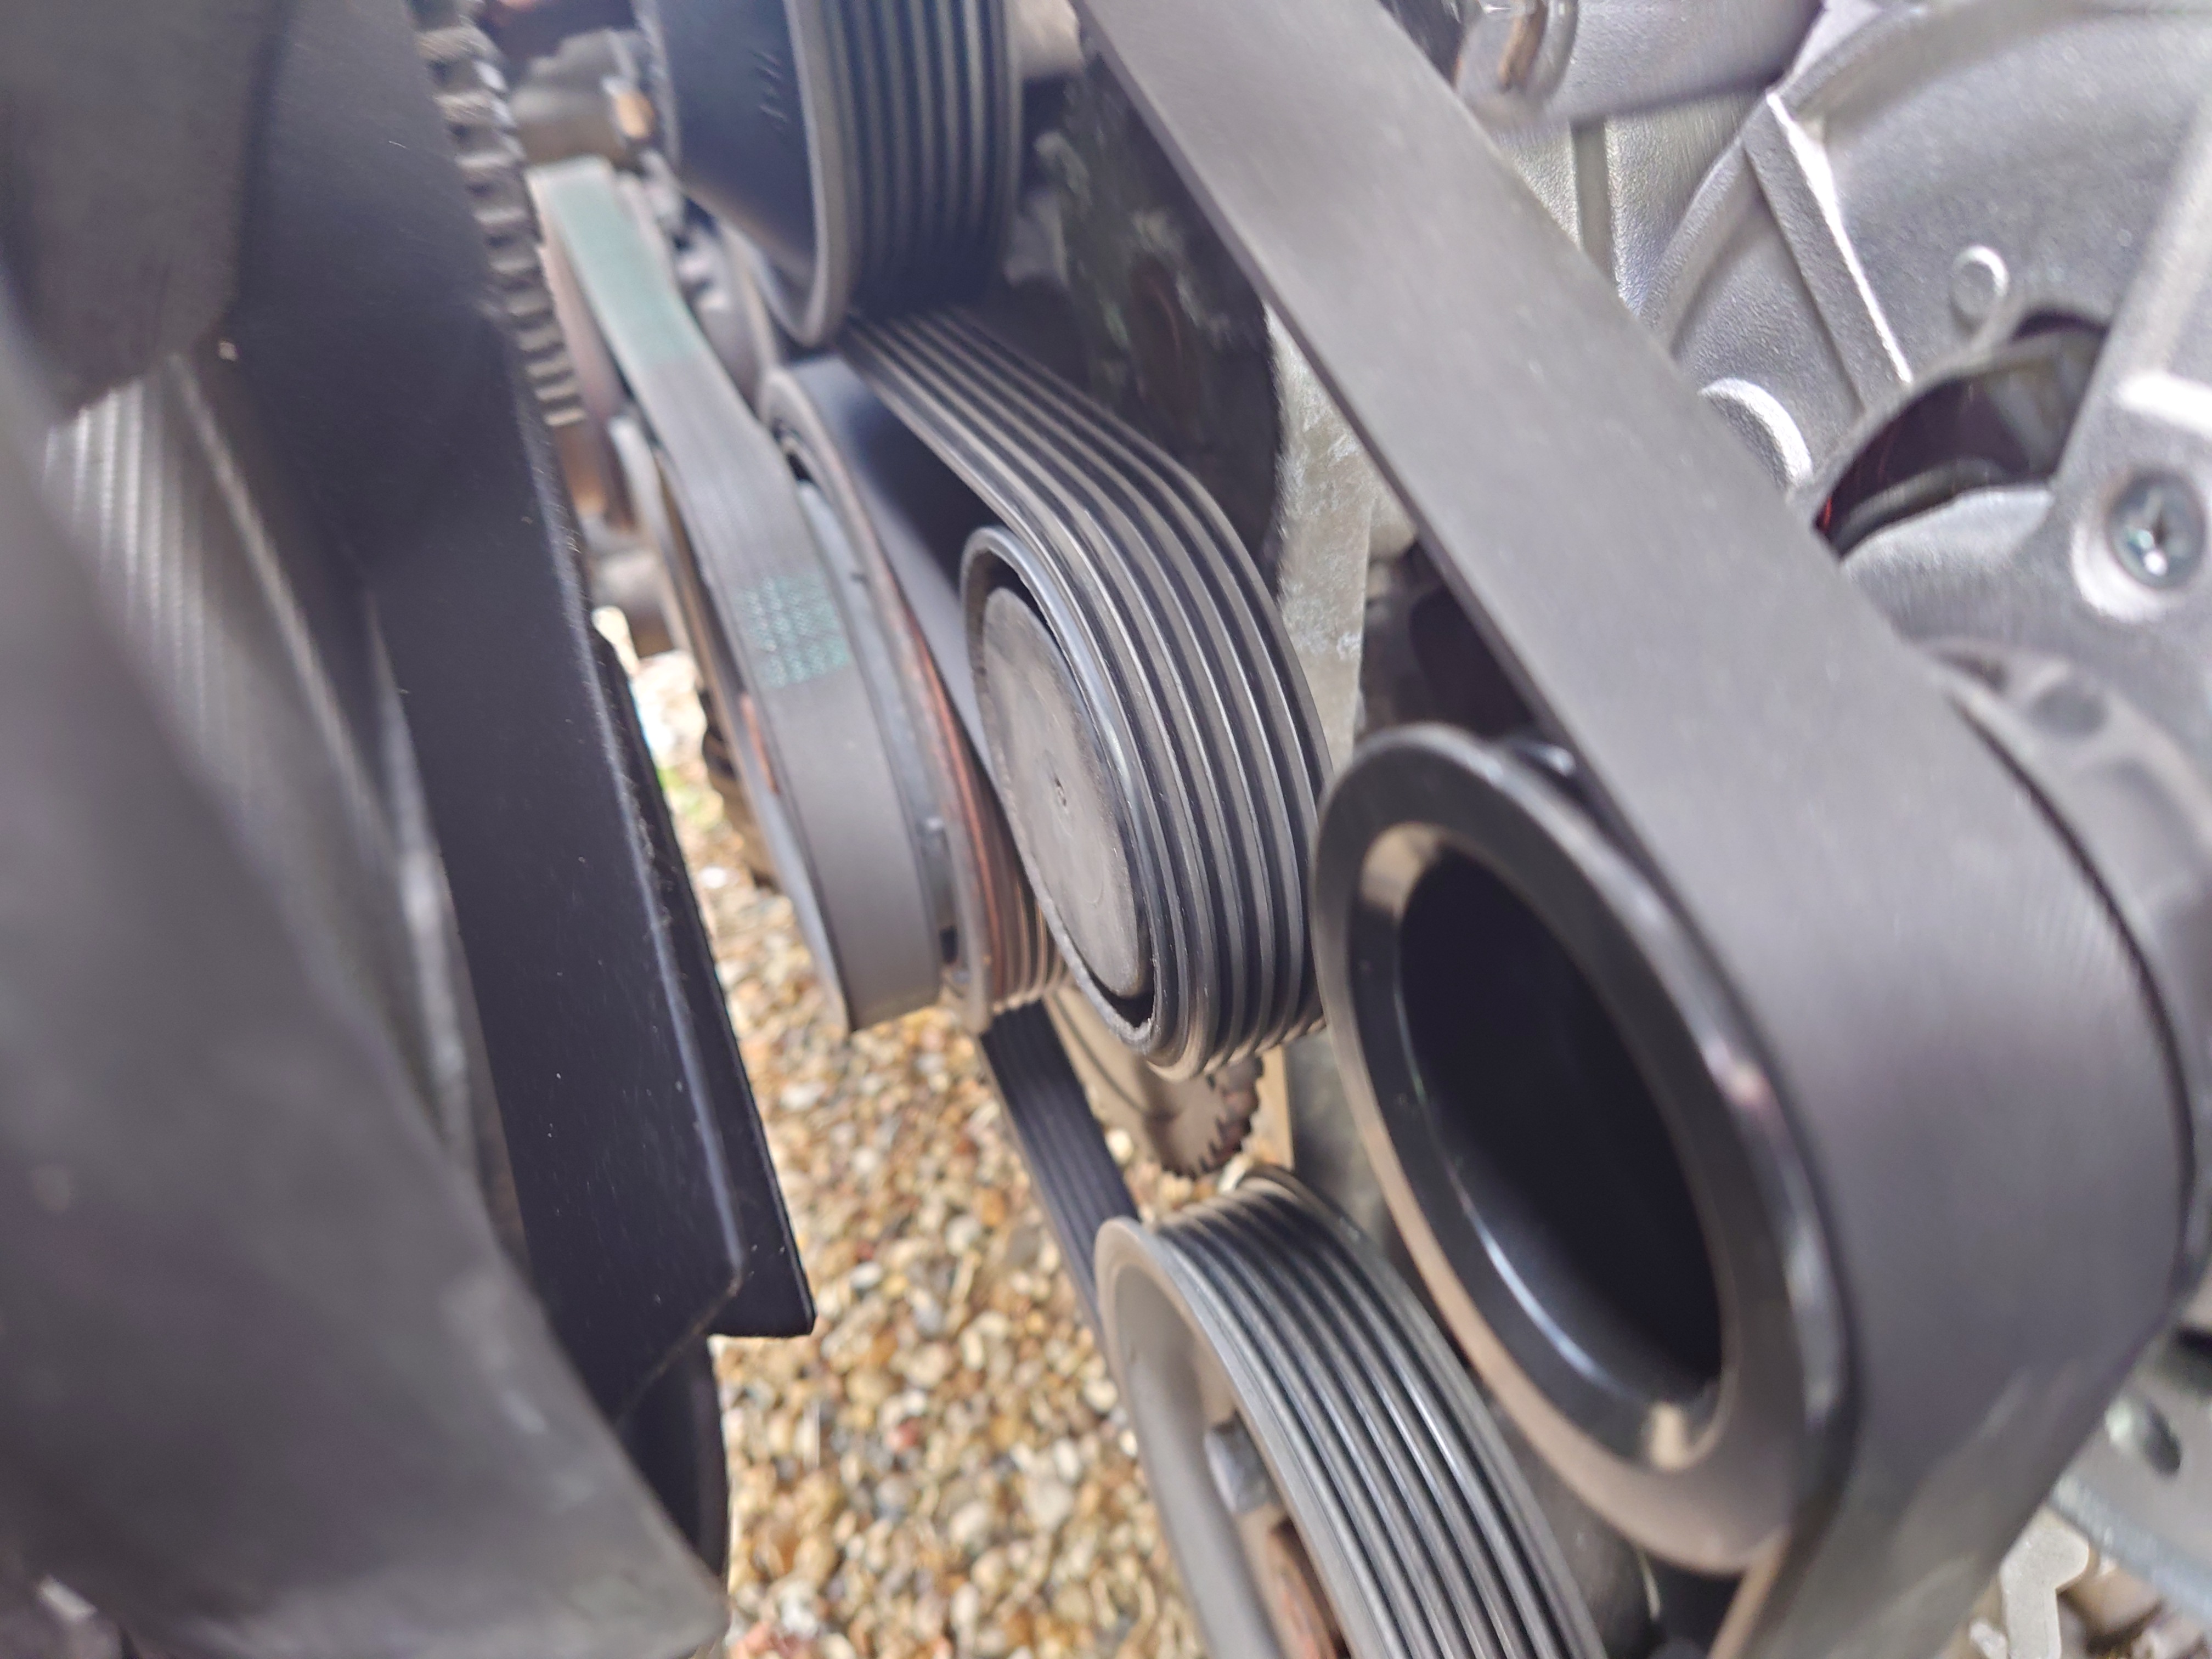
Make sure the belt is sitting properly on all of its pulleys! That means neatly in all 6 grooves, with no overhangs!
Remember to put the protective cap back on the tensioner!
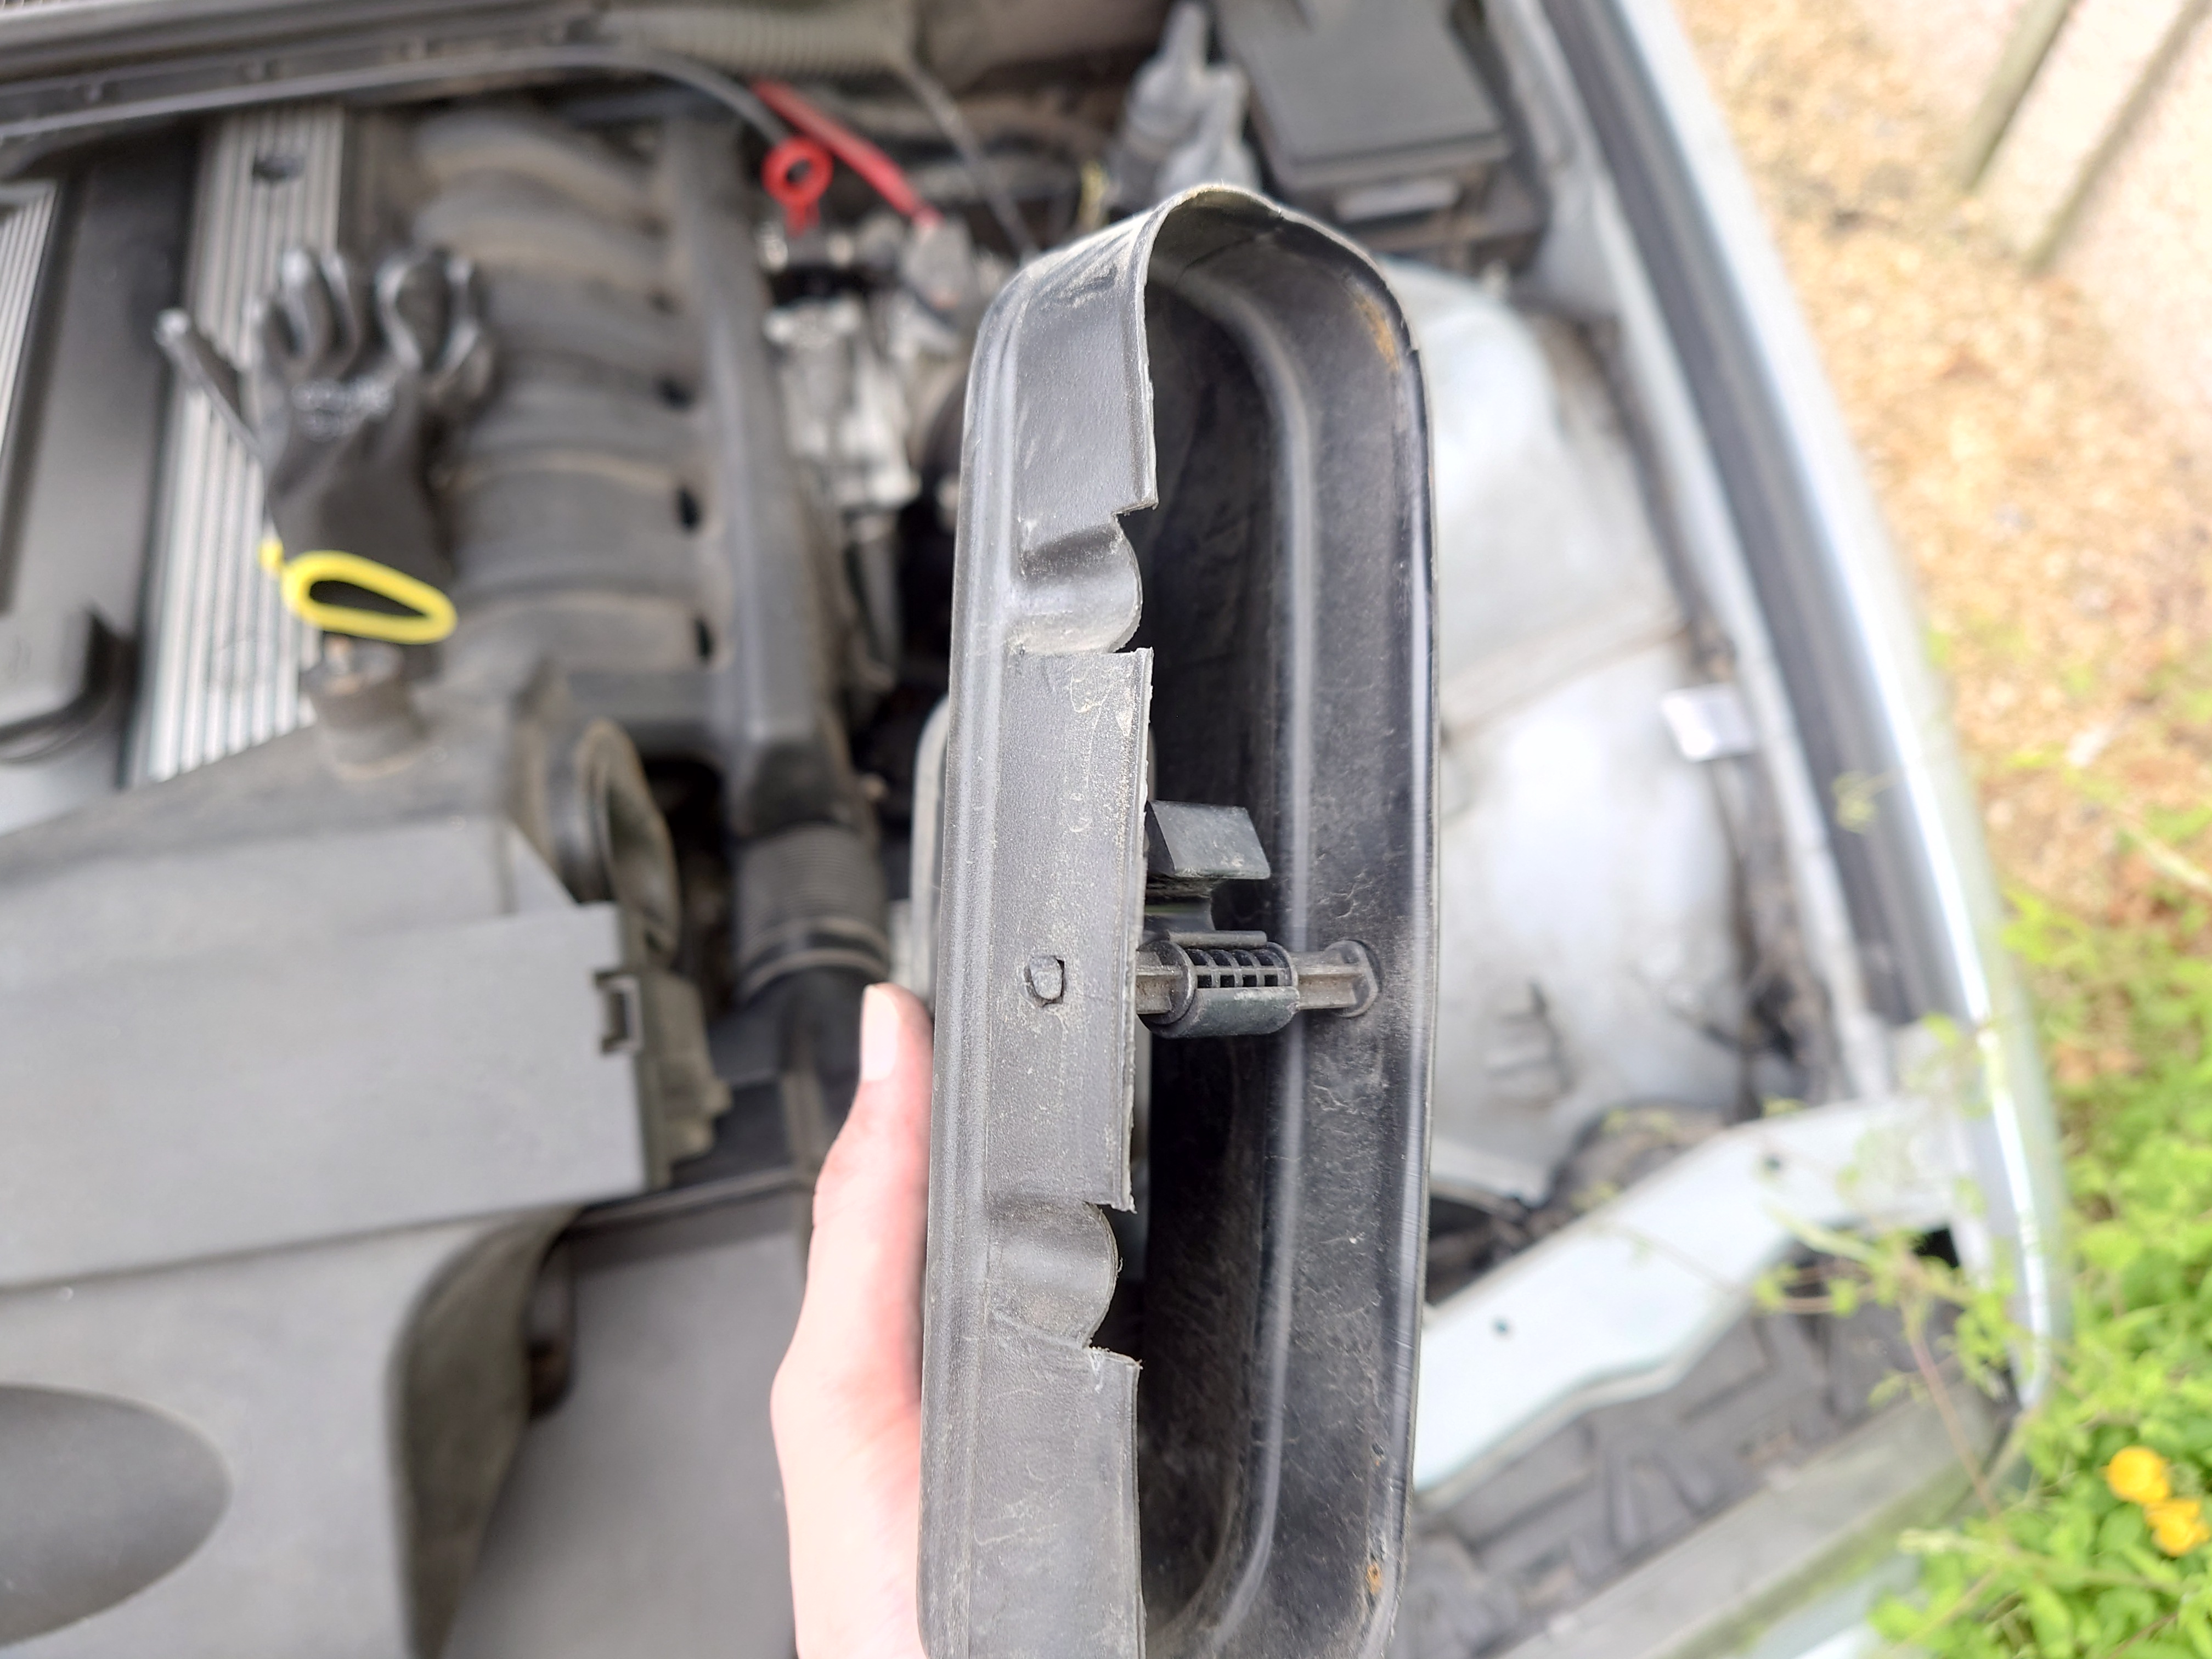
Now all that's left is to get the air ducting all back in. Start with the alternator's air intake. Make sure that no crap has fallen in before you reassemble everything.
This is all quite old plastic at this point - I probably would just replace it if I was do this again. The duct for the alternator intake is split on the intake side to allow it to more snugly fit with the hose clamp tightened. It can help to pull these "tabs" apart a bit, and to unscrew the hose clamp all the way without opening it.
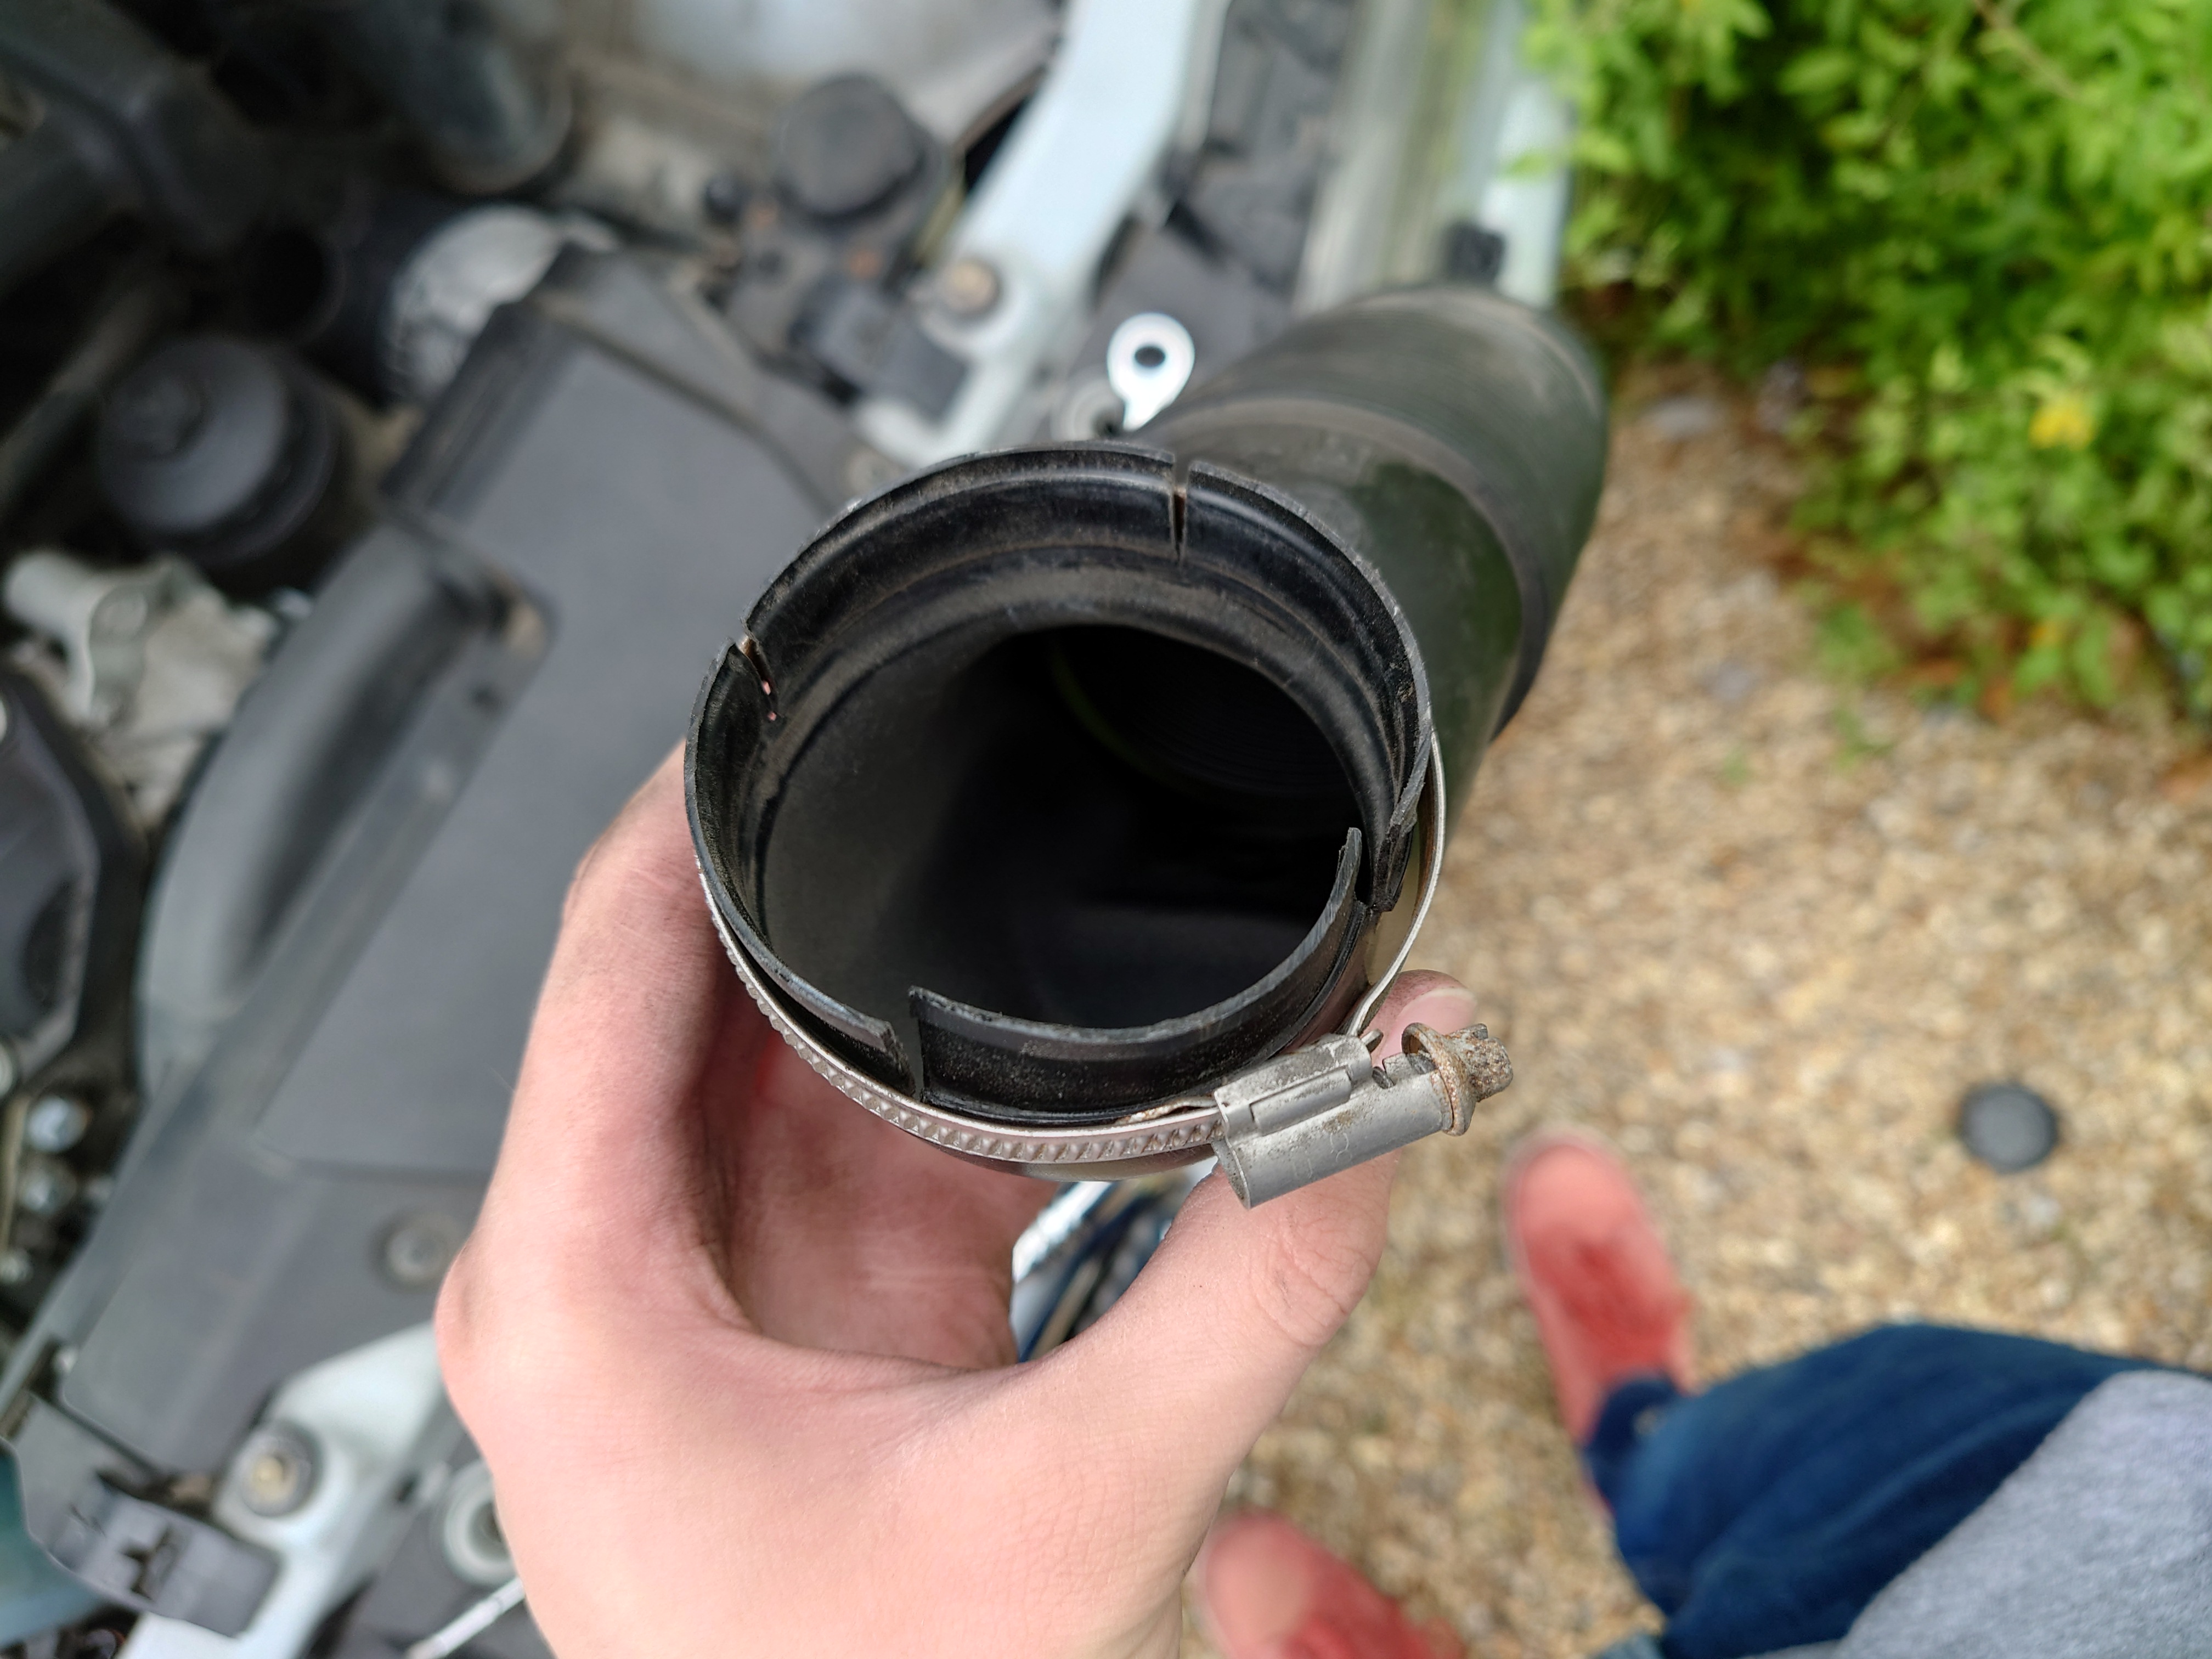
Since the alternator end has some wiggle room thanks to these tabs, it was easier for me to get the front end in first, and then to shimmy the alternator end in. Make sure to tighten the hose clamp. Not too tight though - remember, it's brittle plastic. Just enough to secure it.
In hindsight, it looks like that corrugated bit should detatch from the front bit - that might've made it a bit easier.
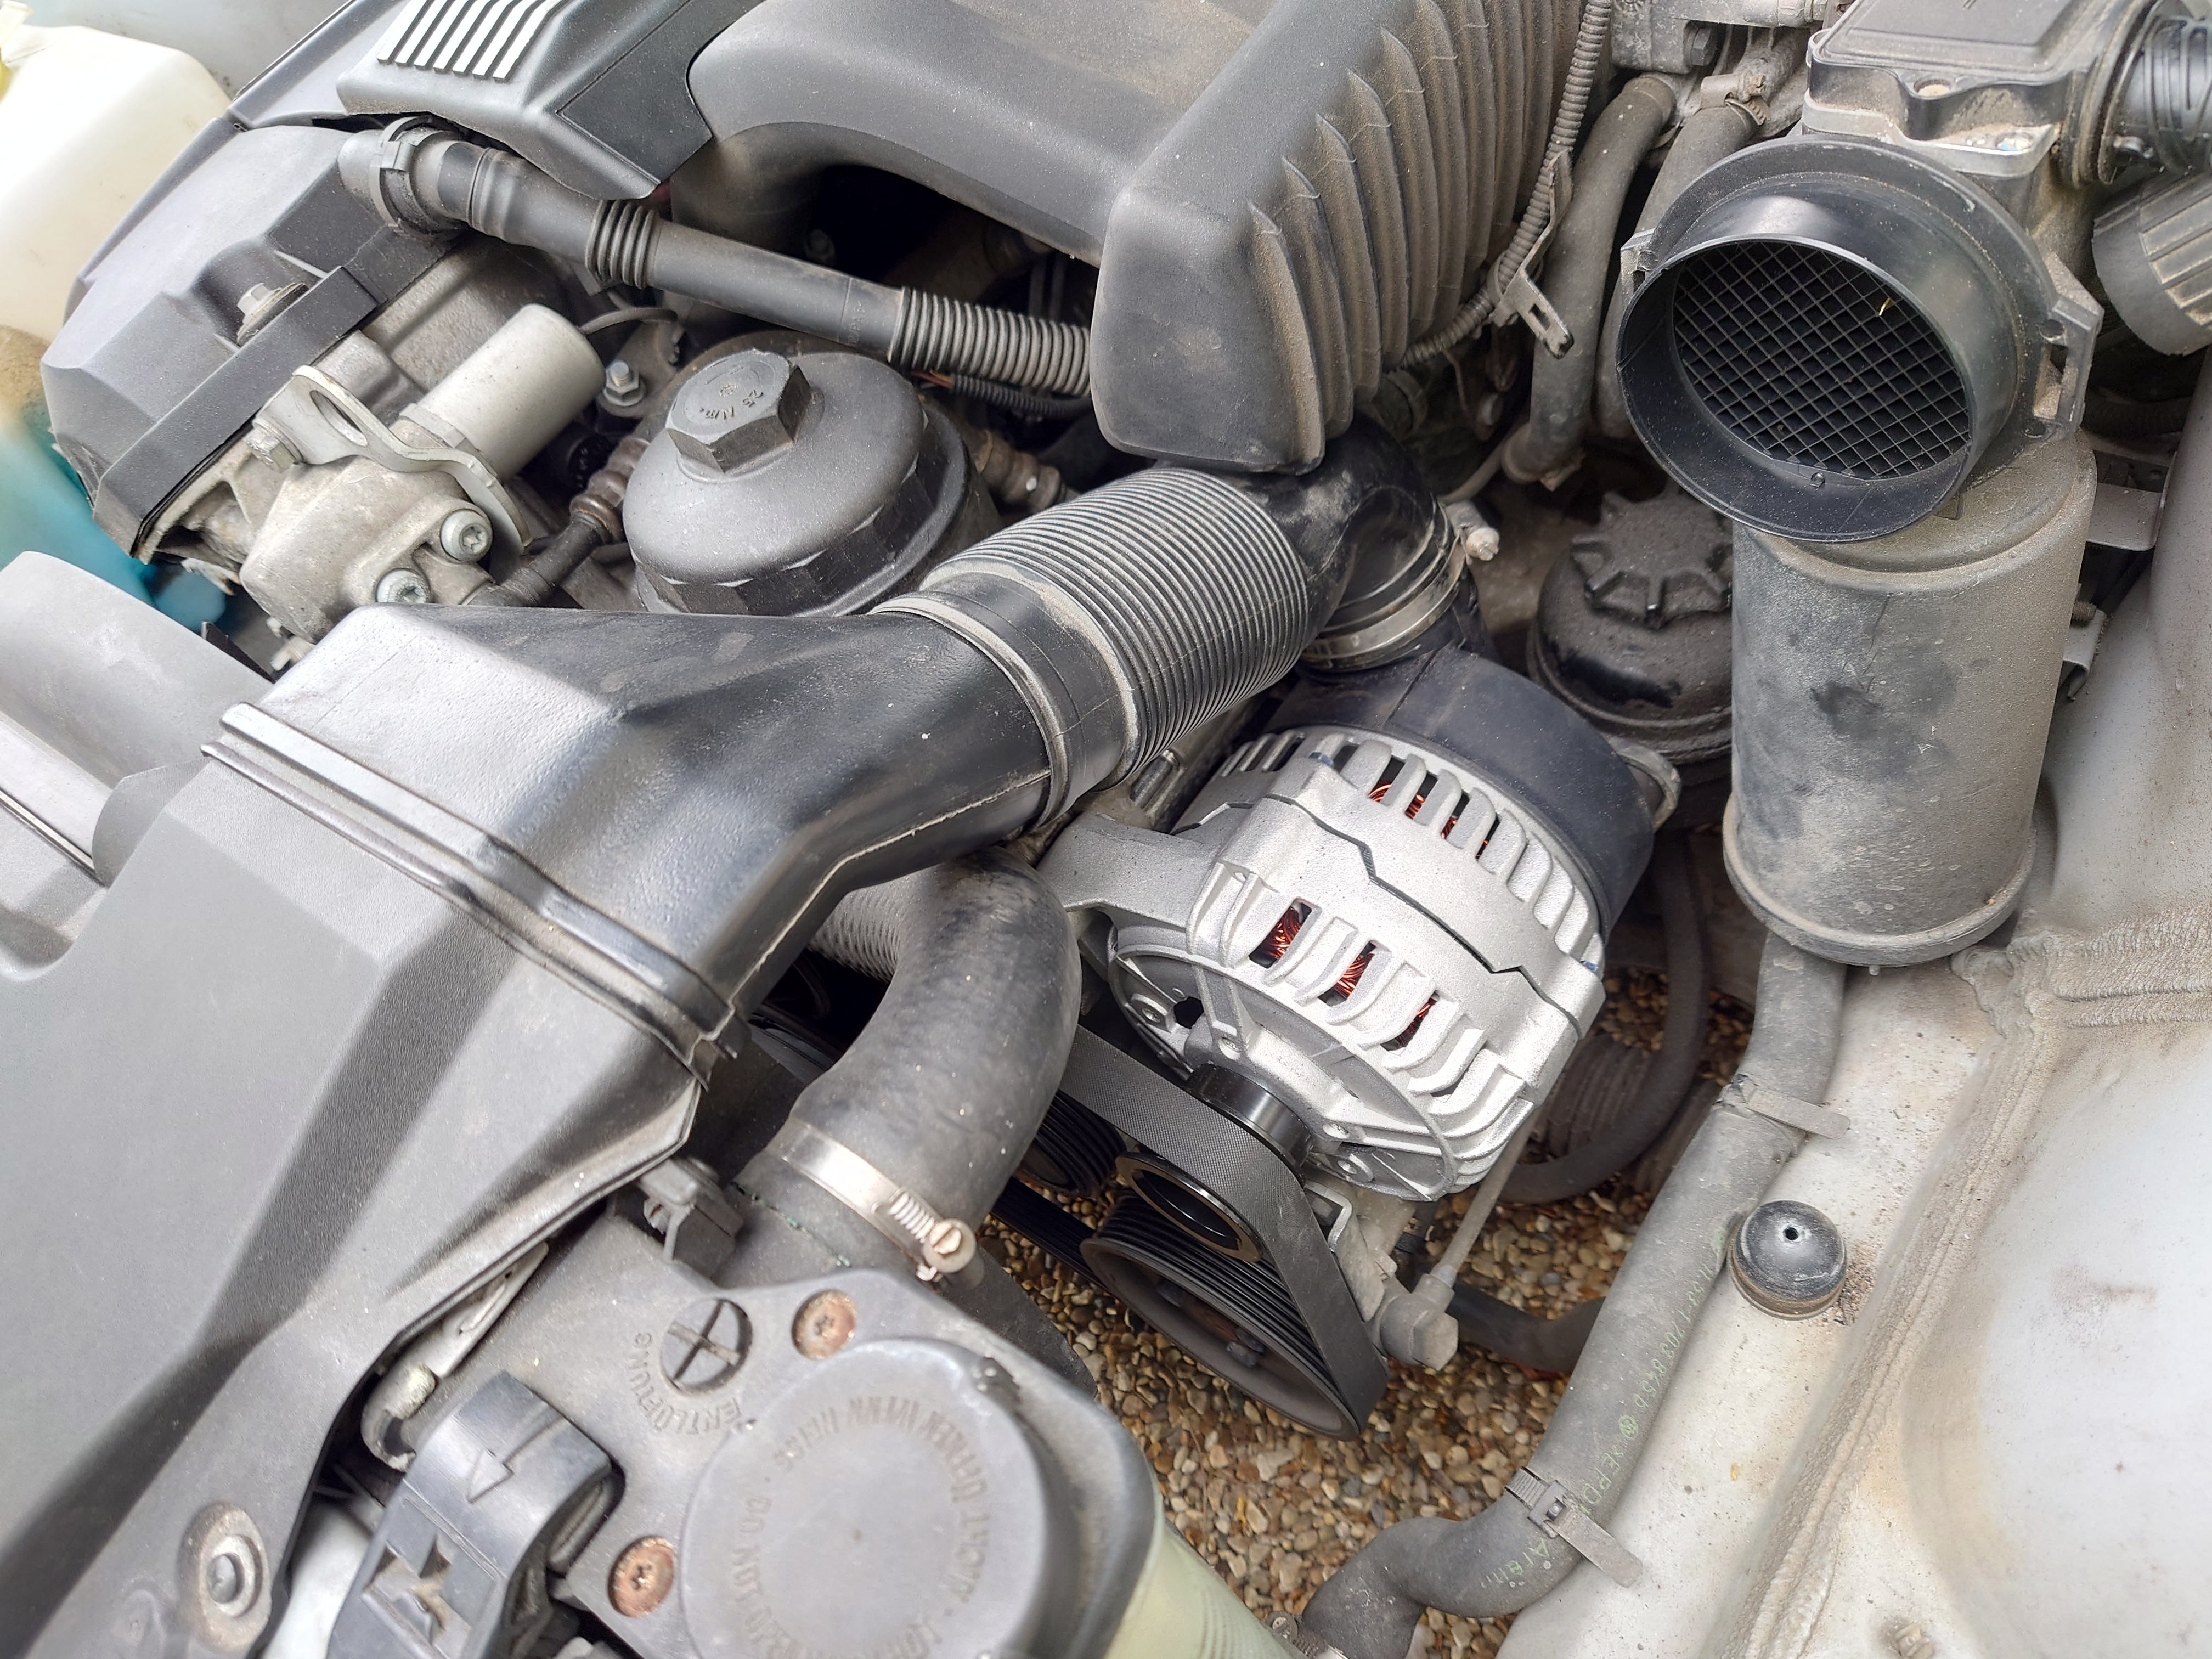
Now to refit the intake. You'll notice that the duct has this little hook in the middle.
As far as I can tell this is supposed to hook onto the bit of bodywork that the duct is pushed against. But there's nowhere near enough space to get your fingers or any tool into there to turn the hook - you'd probably have to go through the front grille. I can't be arsed to do that - the airbox holds it in securely anyway.
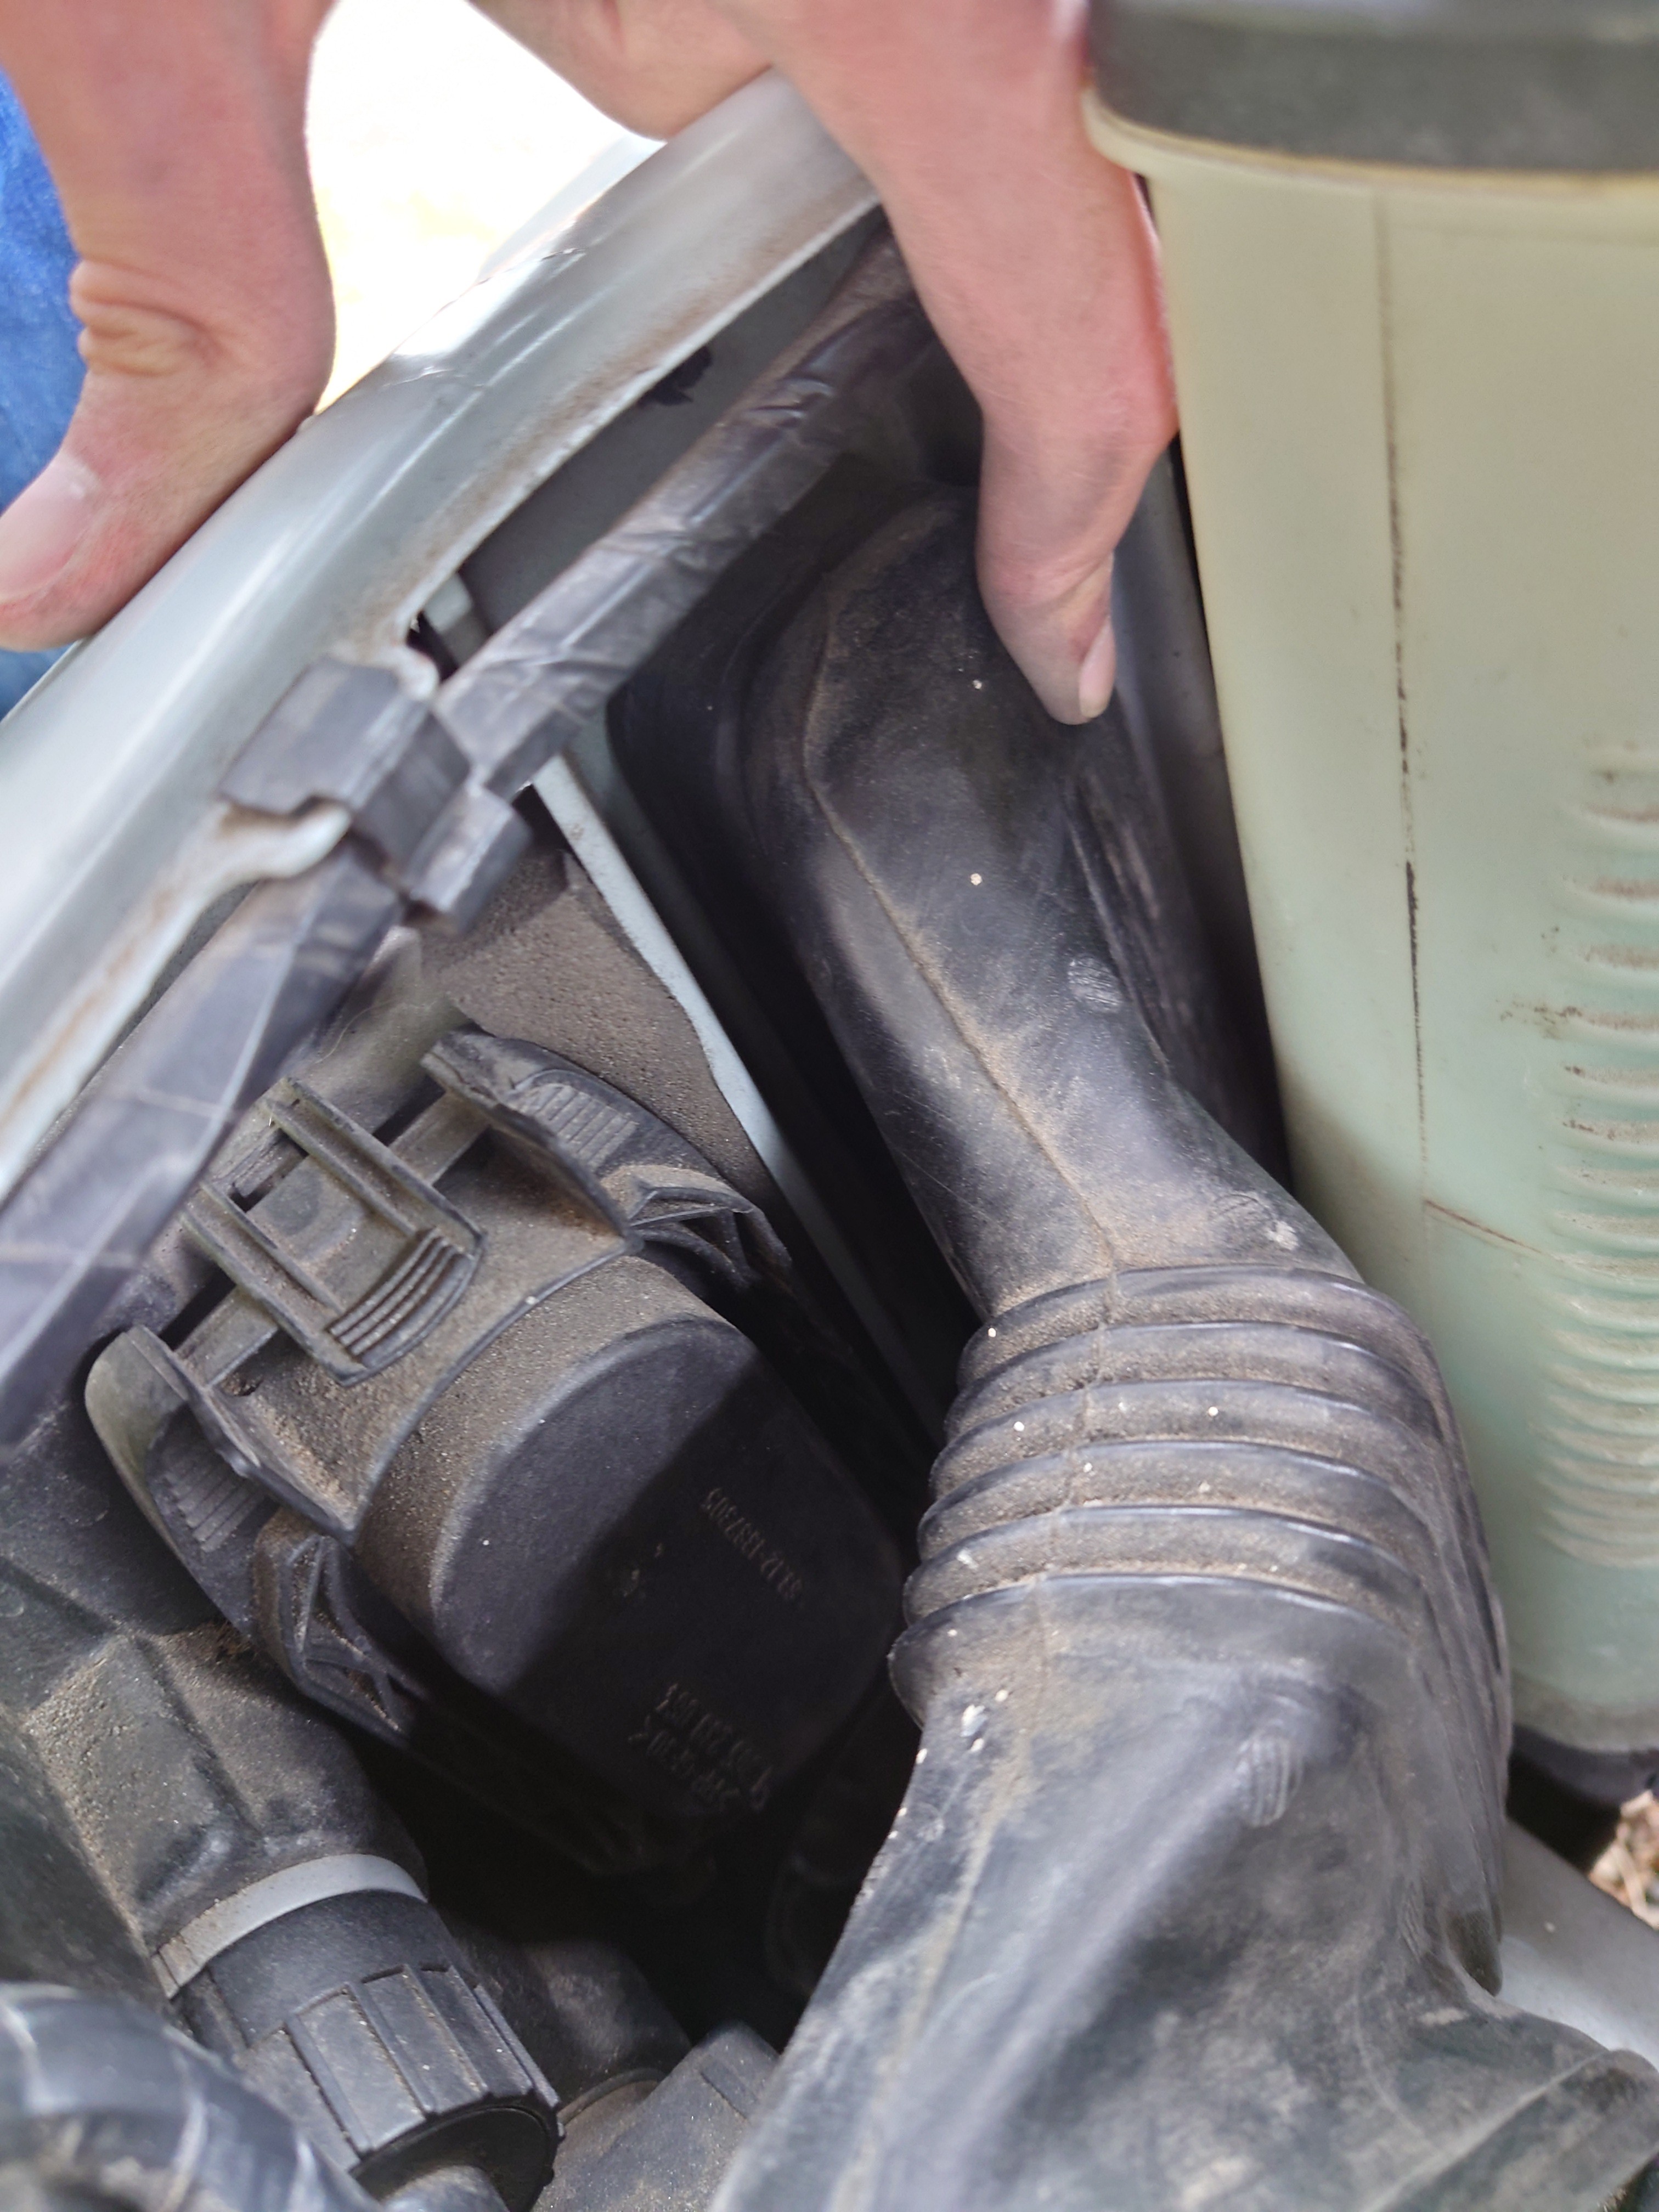
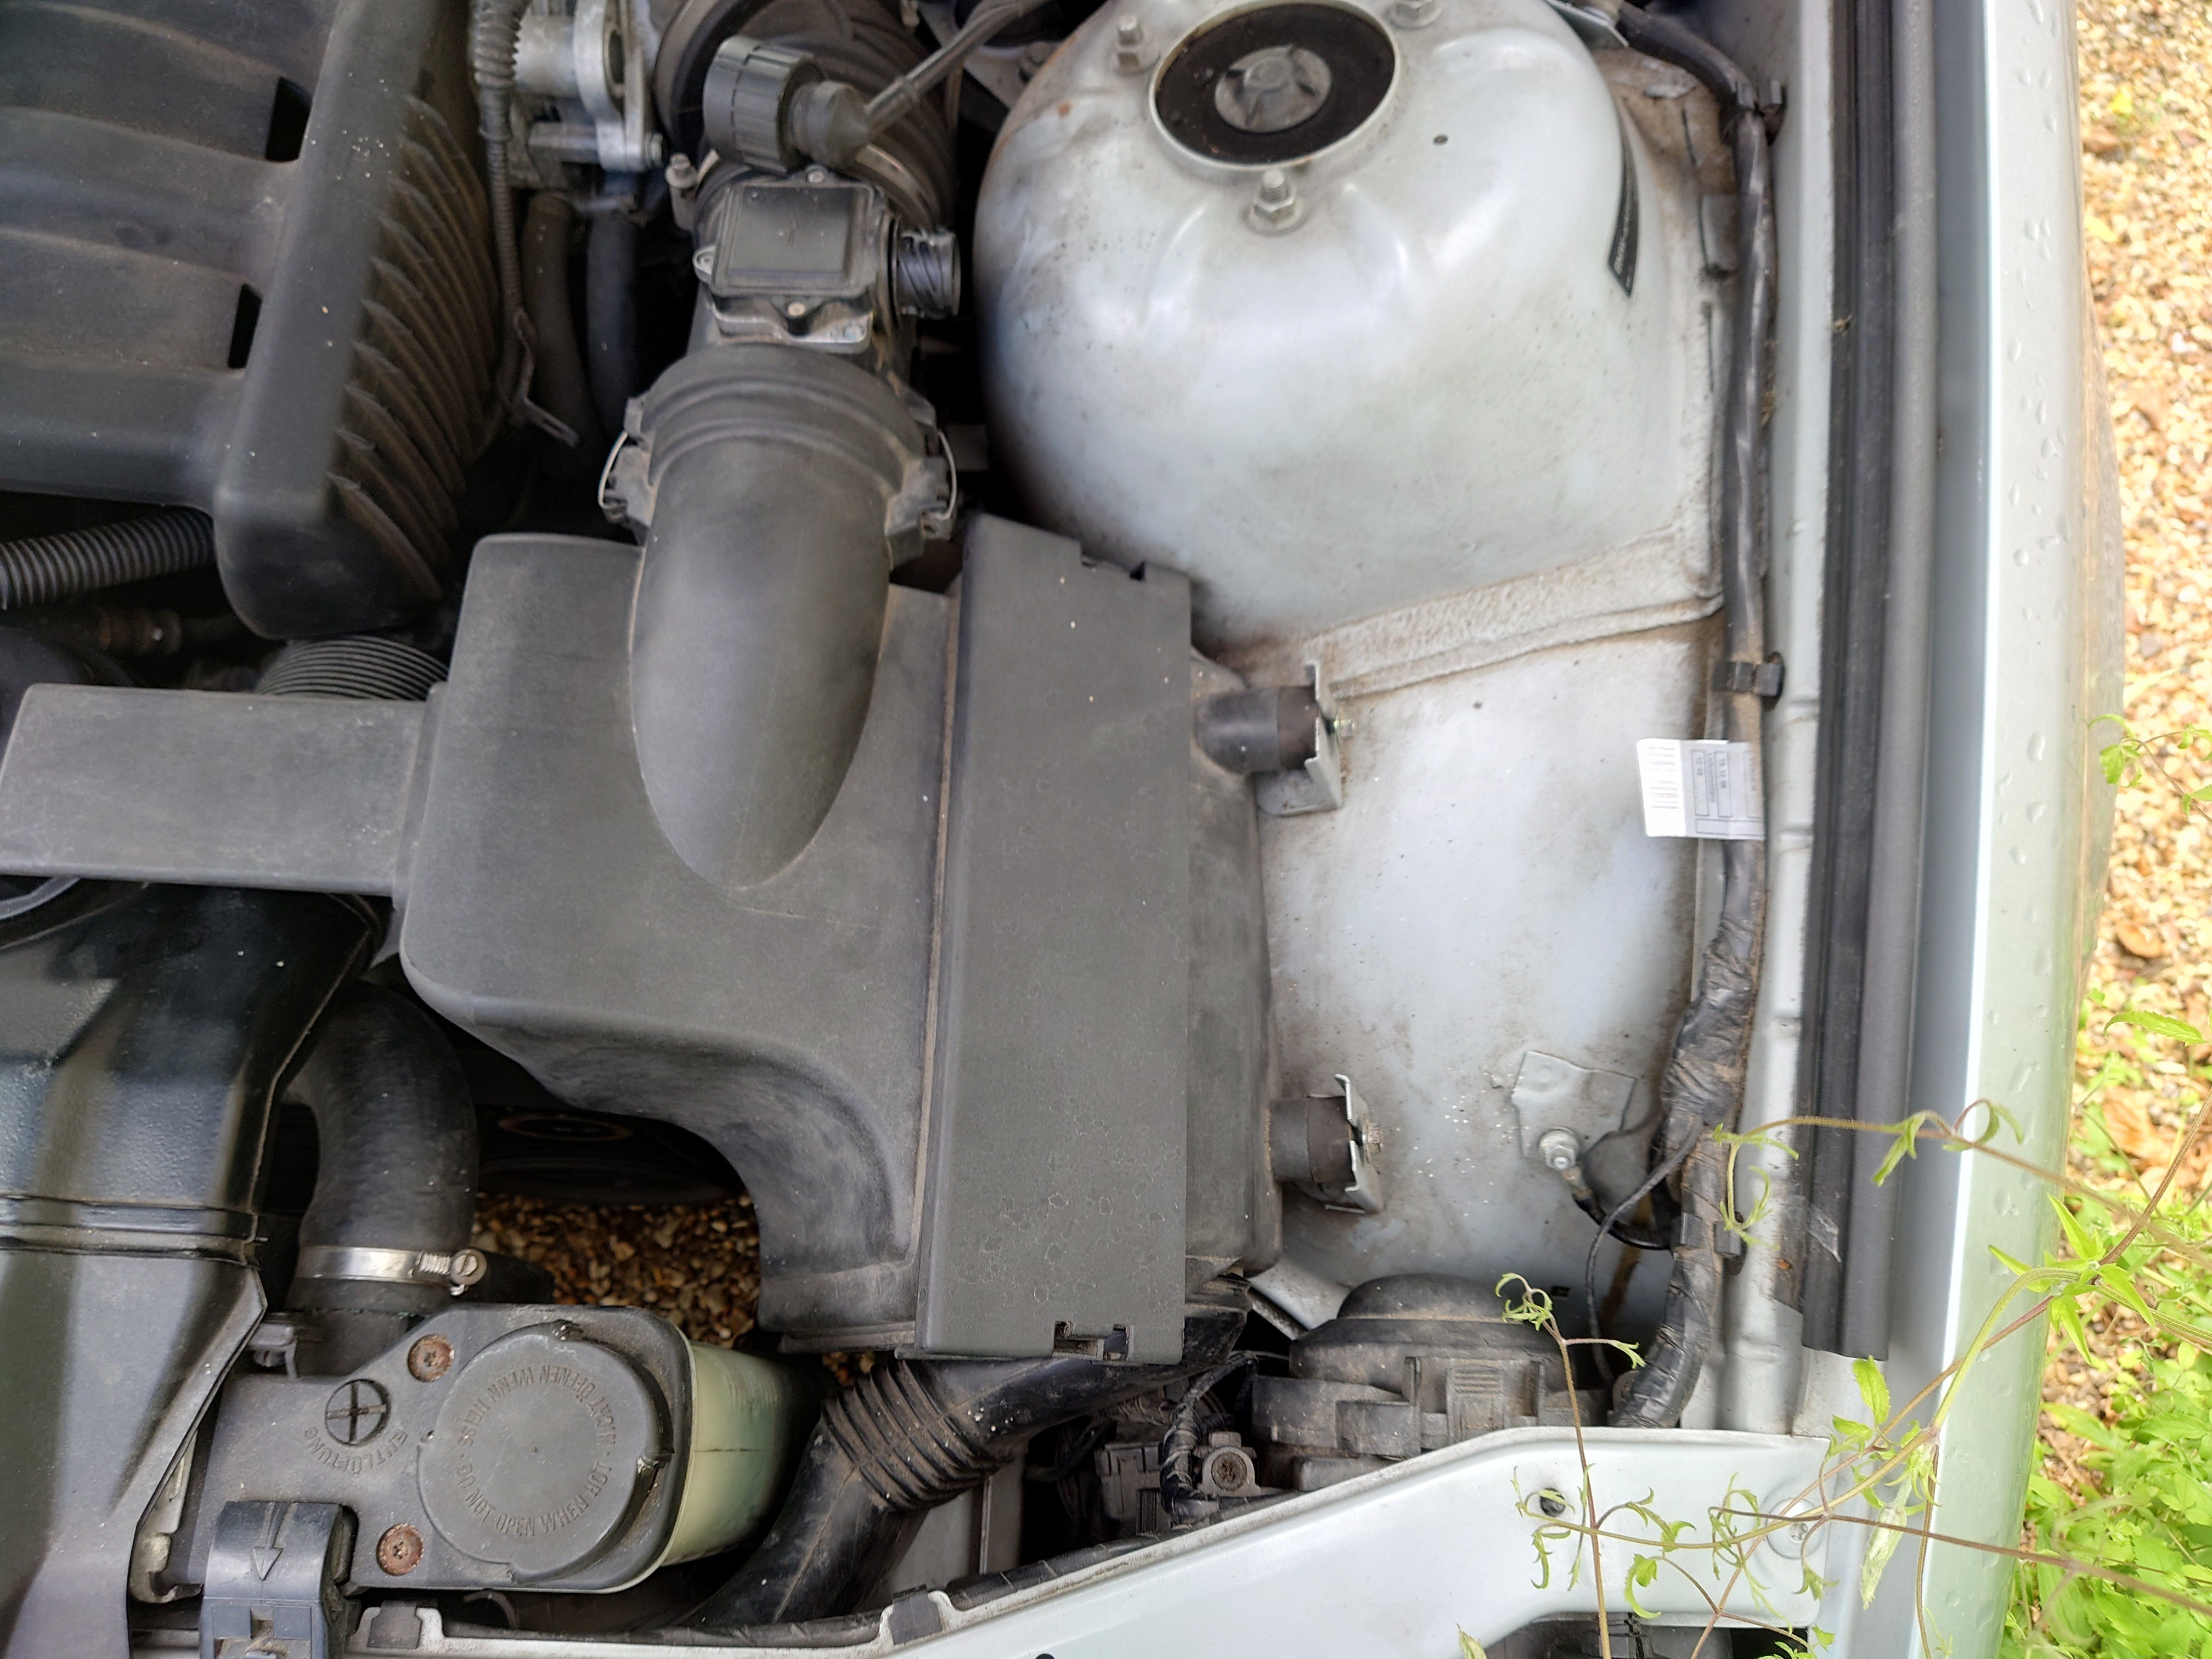
I found it easiest to reattach the duct onto the airbox first, since there is absolutely zero wiggle room for the duct once the airbox is mounted.

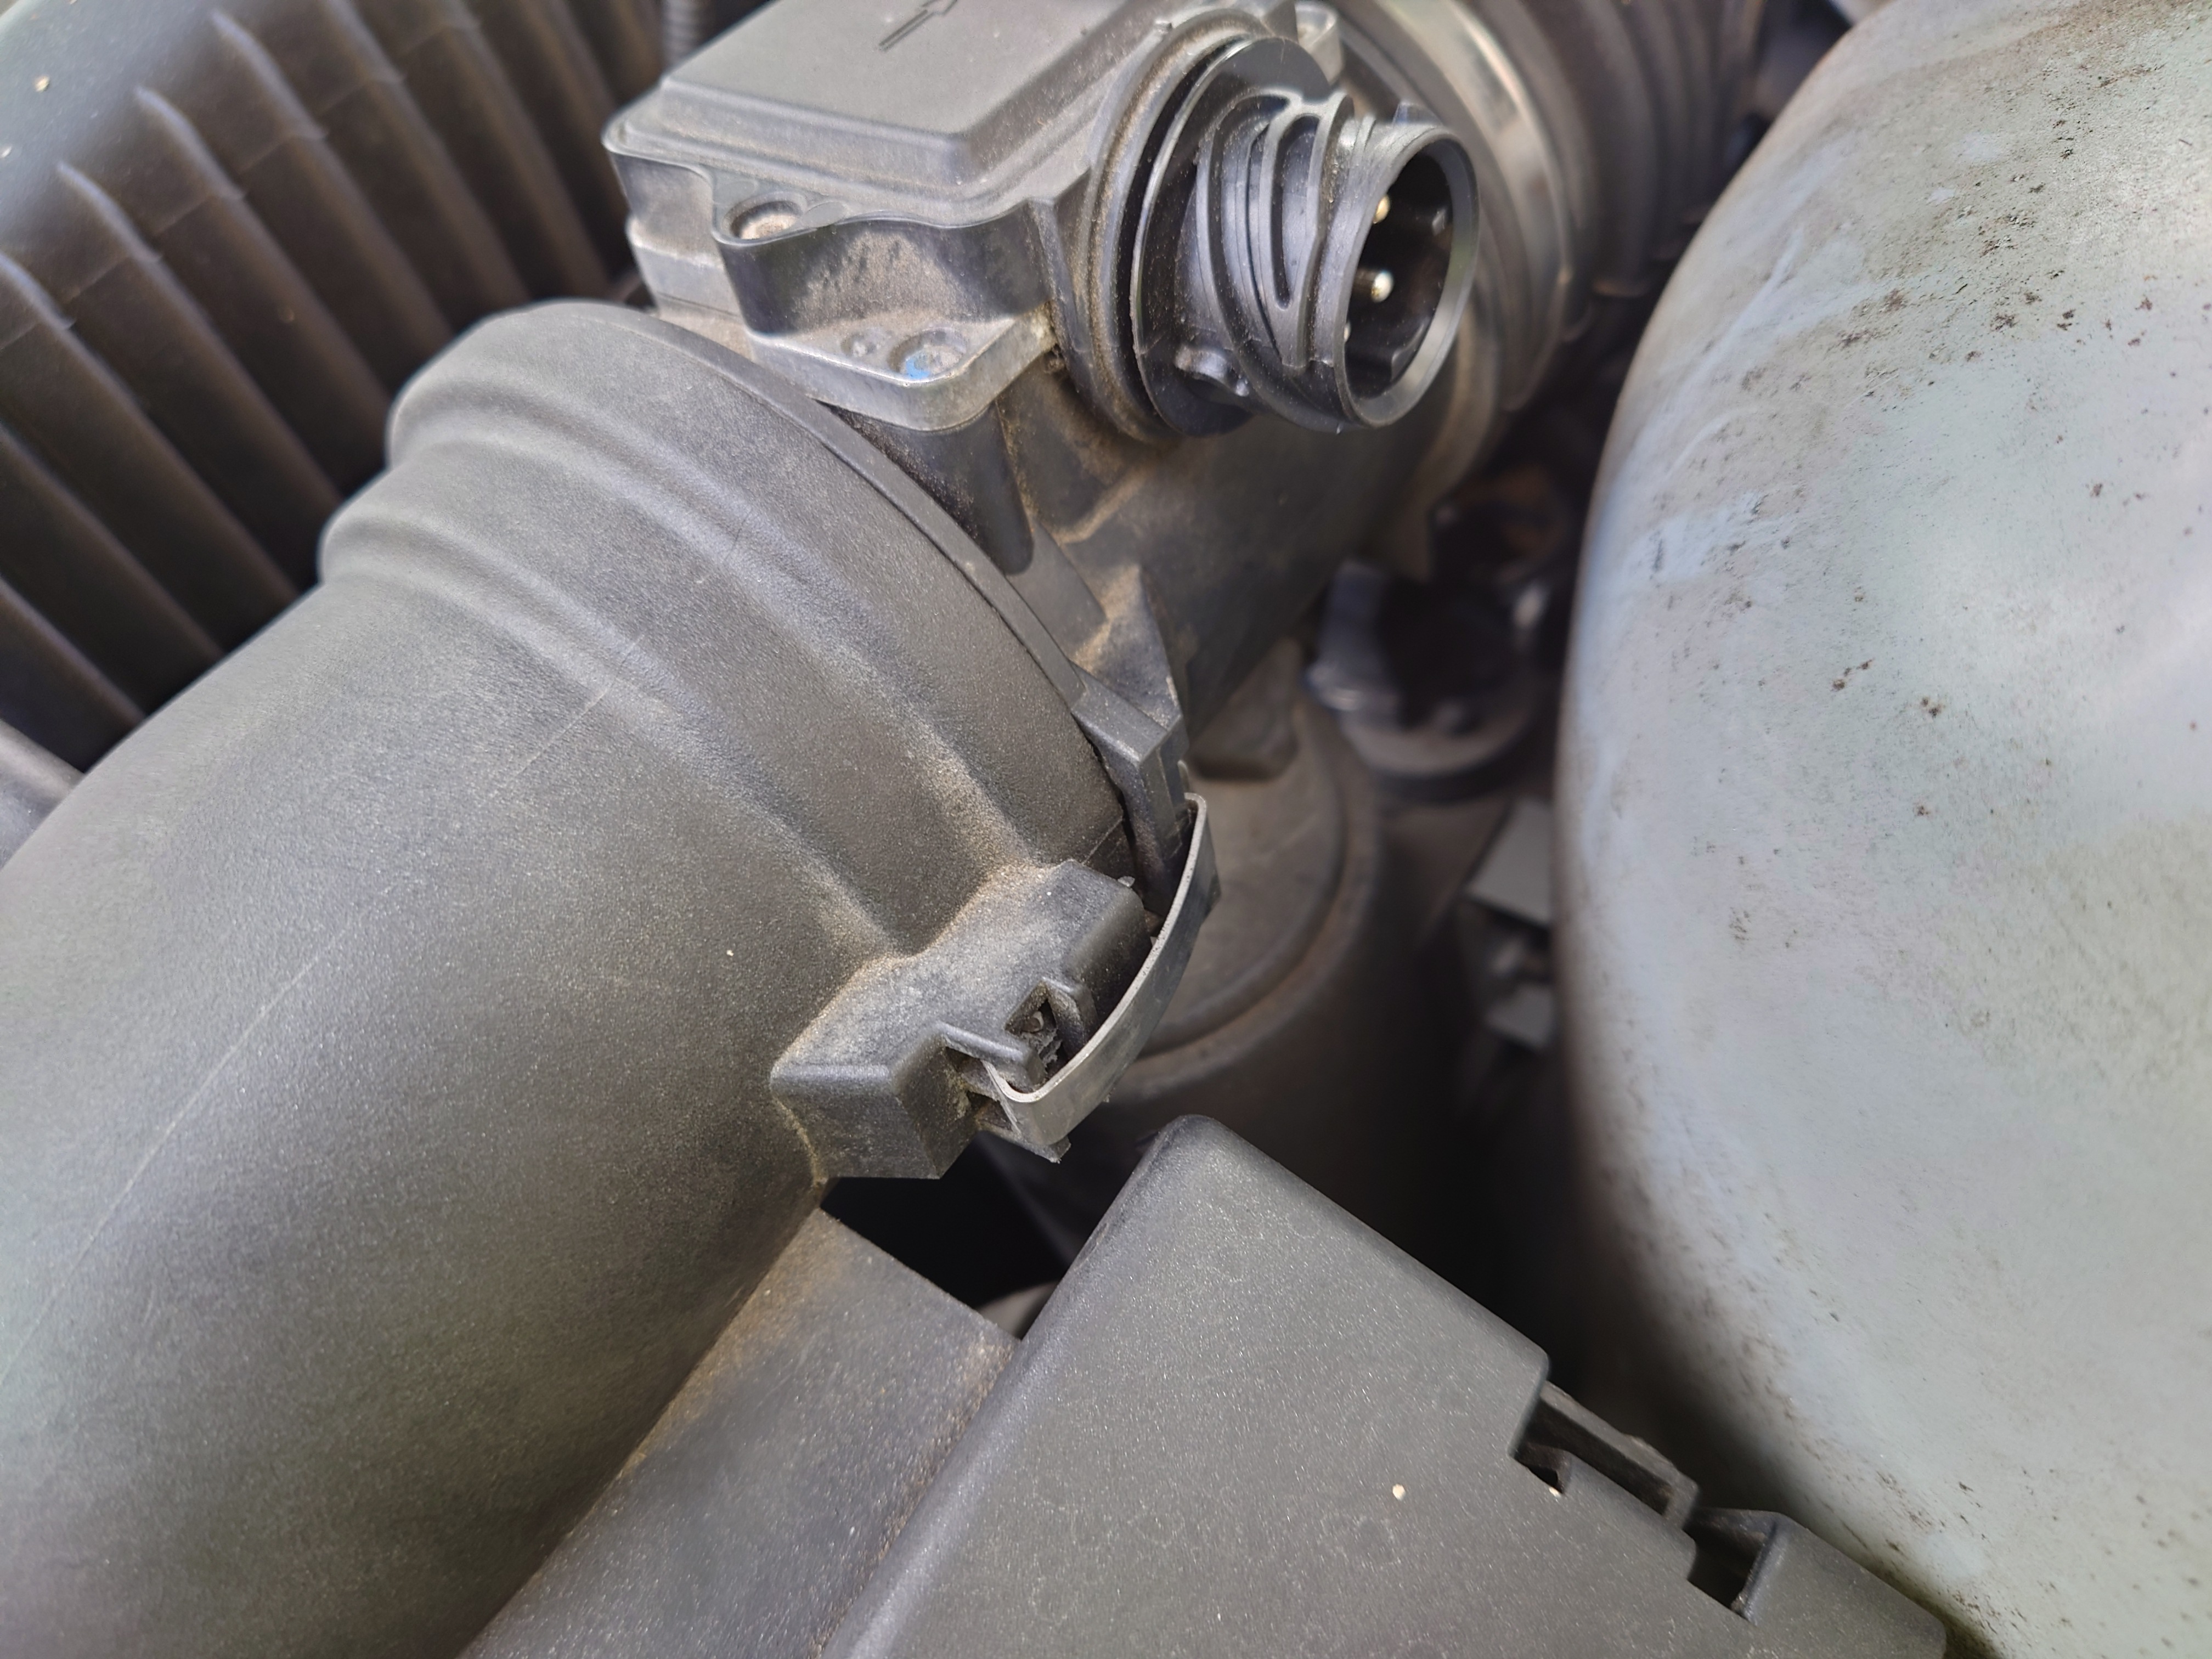
Shove the airbox into position in its mounts, but leave the nuts loose for now. The slight bit of slack will be helpful when reseating the MAF sensor into the airbox. It's already seated in the images below, but because it all seems to be rubberised, it was really quite difficult to get it in. You just have to shimmy it in, slowly, but with quite a lot of force. Secure it with the metal clips.
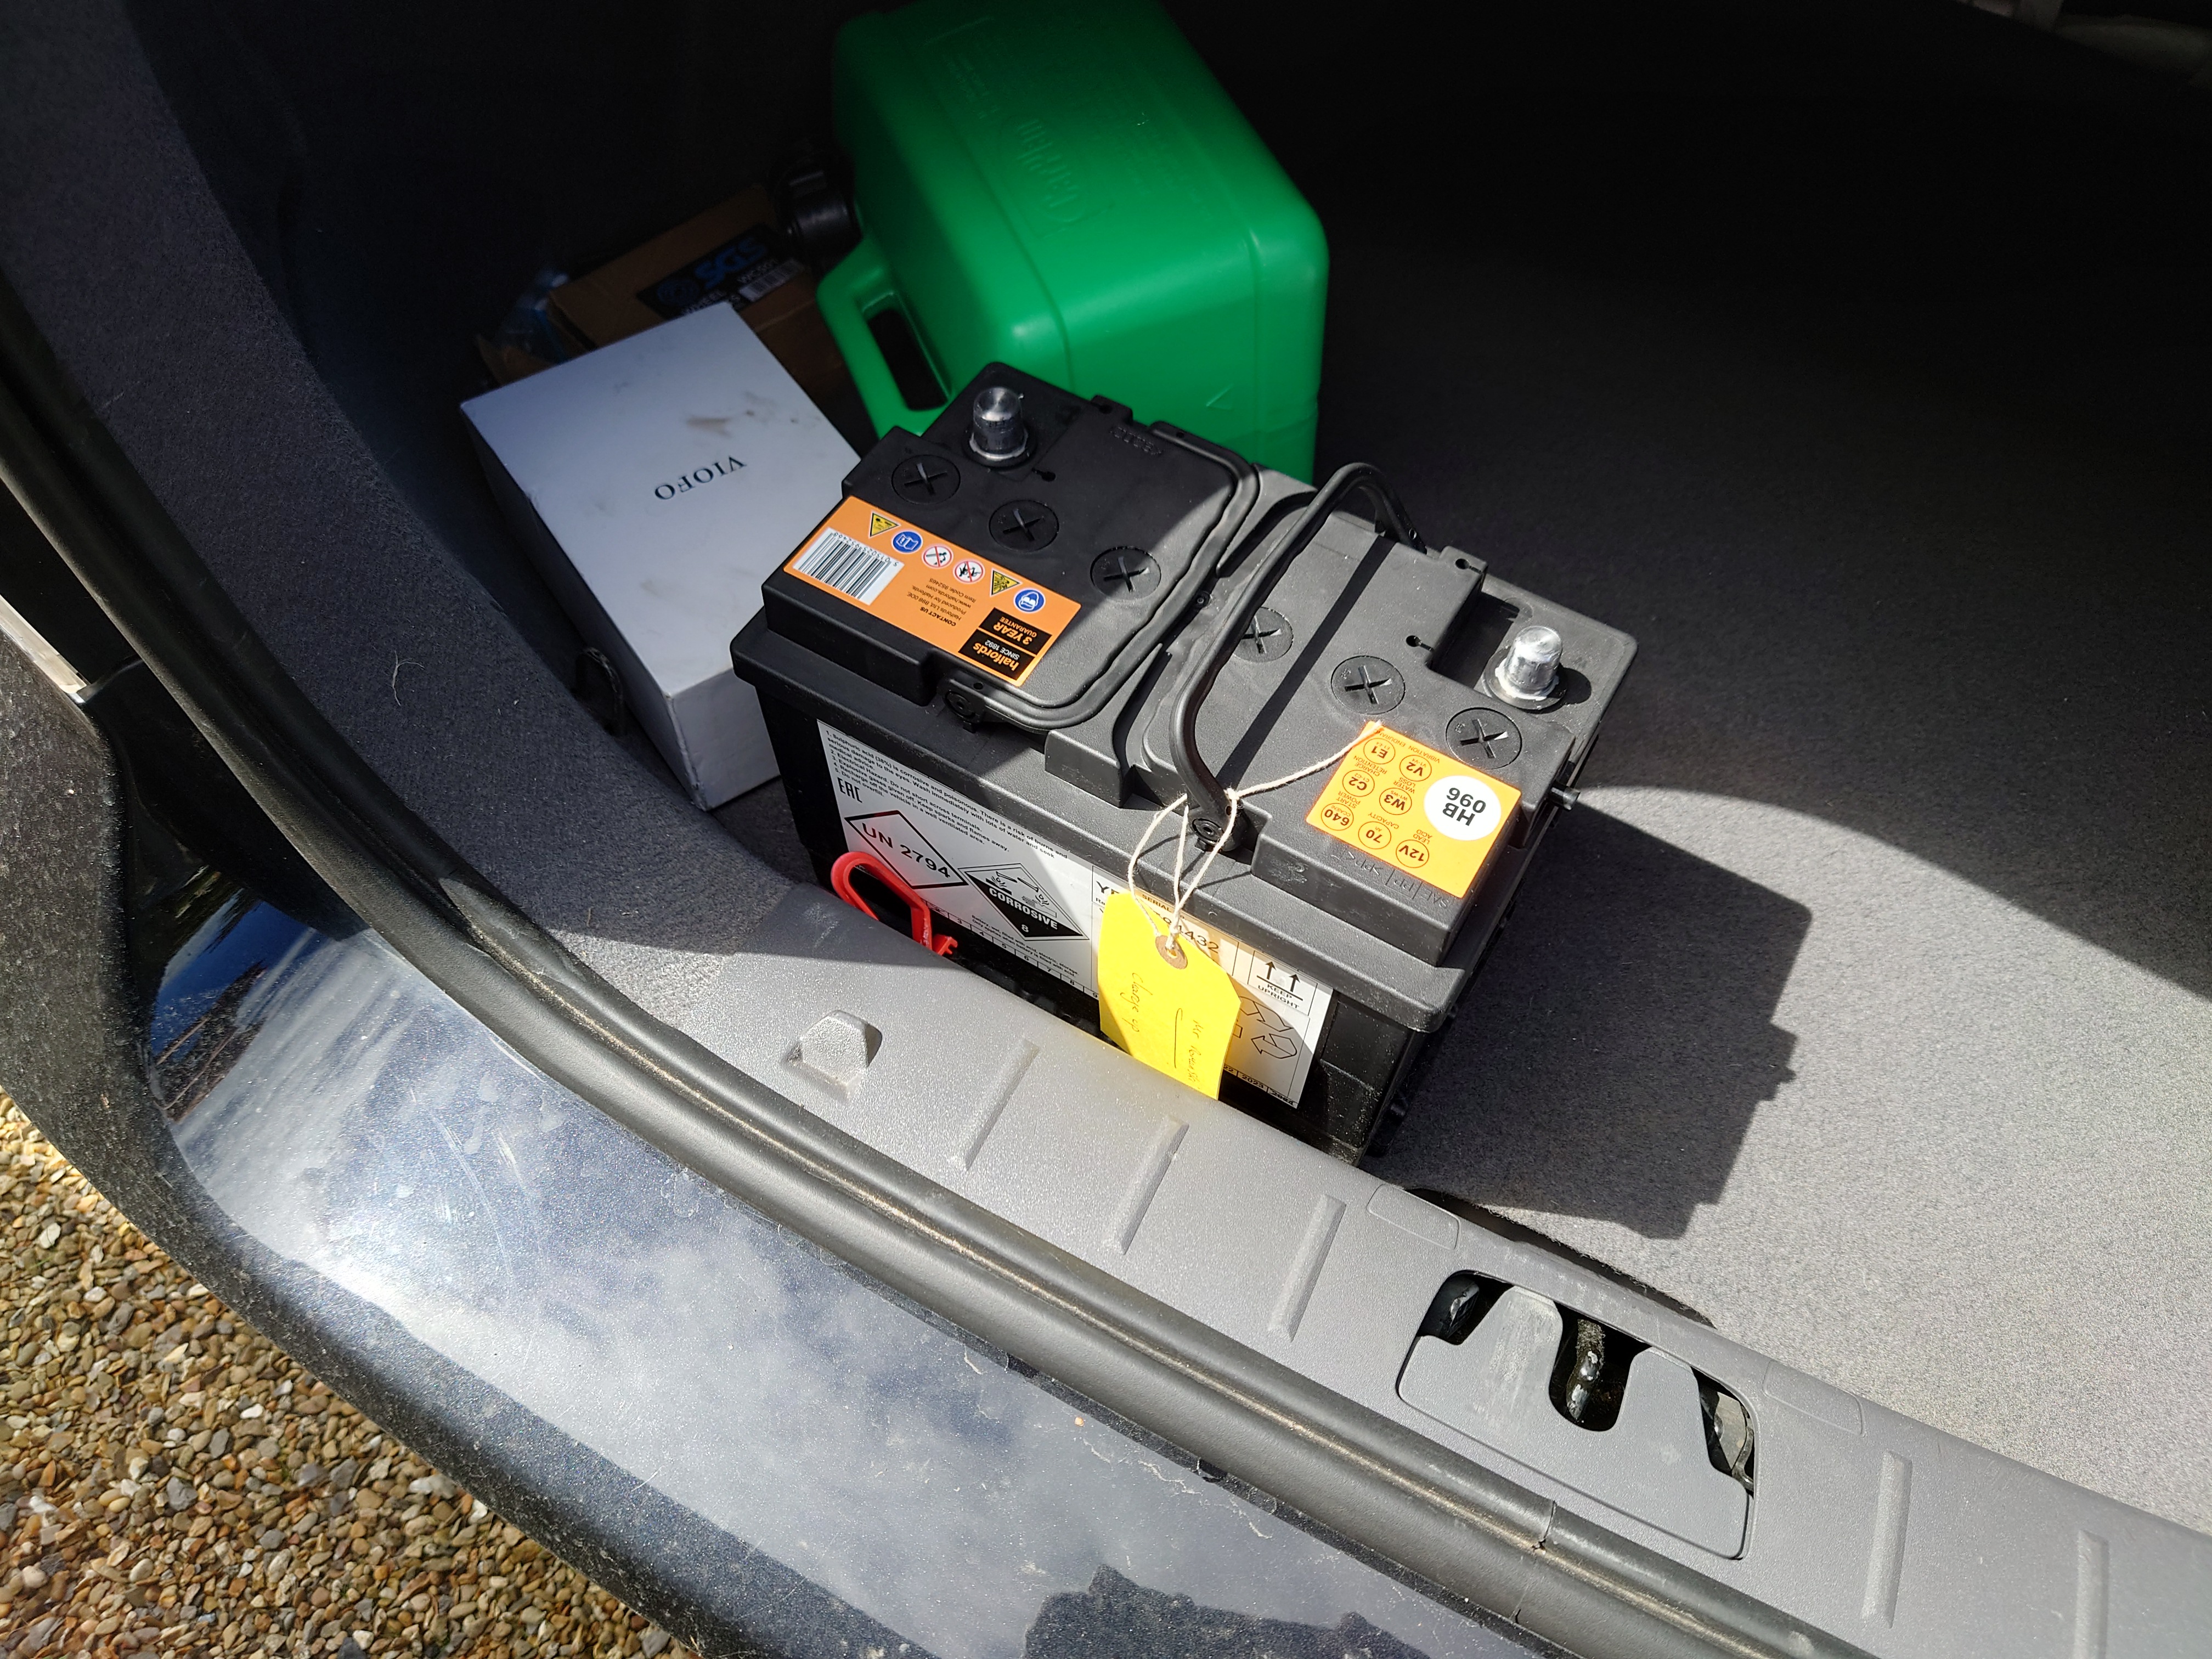
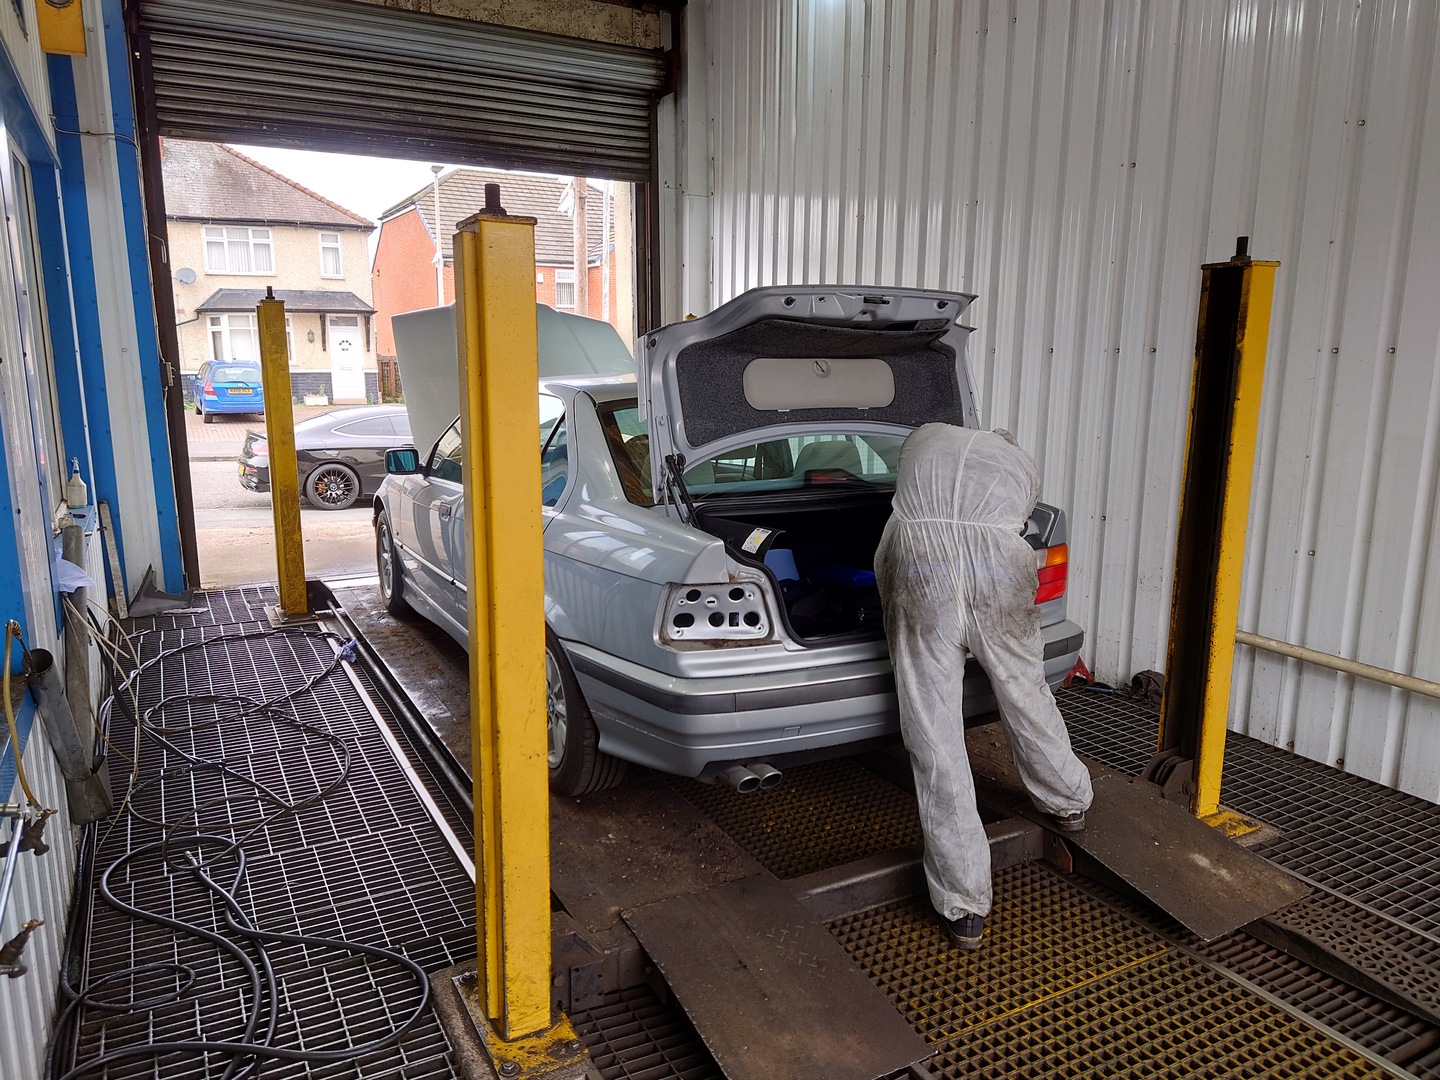
Now to reinstall the battery! Mine was just in the boot of my Volvo, since I had collected it from the garage from which I borrowed another battery to get the E36 home.
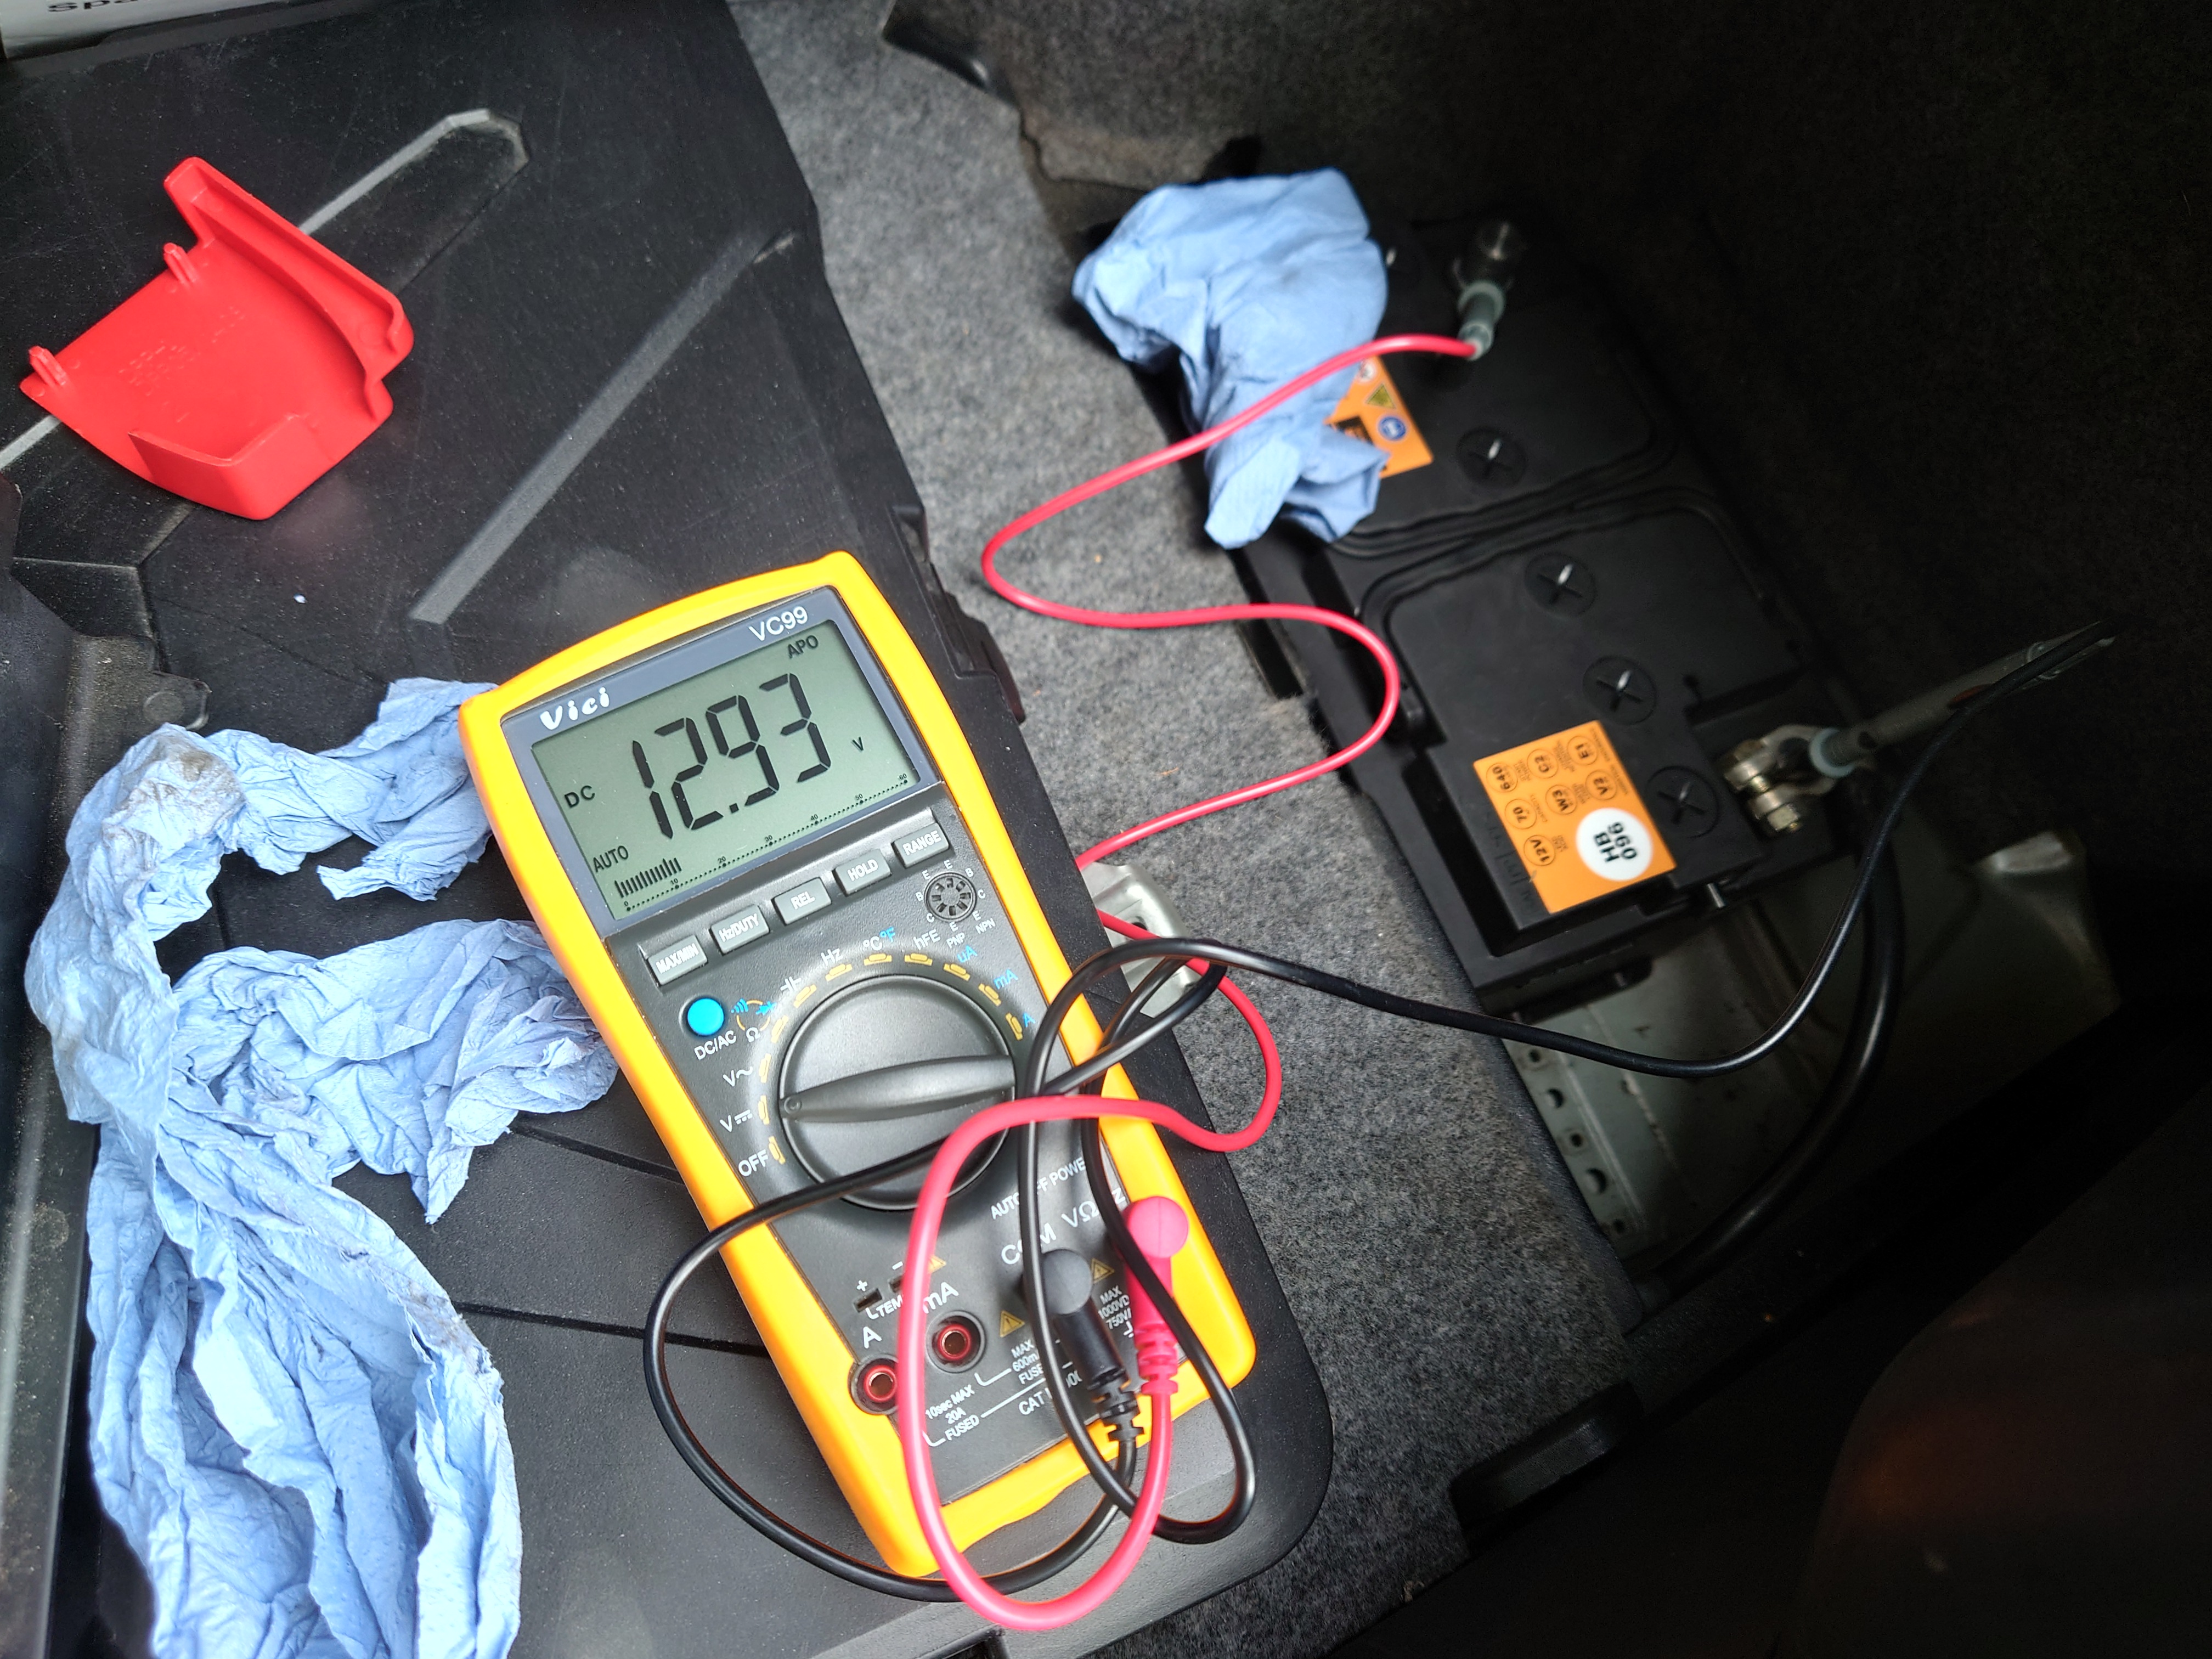
Just a quick sanity check before I hook it all up. 12.9 V should be more than adequate. A fully charged lead-acid battery usually sits at around 12.8 V for a 12 V.
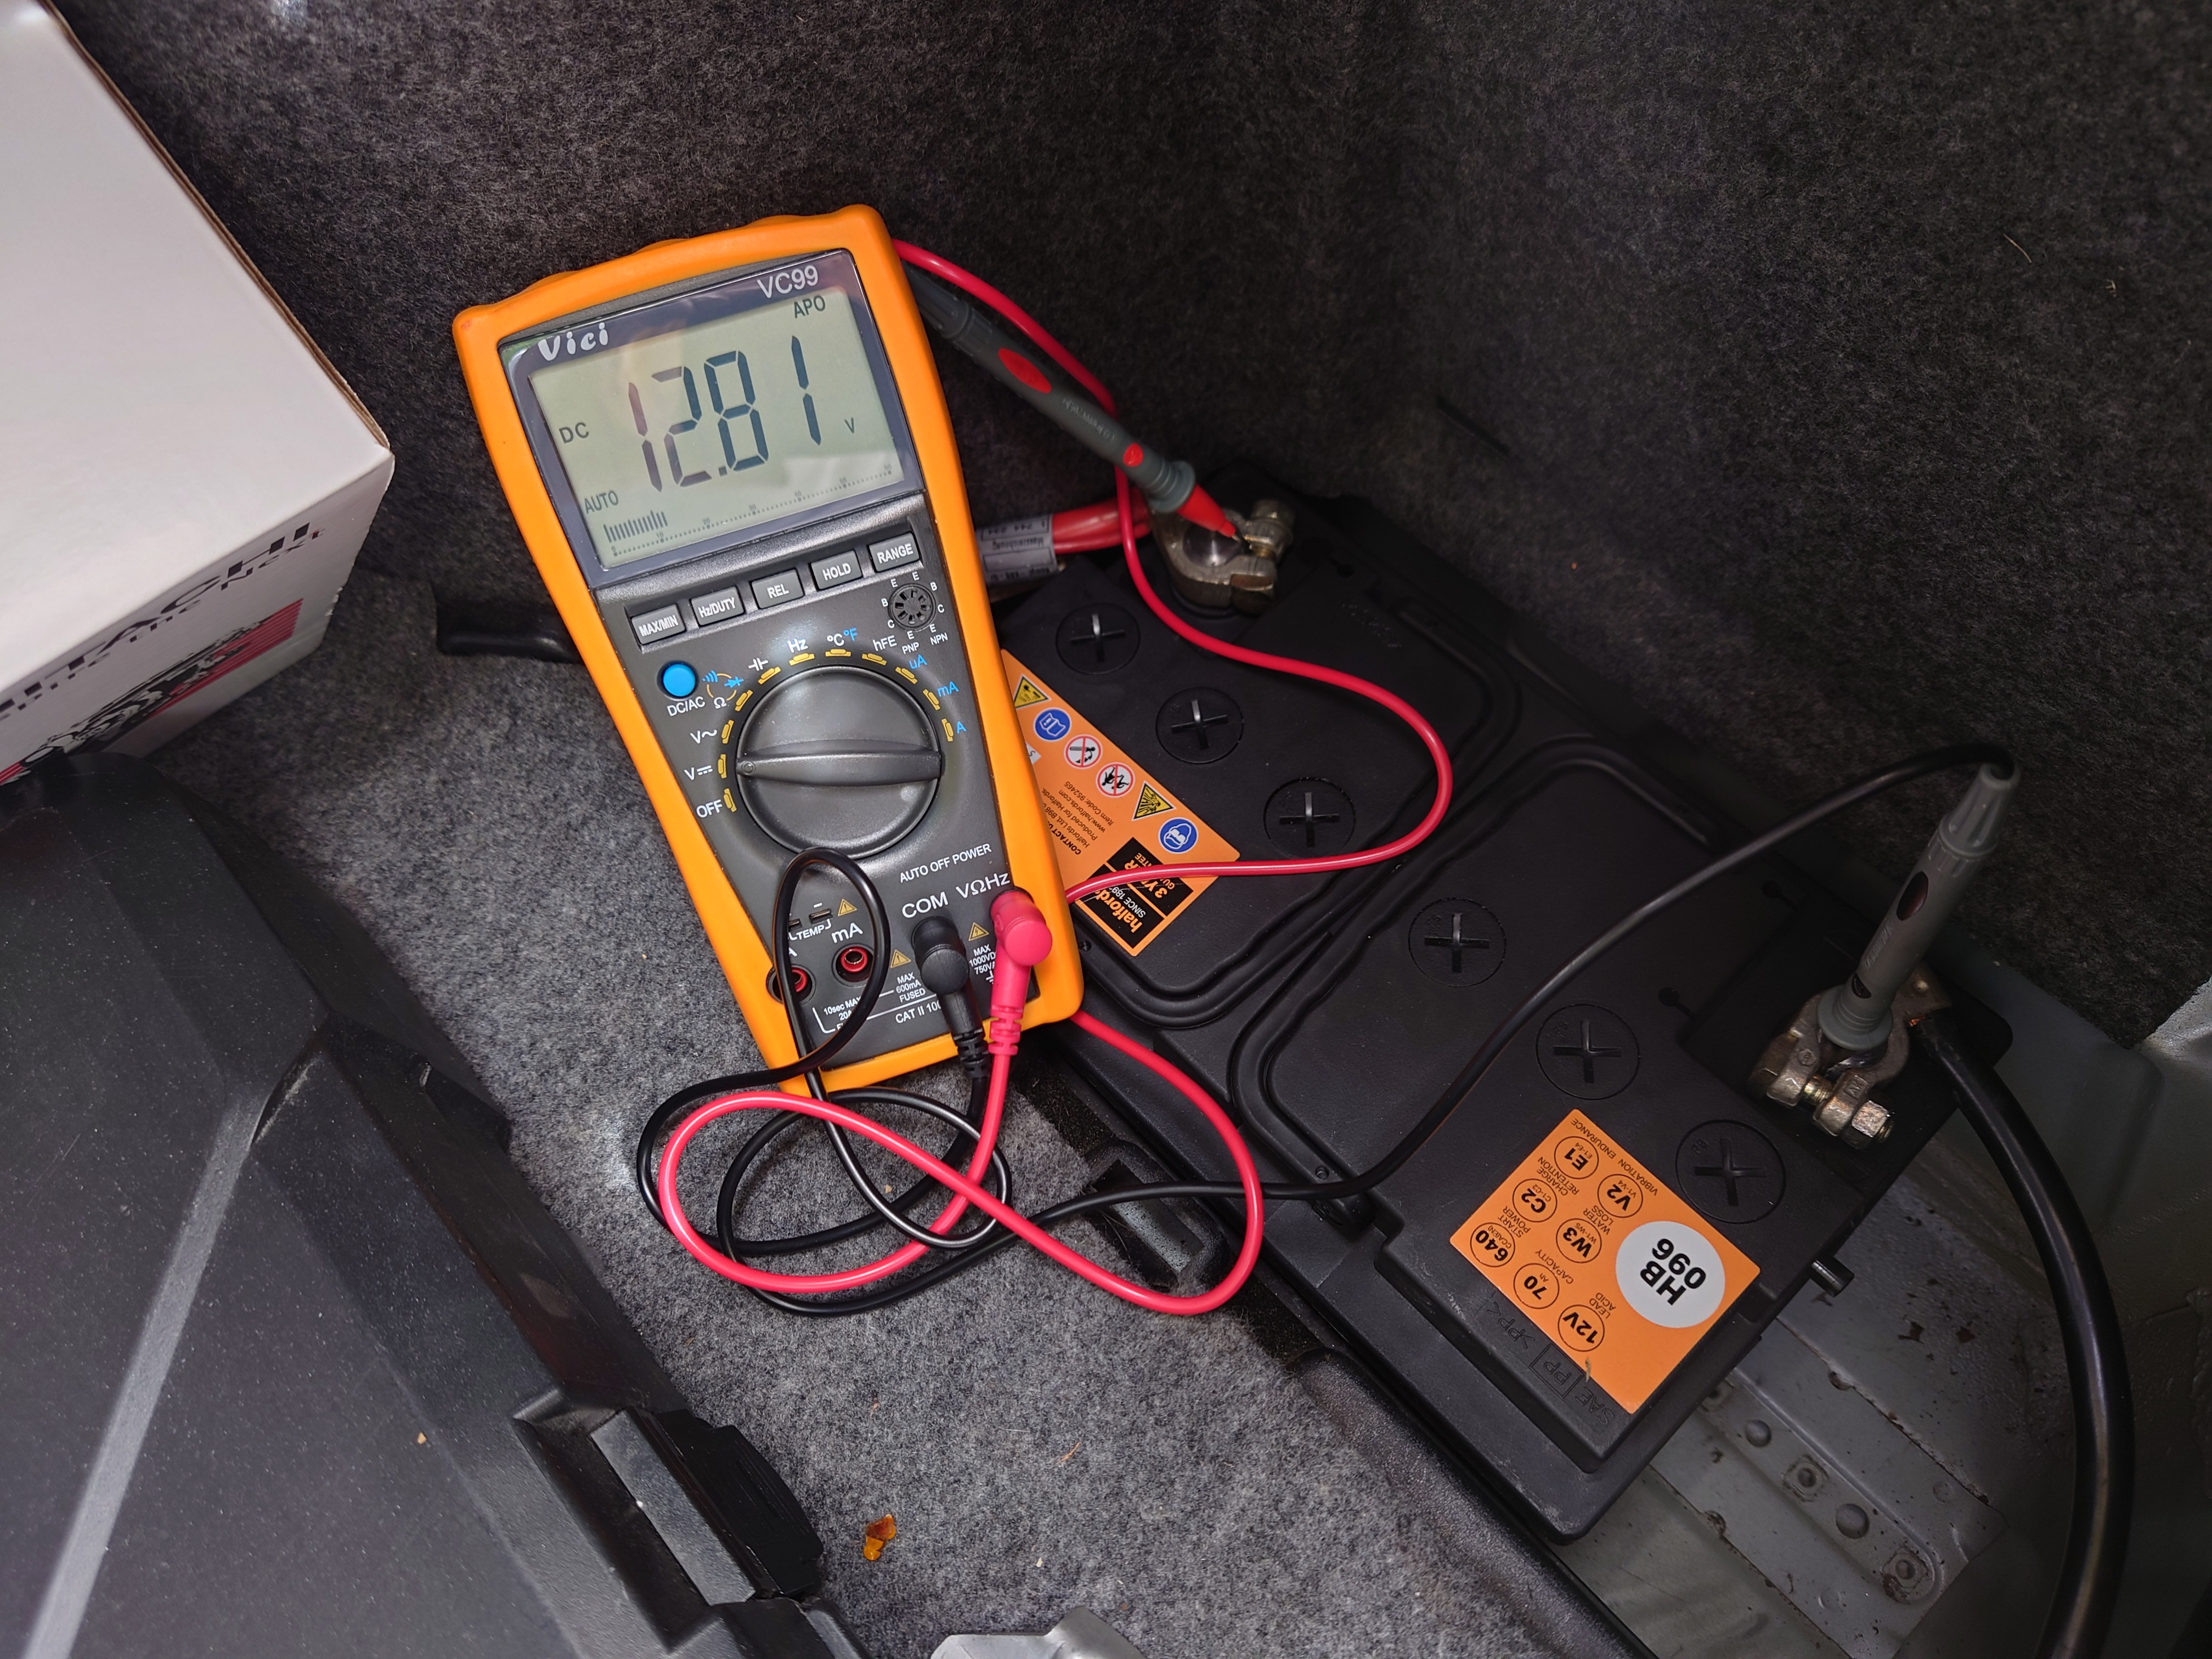
After connecting both terminals, a slight voltage drop is to be expected, as the electronics start pulling current from the battery. But the drop is only slight, so we don't have any shorts :)
Now, for the moment of truth!
She lives! And sounds terrible!
So there seems to be some sort of rattle, and a whistling noise.
Well, first thing's first... let's remember to actually plug the MAF sensor back in >_>
That didn't help though v_v.
So the rattle I initially assumed was the belt. Perhaps it was loose or improperly seated. But no, it was fine. Fortunately though, it went away after a while. Whatever it was must've just settled into place after being moved around.
To this day, however, the whistle remains. It's either only present or only audible at idle or low revs. I'm unsure as to whether it's a vacuum leak of some sort, or maybe the new alternator is just noisy. The noise definitely originates from the front of the engine bay.
I've been driving the car daily since the installation (13th of August), so whatever it is doesn't seem to be too detrimental, but it is at least quite annoying.
If anyone has any ideas, please share >_<
I took the old alternator to a local-ish place to be repaired, so hopefully I can just go back to that one if it's the new alternator that's super noisy.
a month later
I took the E36 to a body shop today. Can't remember if I mentioned it previously, but someone squished in the front panel, and there are some dents/chips on the bonned I'd like to get rid of, and some tiny bit of bubbling under the paint on the roof.
Apparently the front panel just bolts on, so it's more economical to buy and pain a new one than to try and repair the old one. Just for the bonnet and roof though, I was quoted around £1k.
I ordered a new front panel, and dad and I will have a go at doing it ourselves ^_^'
8 days later
- Edited
Ugh, of course, the panel/frame was packaged by a monkey, and the driver side bit came bent. Not sure how I'm even supposed to package it to return it, since the original "packaging" was so poor.

2 months later
havent been on in a while this is cool though
I'm glad you like it! I got a couple of minor updates to write up still, but currently I've parked it up at my dad's place for the winter. I got some rustproofing done, but I'd rather be safe than sorry with the salt spreaders starting to make their rounds.
20 days later
Alright so, a few updates.
The front frame panel thing (41338225982, don't think I mentioned the part number before). They sent me another one (no instruction on what to do with the first, bent frame), this time in a box. Now typically, a box is what I would expect for such an item, so I was initially relieved to see that they had engaged their brains. Unfortunately, the box was not sized even remotely appropriately for the frame. It wasn't wide enough, so the frame only fit inside when jammed in diagonally. The box was deep enough that the frame was otherwise free to bounce around inside. As a result, this frame ended up being even more bent than the previous one!

Fucking brilliant. So I message the seller again, asking to return both of the frames. They initially offer me half a refund in return for keeping the frames. What the hell am I going to do with two bent frames? Fine, they offer to take them back. So I request a return via eBay, and I get a Royal Mail label. I stuff both frames into the same box the second one came in (they're both munted anyway), stick the label on, and take it to the delivery office before work the next day.
Around lunchtime at work, I get a photo from my mum:
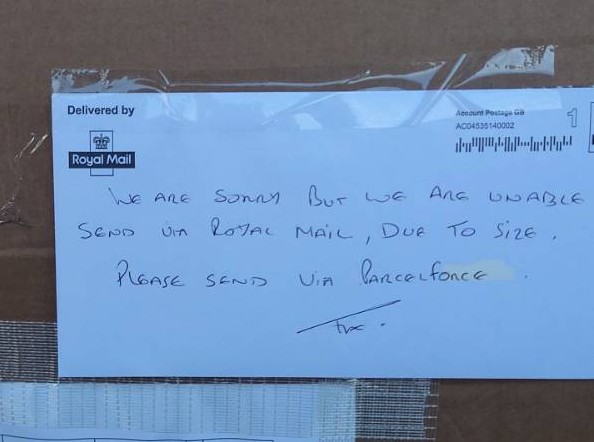
I laughed out loud! Fortunately, they had refunded me regardless, and eventually (like 2 weeks later), said I could just throw them away. So that is what I did v_v.
Jaded from the experience of ordering off-brand parts online now, I decided to just go down the OE(M) route. Looking online, a new frame would cost around £300, probably a bit more with shipping and taxes (only Danish and Italian companies seemed to be offering them online). I also called up the local BMW dealer, and much to my pleasant surprise, they were only asking £226. So I ordered it over the phone there and then. Now, it's quite a bit more than the £80 or so the eBay one cost, but at least I can be pretty damn sure this one will fit, and I get to collect it from the dealership myself, which I did, and it was surprisingly painless.
I waited about 15 minutes until the parts guy came out, just carrying the bare frame in his hands - no packaging or anything. While this may sound bad, it was actually quite releiving, because I was collecting it in my Volvo S40 (my E36 doesn't have folding rear seats, so the frame wouldn't fit), and there was every chance that the frame could've arrived on a pallet or something equally cumbersome.
The frame is now sitting in my dad's workshop until we have time to paint it.
A couple of other things I neglected to document...
I changed the transmission oil a couple of months ago or so. The car seems to be rather reluctant to go into 1st when stationary. It's not a huge issue, but can be rather annoying at traffic lights or so, and I've shoved it into reverse by accident a couple of times now. I replaced the oil with some Redline D4 ATF (even though it's a manual, it takes automatic transmission fluid), as that seemed to be generally what what people on the internet recommended. Of course, as always, reviews are mixed, but the balance was tipped towards that one, I think.
Anyway, that was a literal pain of a job on rough concrete floor. Having to drag myself to and from the underside of the car. It's rather messy even with a syringe thing, as the liquid is heavy enough to spill out despite the vacuum. One thing of note with this job, is to make sure that you can remove the inlet bolt before removing the drain bolt. Otherwise if you drain the fluid, then find that the inlet bolt is siezed, you're fucked. At least you're fucked until some penetrating fluid does its work (hours/days), or you have an impact wrench that doesn't just snap the bolt. Fortunately, I'm not speaking from experience, just passing on what I've read!
Unfortunately, the new ATF didn't help with 1st. But at least I have a bit more peace of mind. Maybe the synchro is just a bit tired, or the clutch is on its way out. Time will tell!
And finally, just today I changed the engine oil. I recently found that it's burning/leaking a bit - had to top up roughly 500ml a few weeks ago. But today I changed the whole thing. I gave it some Millers Oils EE Performance 10w-40 Fully Synthetic Engine Oil. Now, I have no idea what was in it before, but the engine certainly idles much nicer now - nowhere near as much rattling or ricketing. I read that these engines prefer slightly thicker oil (hence the 40), so maybe it previously had oil that was a tad too thin.
I'm still yet to replace the diff oil... Unfortunately, there's very little clearance between the fill bolt and the body of the car, so I'll need to get some specialised tool for it. That is if I can be bothered to get around to it before I put an LSD in or something lol.
22 days later
I mentioned in another thread that I took my E36 to get rustproofed, and completely forgot to mention it here!
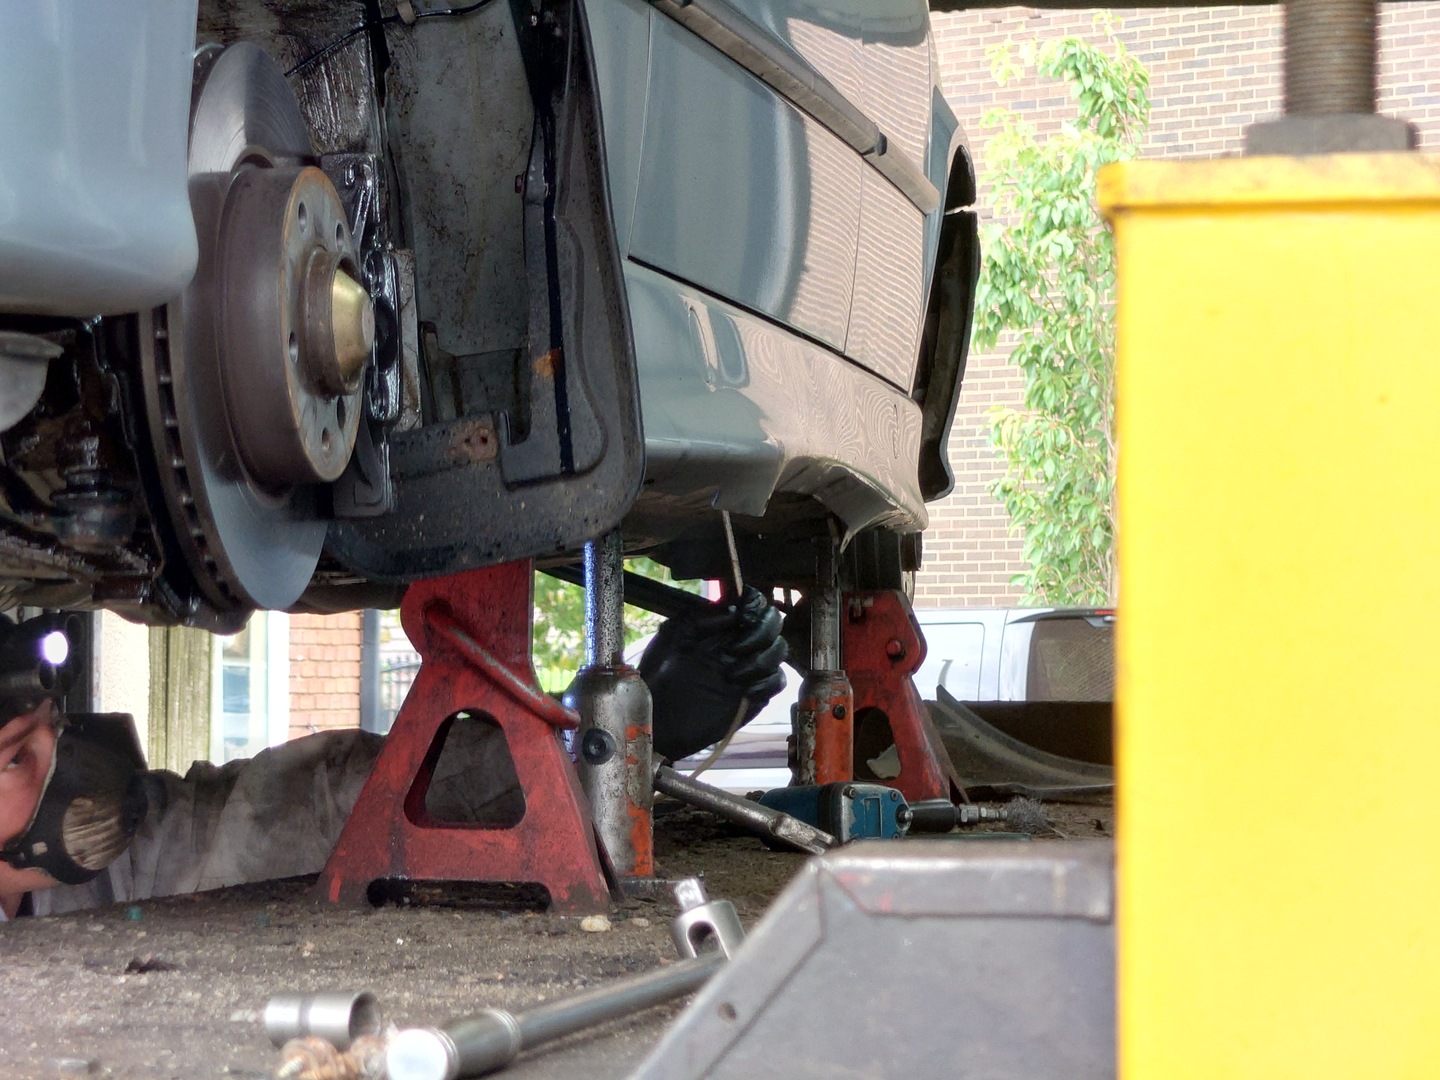
So, last summer, I took the car to Krown Rustproofing (https://www.krown.co.uk/) in Tipton, Birmingham. It's only been a few months since, so I'm not endorsing them yet, but the franchise is run by one friendly Latvian man, Robert, and he was perfectly content with my hanging around the work bay while he did his thing. Essentially, he gave the bodywork a rough clean first with compressed air and brushes (perhaps it would've been nice to see it get a more thorough clean), and then went into every nook and cranny he could possibly get his spray nozze into, and coated the bodywork with the Krown stuff inside out.
I had initially heard of them via an RX-8 forum in the UK, and they seem to be pretty well regarded in Canada too.
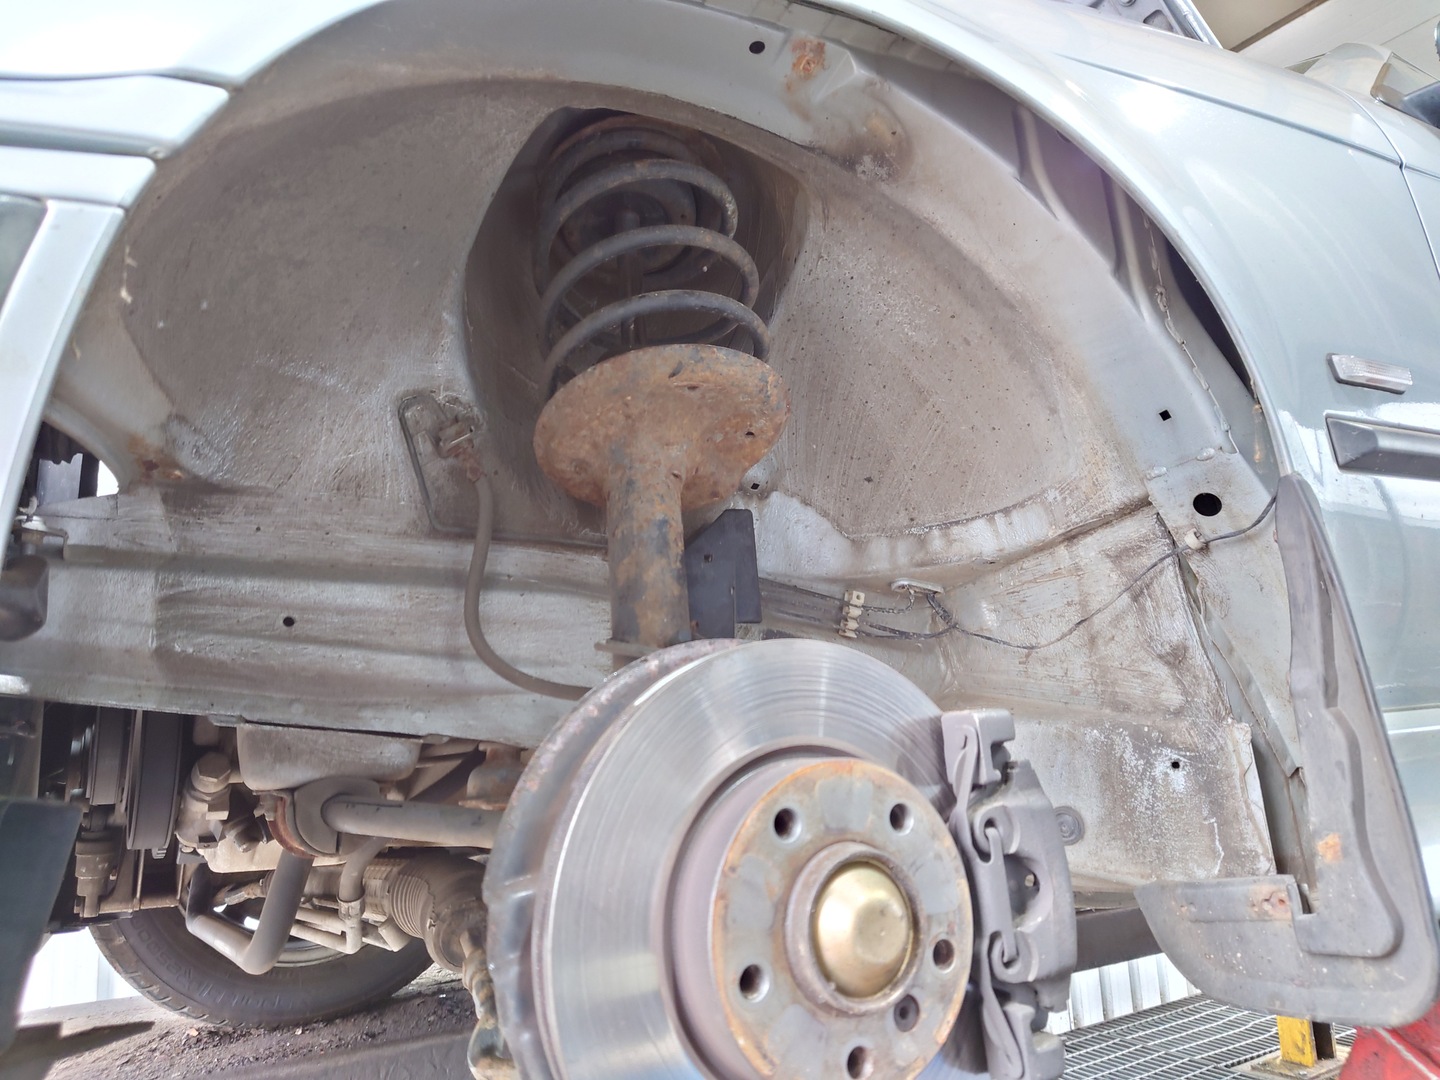
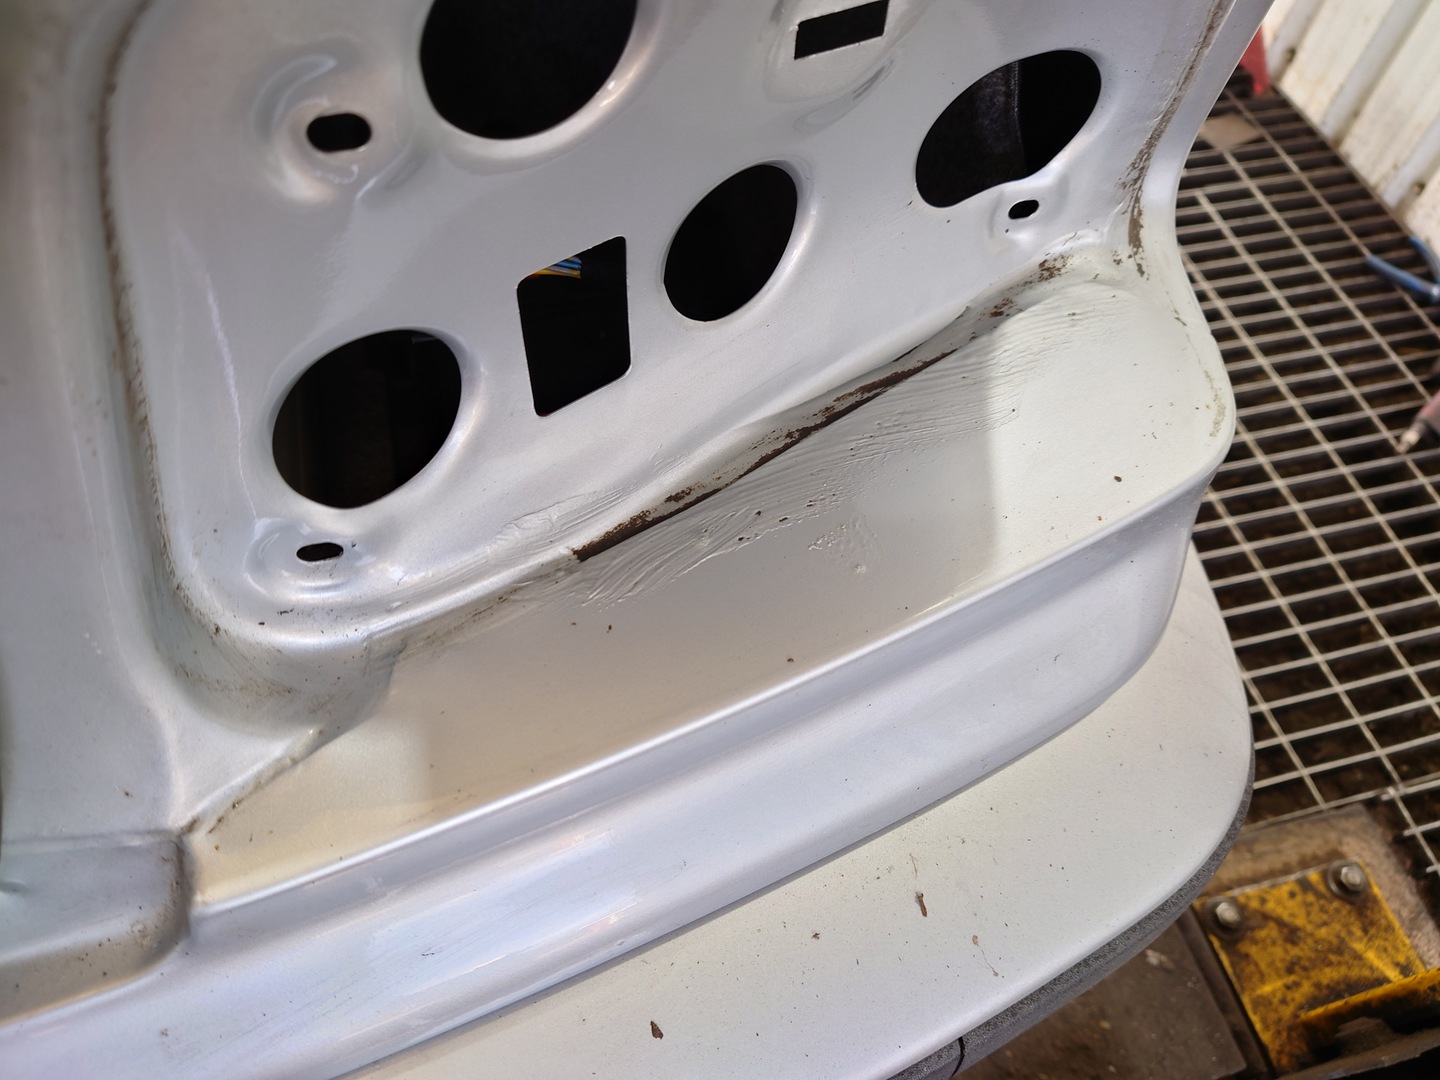
I found a few bubbly patches undernear the taillights. I'll have to just sand those down and respray those bits once my dad and I get around to painting the front grille frame.
The treatment cost £272, which seems pretty reasonable to me. I had toyed with the idea of going for a full CO2 blast and stuff, but that sorta work would cost £2-3k. Hopefully this holds up!
Another issue cropped up this week! I refilled my windscreen wash last Sunday, only to get a warning light on my dashboard and OBC saying that the fluid's low... on Tuesday.
Now, I know for certain that I had not been using the screen wash enough since Sunday to squirt through 5 litres of the stuff, so there must be a leak!
Today I finally had the time to check, and yep, there's a leak.
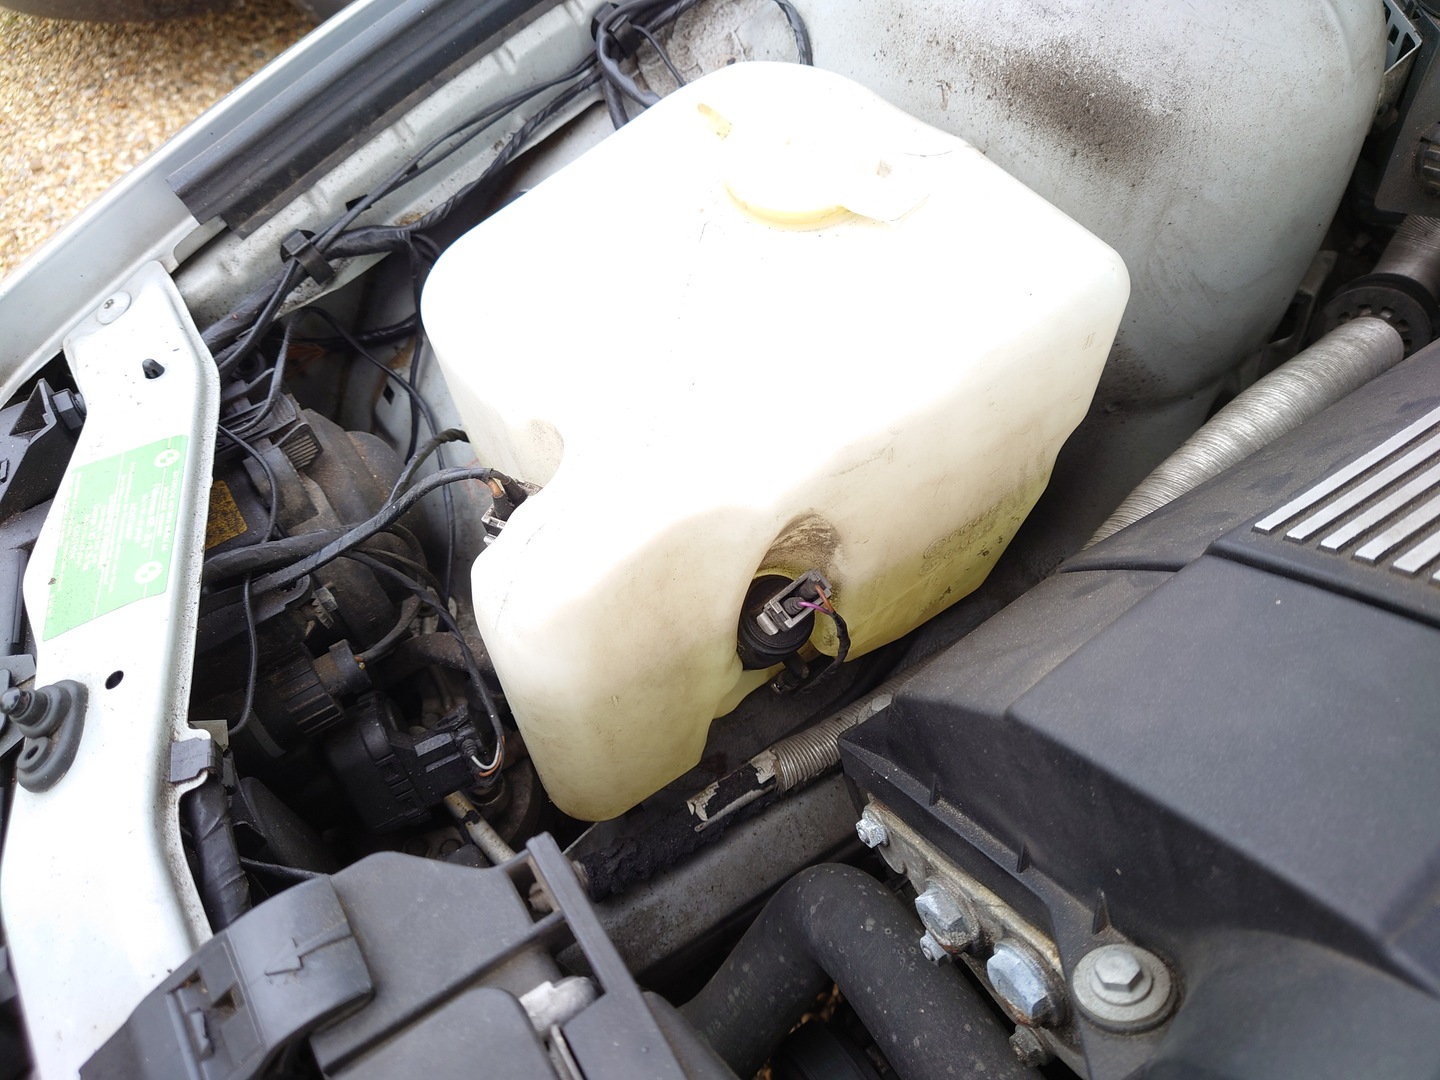
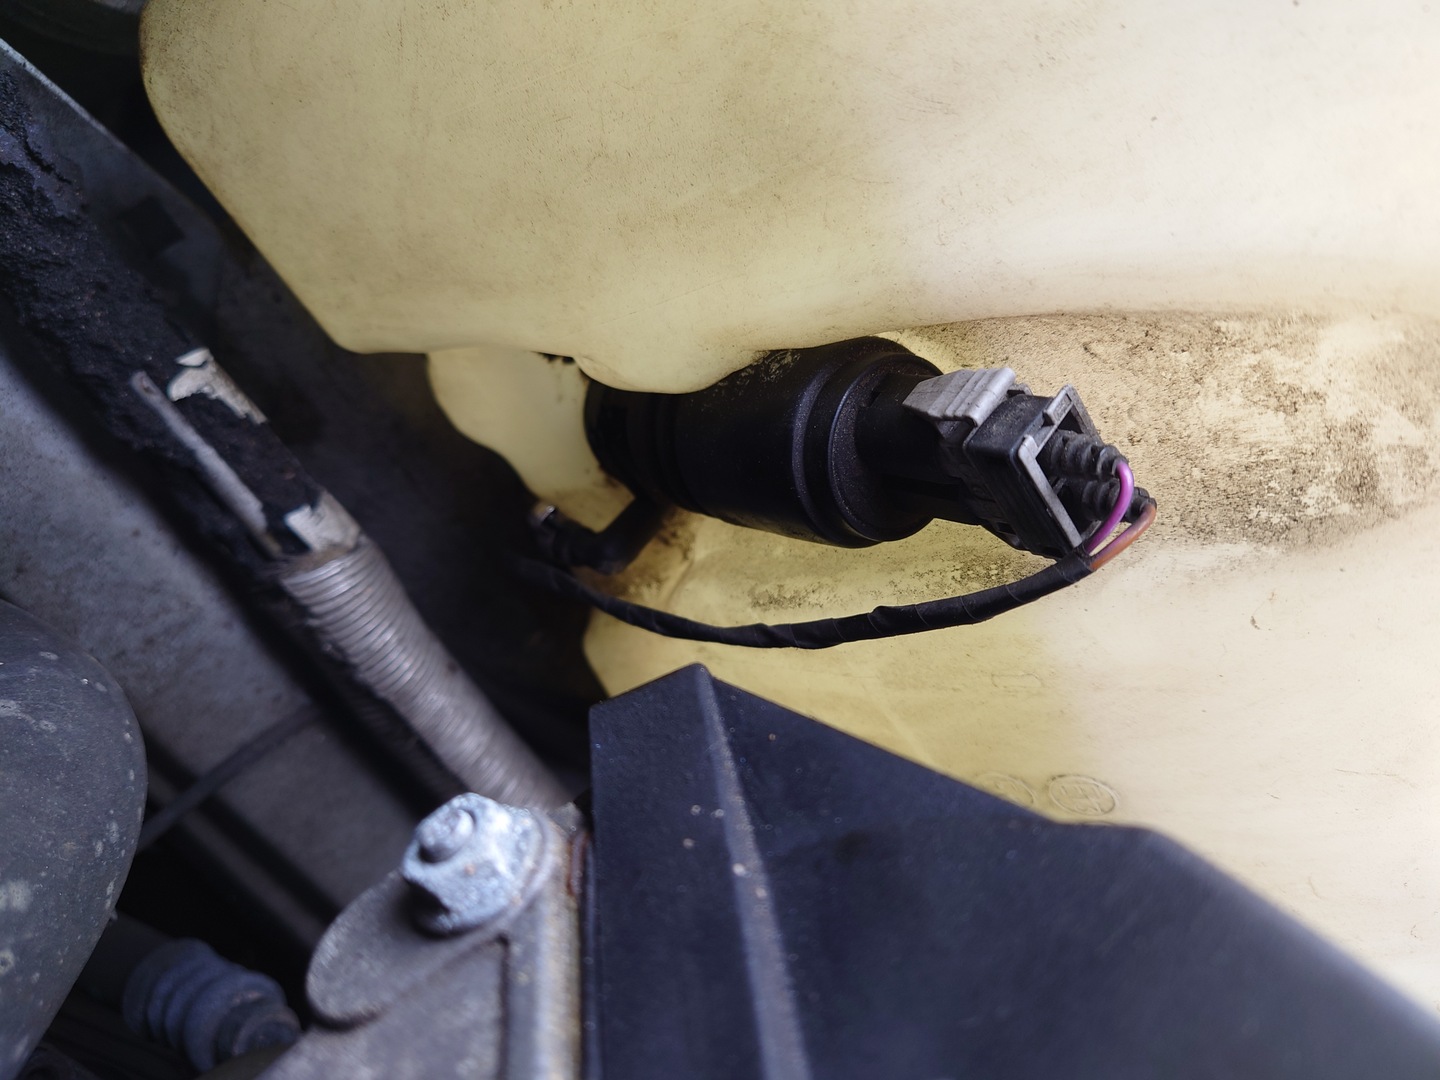
Not visible in the photo, but it seems to be dripping out somewhere from the rubber bit between the container and the pump. So it'll probably be one of three things:
- The container (61678366420, £150): whatever plastic all the rubber fits to could be cracked.
- The pump (61661377830, £50)
- The rubber gasket between the container and the pump (61661365657, £1.50): The most likely culprit.
I'll see if I can get a new gasket first, since that's cheap as fuck to replace, and I can't really drive the car this time of year without windscreen wash anyway if it turns out to be something else.
so it goes
a month later

I should make a thread about my station wagon. Actually, can you still call the Subaru Outback a wagon? It kinda blurs the lines. ^^'
23 days later
malmon That does sound like it'll cost more than the car is worth. Don't forget we're dealing with a sedan (not as valuable) and a gas bimmer (may fail and if it does it'll be expensive. I'd hold off on that and learn to do odywork instead.
Rooky_Ghost uwotm8? I got a new primed frame from BMW for £225. We're planning on doing touchups ourselves, and even if I was to go for a full respray, it would cost less than I paid for the car (was informally quoted ~£5k).
The sedans are plenty valuable here (much more practical than coupes and cabrios), and the M52 is pretty bulletproof assuming the previous owners weren't retarded.
2 months later

What a lovely machine you've got yourself there. Now that makes me want to save up for something myself, but 6000GBP is not something I will be able to afford anytime soon. Personally I'd love a second generation Impreza. Maybe someday. For now I'll have to do with my trusty corolla and the love of my life, my little Micra K11. I know it doesn't sound like much, and it isn't, but I truly love those light small little cars. She actually accelerates pretty decently at low speeds, but she gets tired fast at anything over 80KPH. Still, it's enough to get me to work and back, and have a tiny bit of fun. Despite all her flaws, I love her with all my heart. I only wish i had more money to take care of her. She deserves better. I did replace the brakes, oil, filters, and spark plugs though. That's the least I can do for her. I need to save up a bit and take care of her underside, she is very rusty down there. I want her to last as long as possible, my dream is to fix her up and then tune her a little bit. If I could move the battery to the rear, and maybe some other stuff as well, I'd have a bit of space to work with. I'd have to ask my car guy friend what would be the best way. Even a humble 90kW would be a massive increase from its current stock 60kW (not to mention it's a lightweight car, she doesn't need much to be nimble). I doubt the drivetrain would take any more anyway. Perhaps we could find some other Nissan engine that would fit without too much work and make more power, and then supercharge it.
It's all just daydreaming though. I won't be able to afford even to fix her up properly anytime soon, and even if I had money to do what I want to her, I hardly have the knowledge how to, let alone space and tools to work with.
Dreams are for free though.
WorstFriend Thank you! Yeah, unfortunately, it's an expensive hobby. Not as expensive as, say, amateur piloting, but definitely on the high end of what the average person can afford.
I remember a previous neighbour of mine had one of those Imprezas. The best sounding 4-cylinder engine in the world, in my opinion. They must be pretty expensive these days for a nice example... all the modern classics these days are :/
The K11's pretty cool too! It's definitely one of the up and coming models in terms of popularity, I think. Rust is a cancer though. I don't know how bad yours is, but you might find that the cost of repairing the rust might outpace your saving rate. I was just talking to one of my work colleagues, one of his friends recently bought a rolling Micra shell to swap his drivetrain into, as his shell was rotten. 90kW would be pretty mad in a tiny car like that! I hope you can achieve your dream ^^
My target for the E36 is 220kW. That's probably the best I can hope to get without putting a turbo in.
The best sounding 4-cylinder engine in the world, in my opinion.
I've heard the sound comes from the uneven exhaust lengths. I've heard their servicability is awful though. Hard to reach those cyllinders. Doesn't stop me from wanting one though. It's got all I want, It's a classic Japanese sports car with rally history, it's fast, it's all wheel drive, and my god is it pretty. Those blue bugeyes are one of the most kino looking cars, in my humble opinion.
As for my micra, I just got home from working on her with my dad. Front right brake got stuck and we had to fix it. The rubber seal around the cyllinder is broken and it got dirty, we'll have to order it and replace it. Wiper fluid pump is also broken. Oh and something's up with the reverse light, the bulb is fine, the sensor in the gearbox looks fine too, so we don't really know what's up with it. We looked underneath it, and it looks better than I thought. The doorsteps (I think that's what they're called in english, not sure though) are completely rotten, and a part in the front that I don't know the name of is as well, but the floor looks mostly fine. I'll save up some money and fix all of that.
As for tuning, it has also crossed my mind if it would be in some way possible to slap some electric motors on the back and make her hybrid AWD. Though if that mad idea is at all possible, it's probably beyond the scope of mine and my friends' abilities. I want to do something to her though. I want her to all nice and pretty, and faster and in some way unique to me. I also thought of making a DIY rally car out of her, she wouldn't need a lot of power and her brick like aerodynamics wouldn't be much of a problem, she'd just need some better supsension and stuff.
All those ideas, yet no skills tools or a garage. I've thought of buying mechanical school books they use in our vocational schools. I might do that. But there's so many little things like that, my budget really can't take that.
220kW in a naturally aspirated RWD car sounds like a lot of fun. I'm hoping you can achieve that.