Apologies, a bit of a late followup, but here's the rest!
So the bolts arrived on the 10th, nice and shiny ^_^
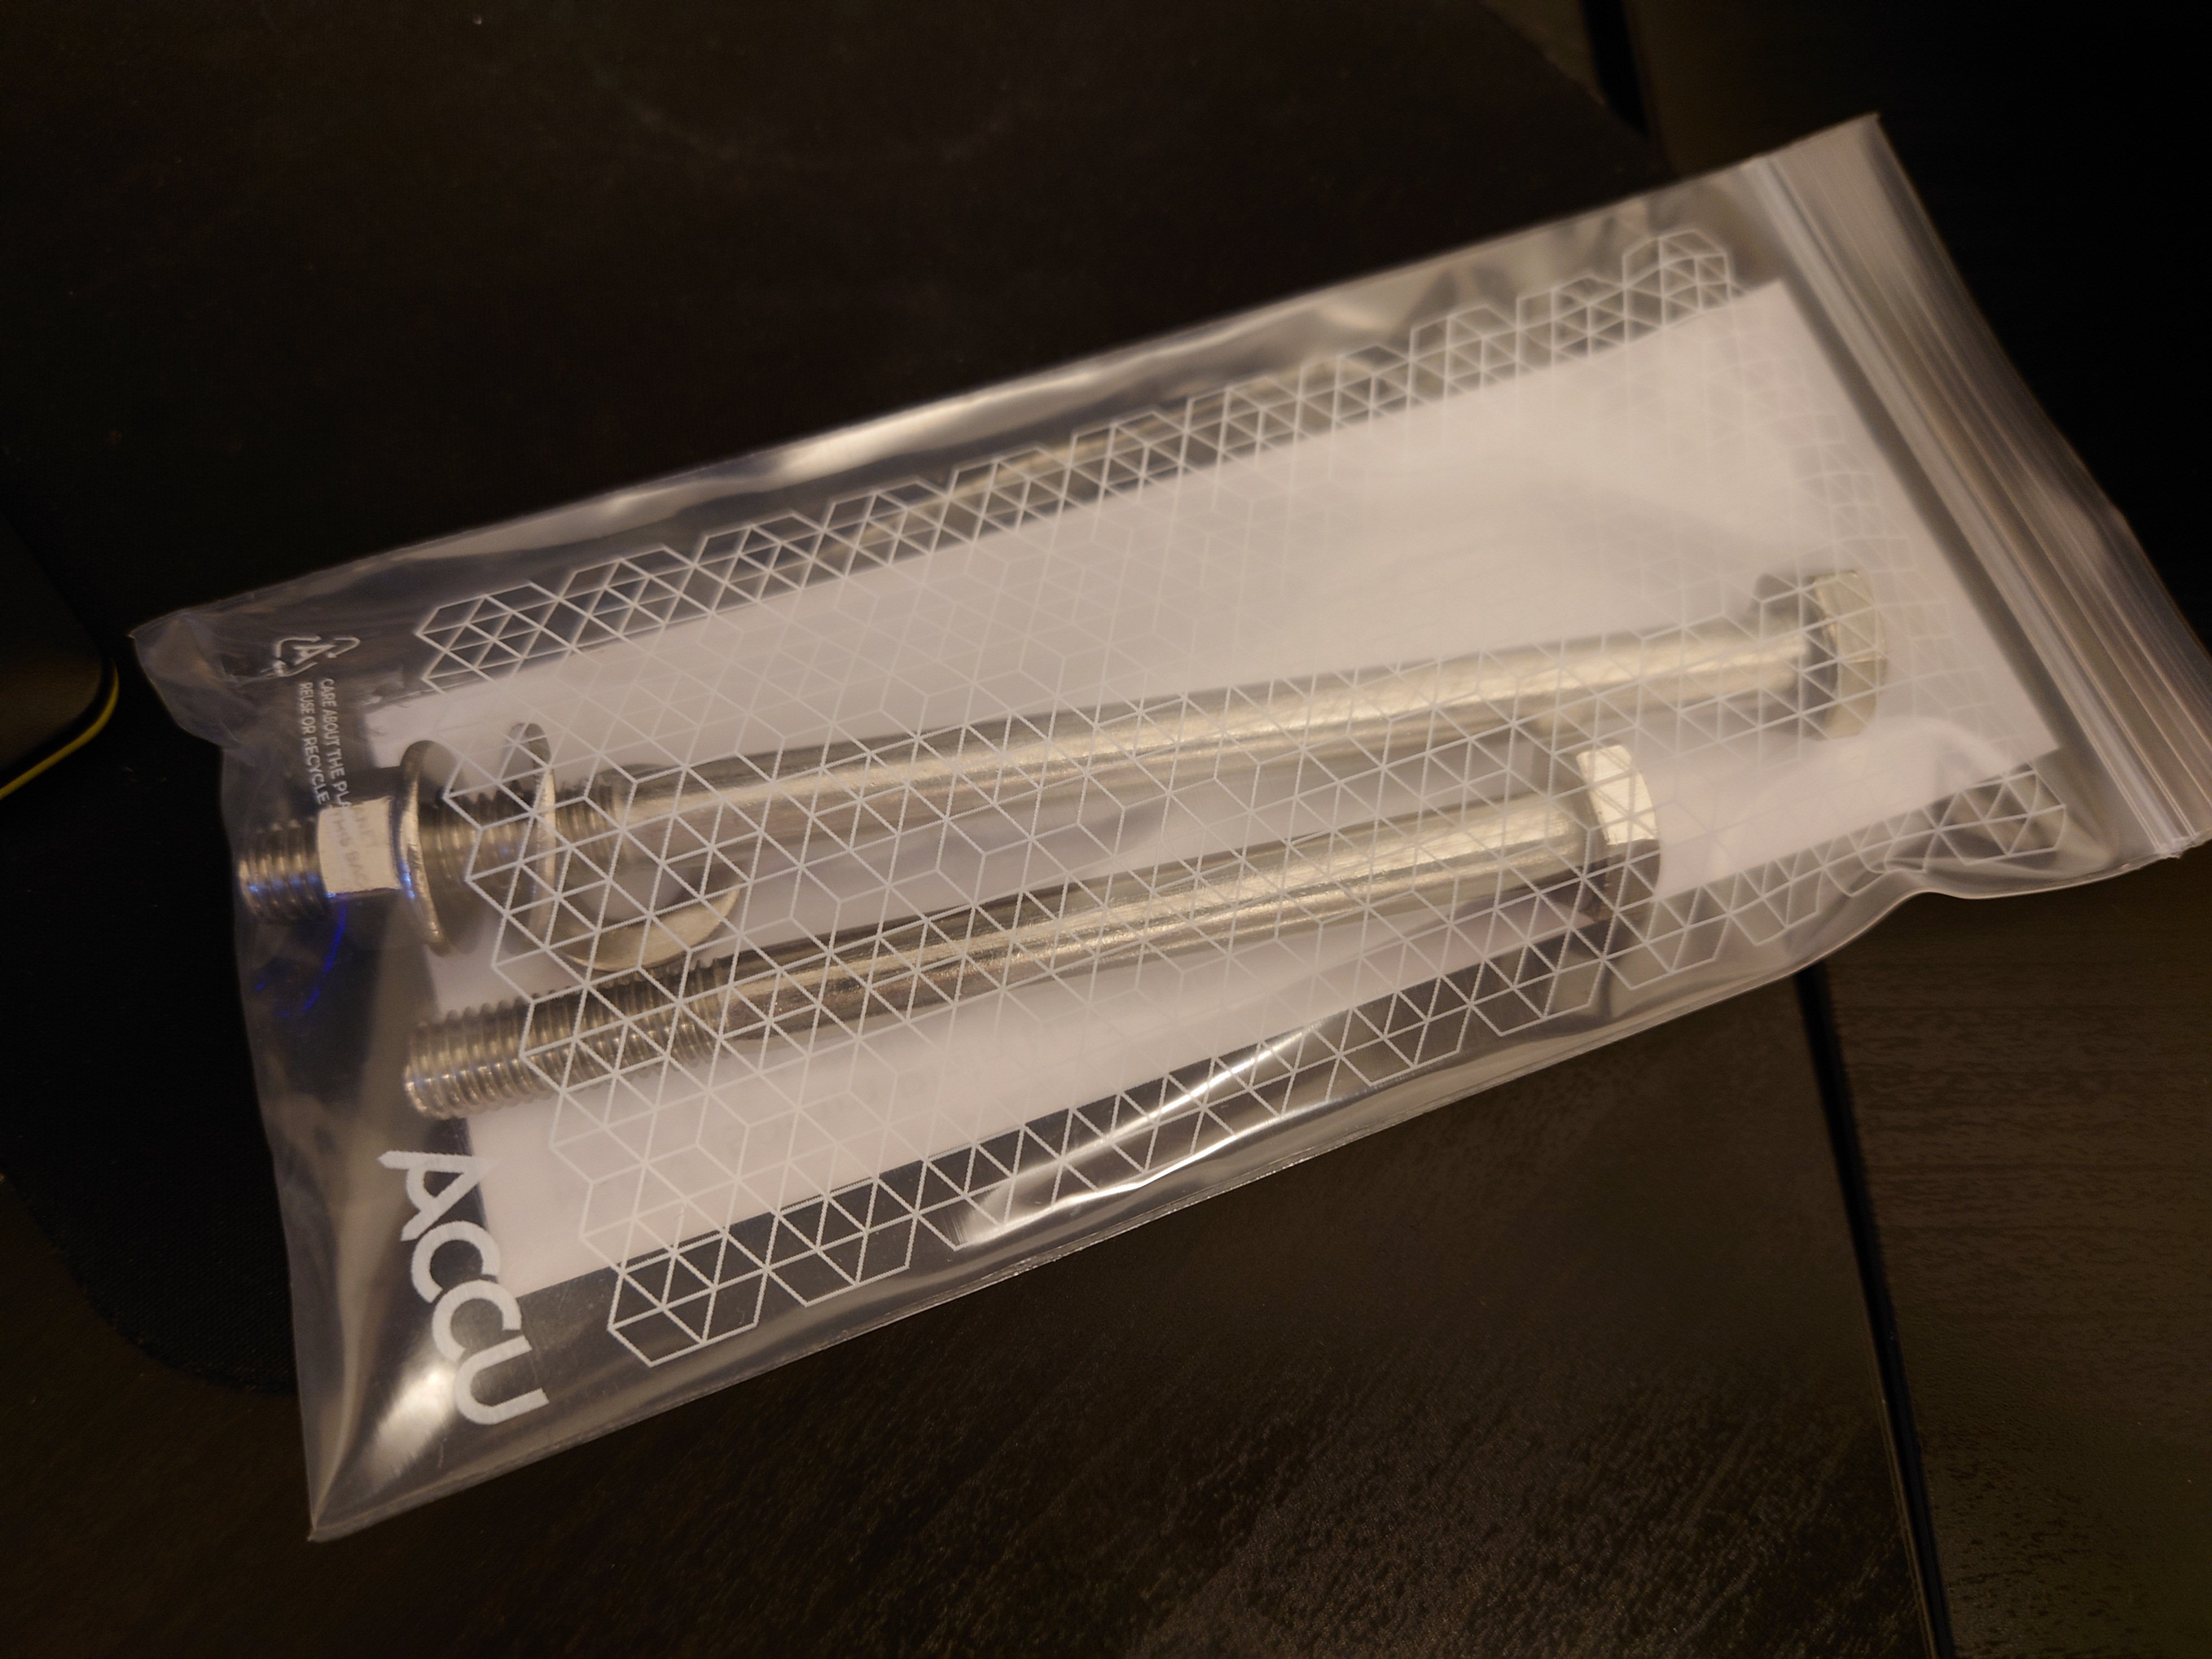
So time to get back to it! I also only just today realised that the passanger-side headlight sprinkler if fucked again >_< Looks like it isn't reseating properly for some reason. Oh well, I guess that's for another day.
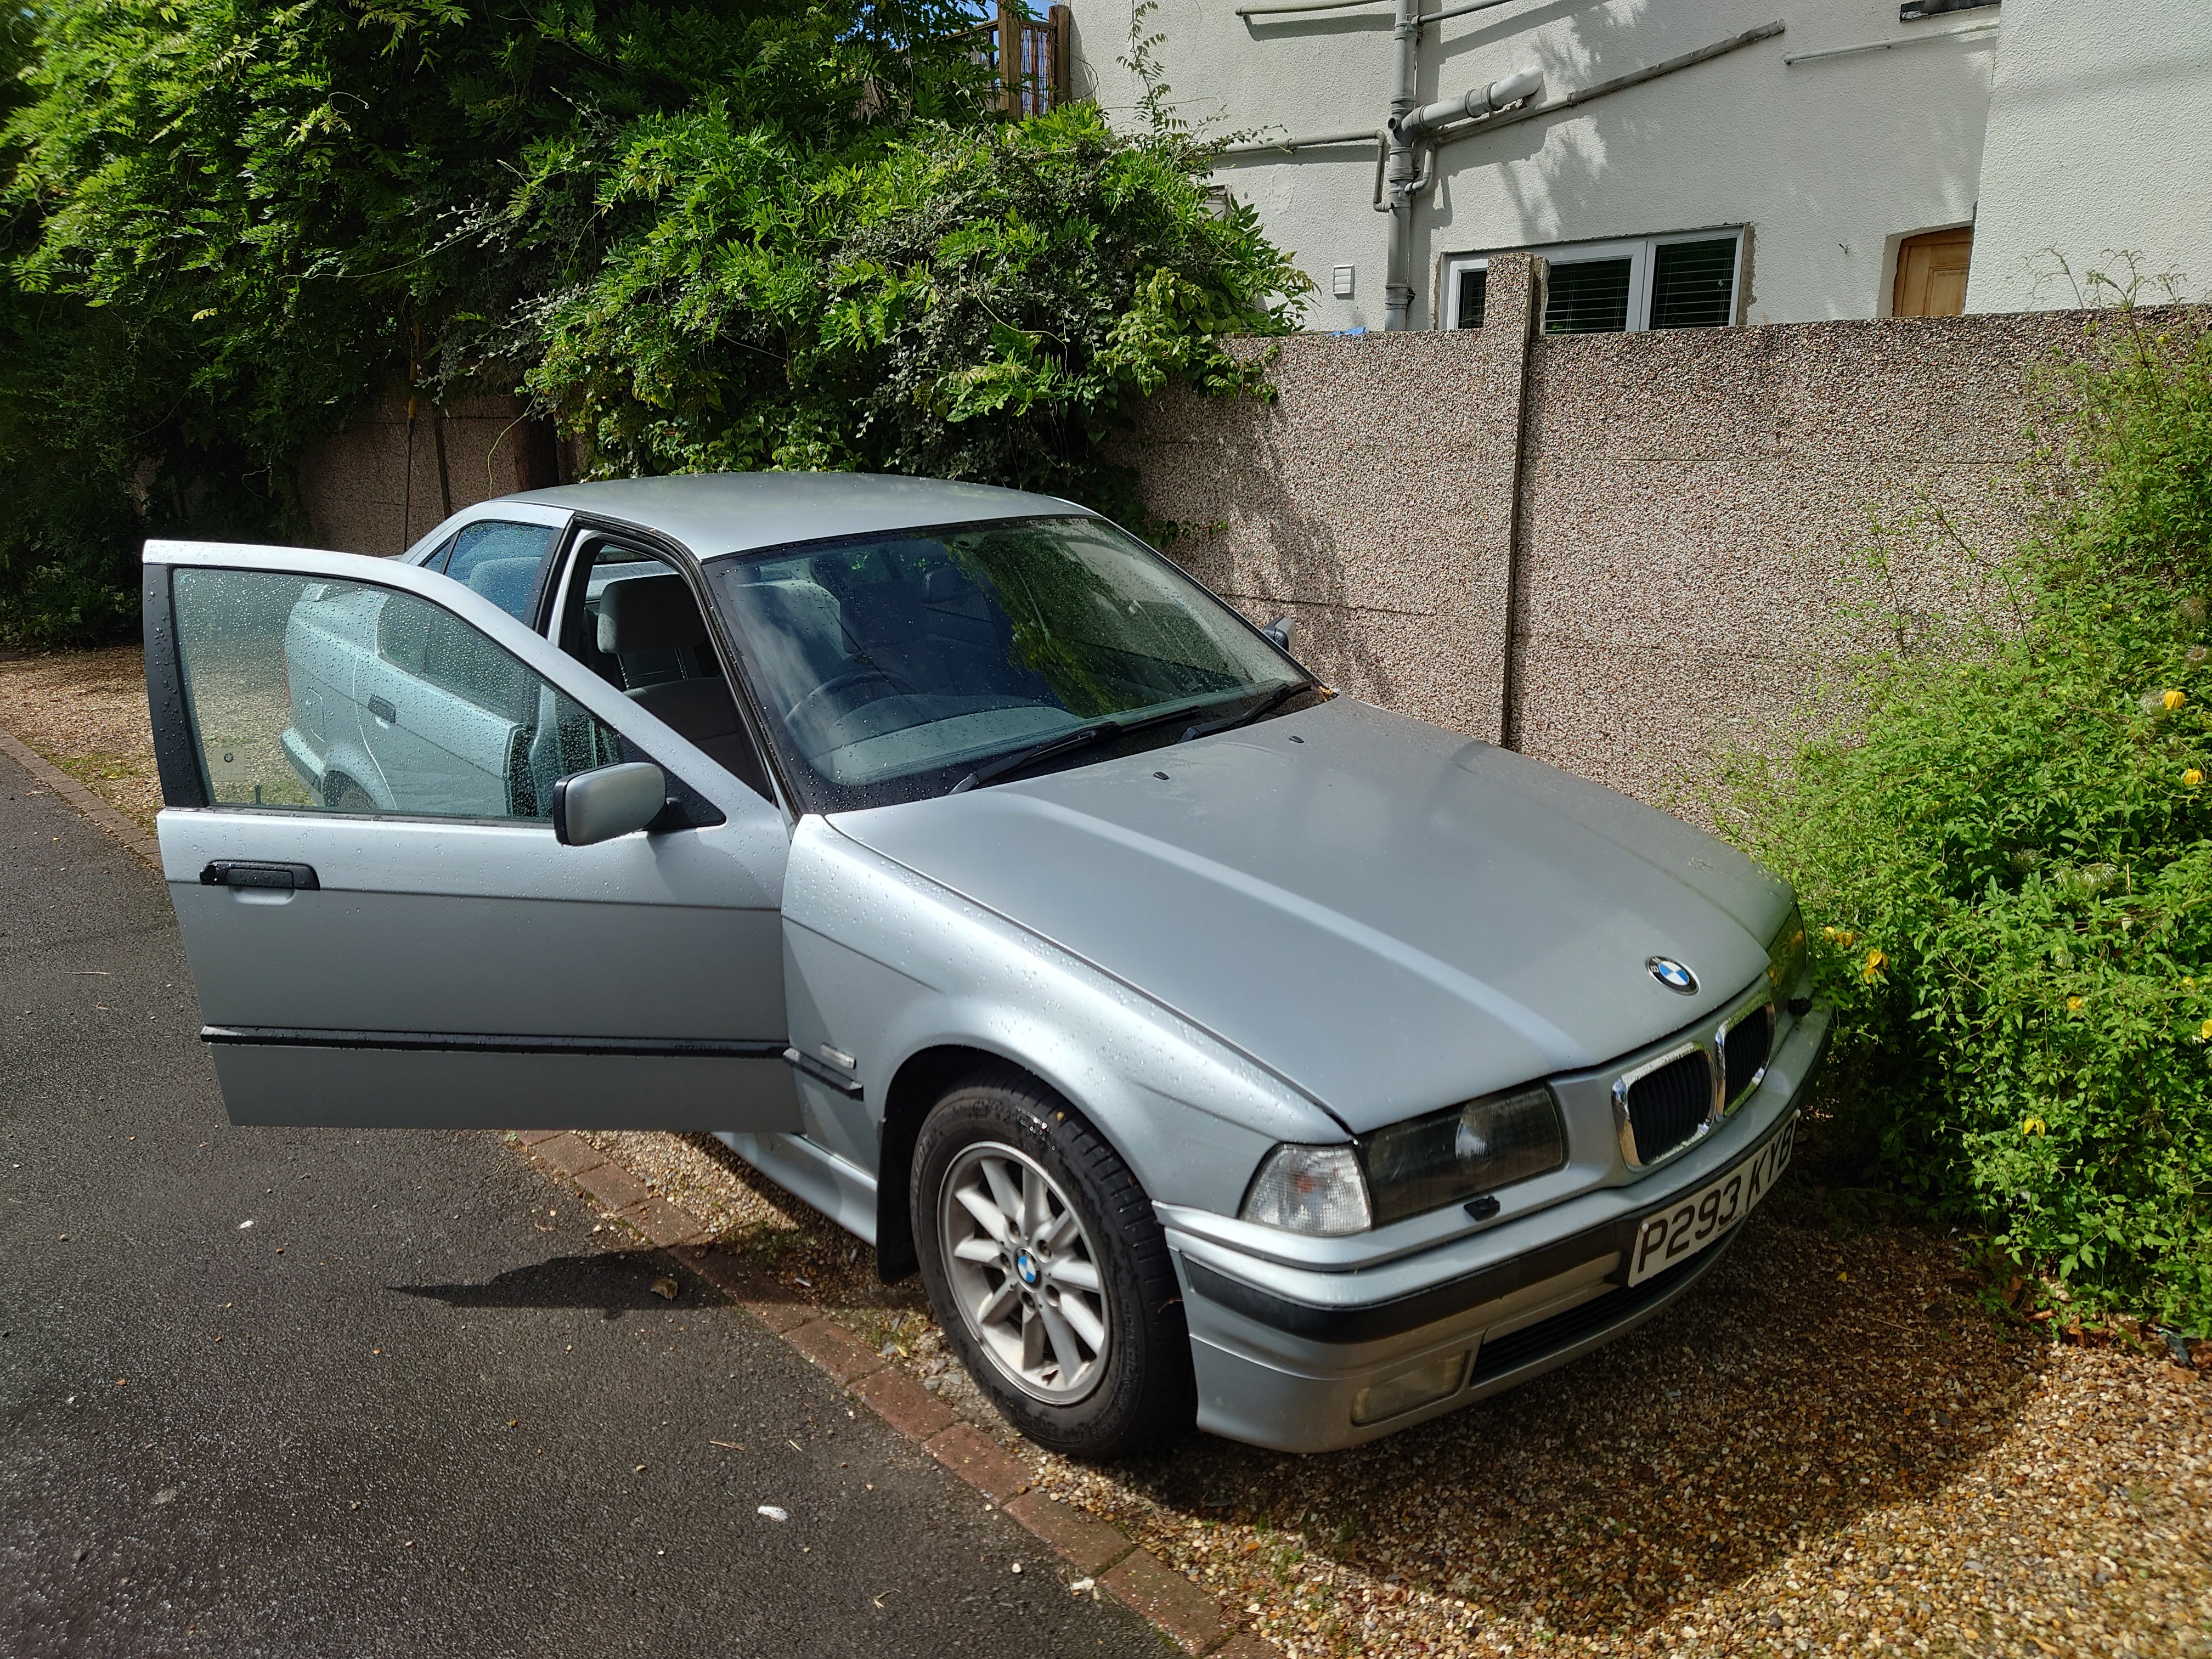
Fortunately, it looks like both bolts fit nicely, diamater-wise! So M10 it is.
So like before, connect up the wires to the new alternator, and secure the weather cover thingy in place. It requires a bit of stretching and force to properly get it around the rim - it helps to get the "bottom" part (i.e. the end into which the cables disappear) on first. The alternator will now be quite difficult to turn by hand when connected to the rest of the electrical system - don't do it :)
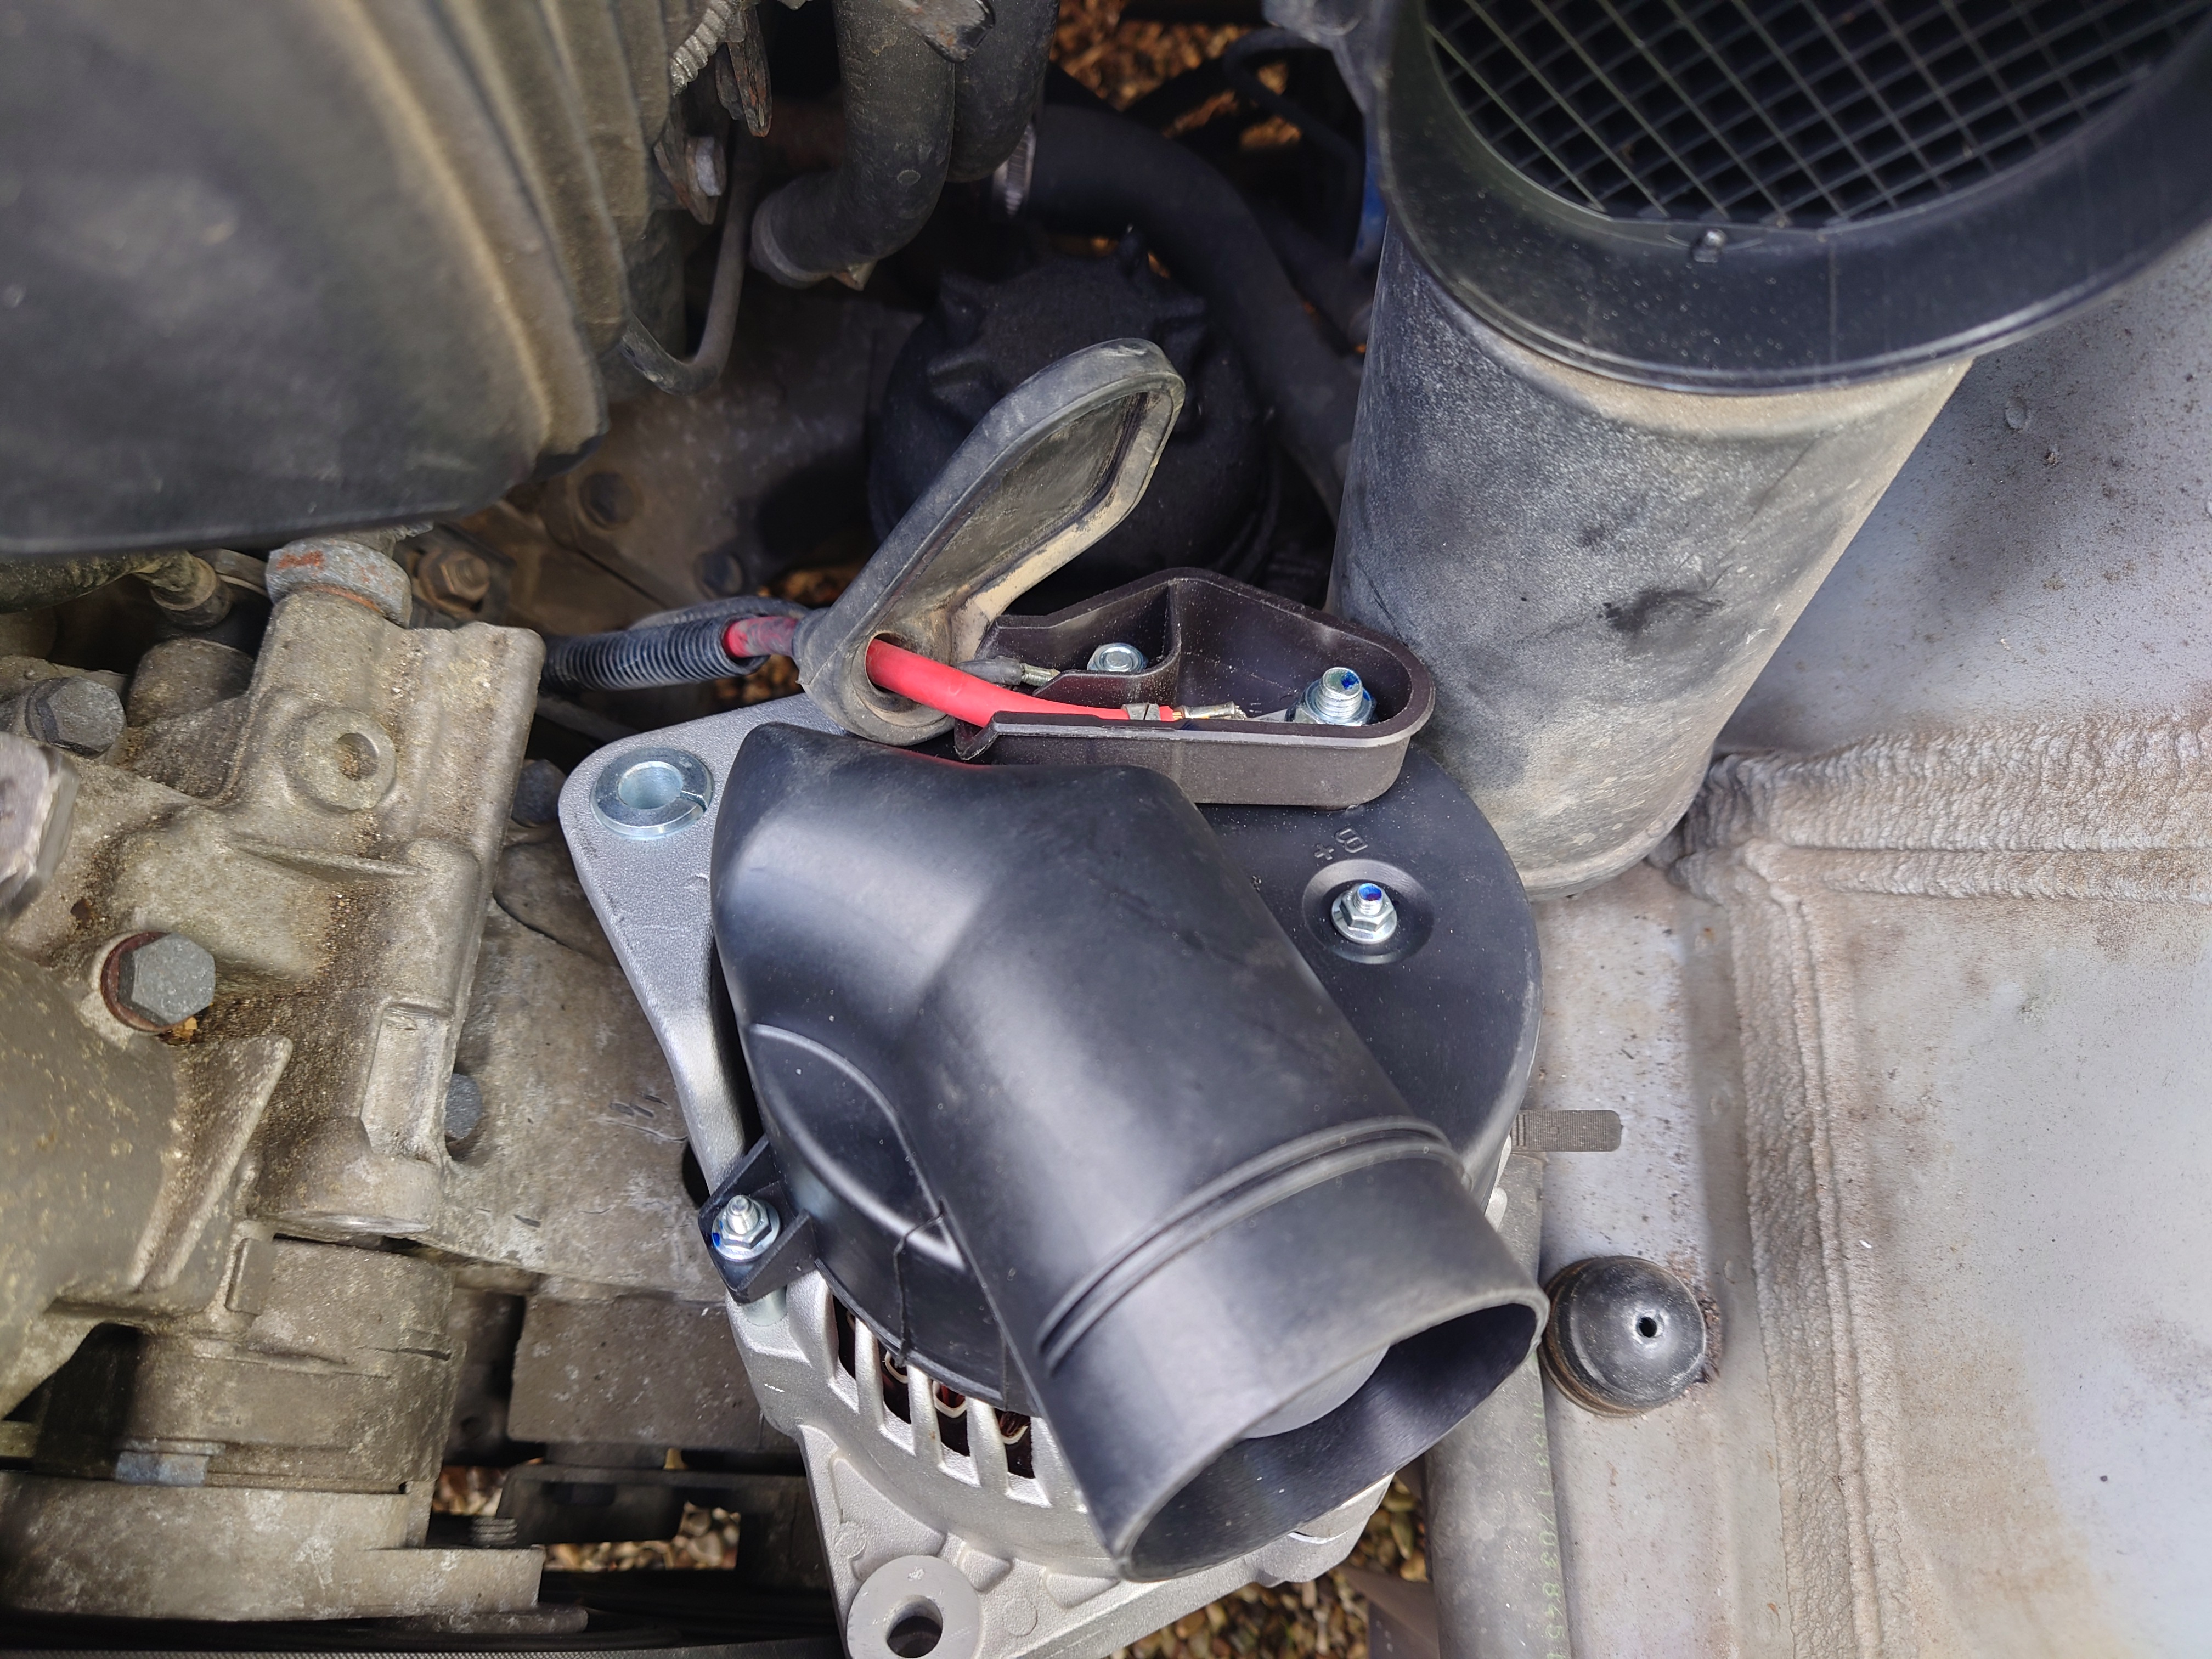
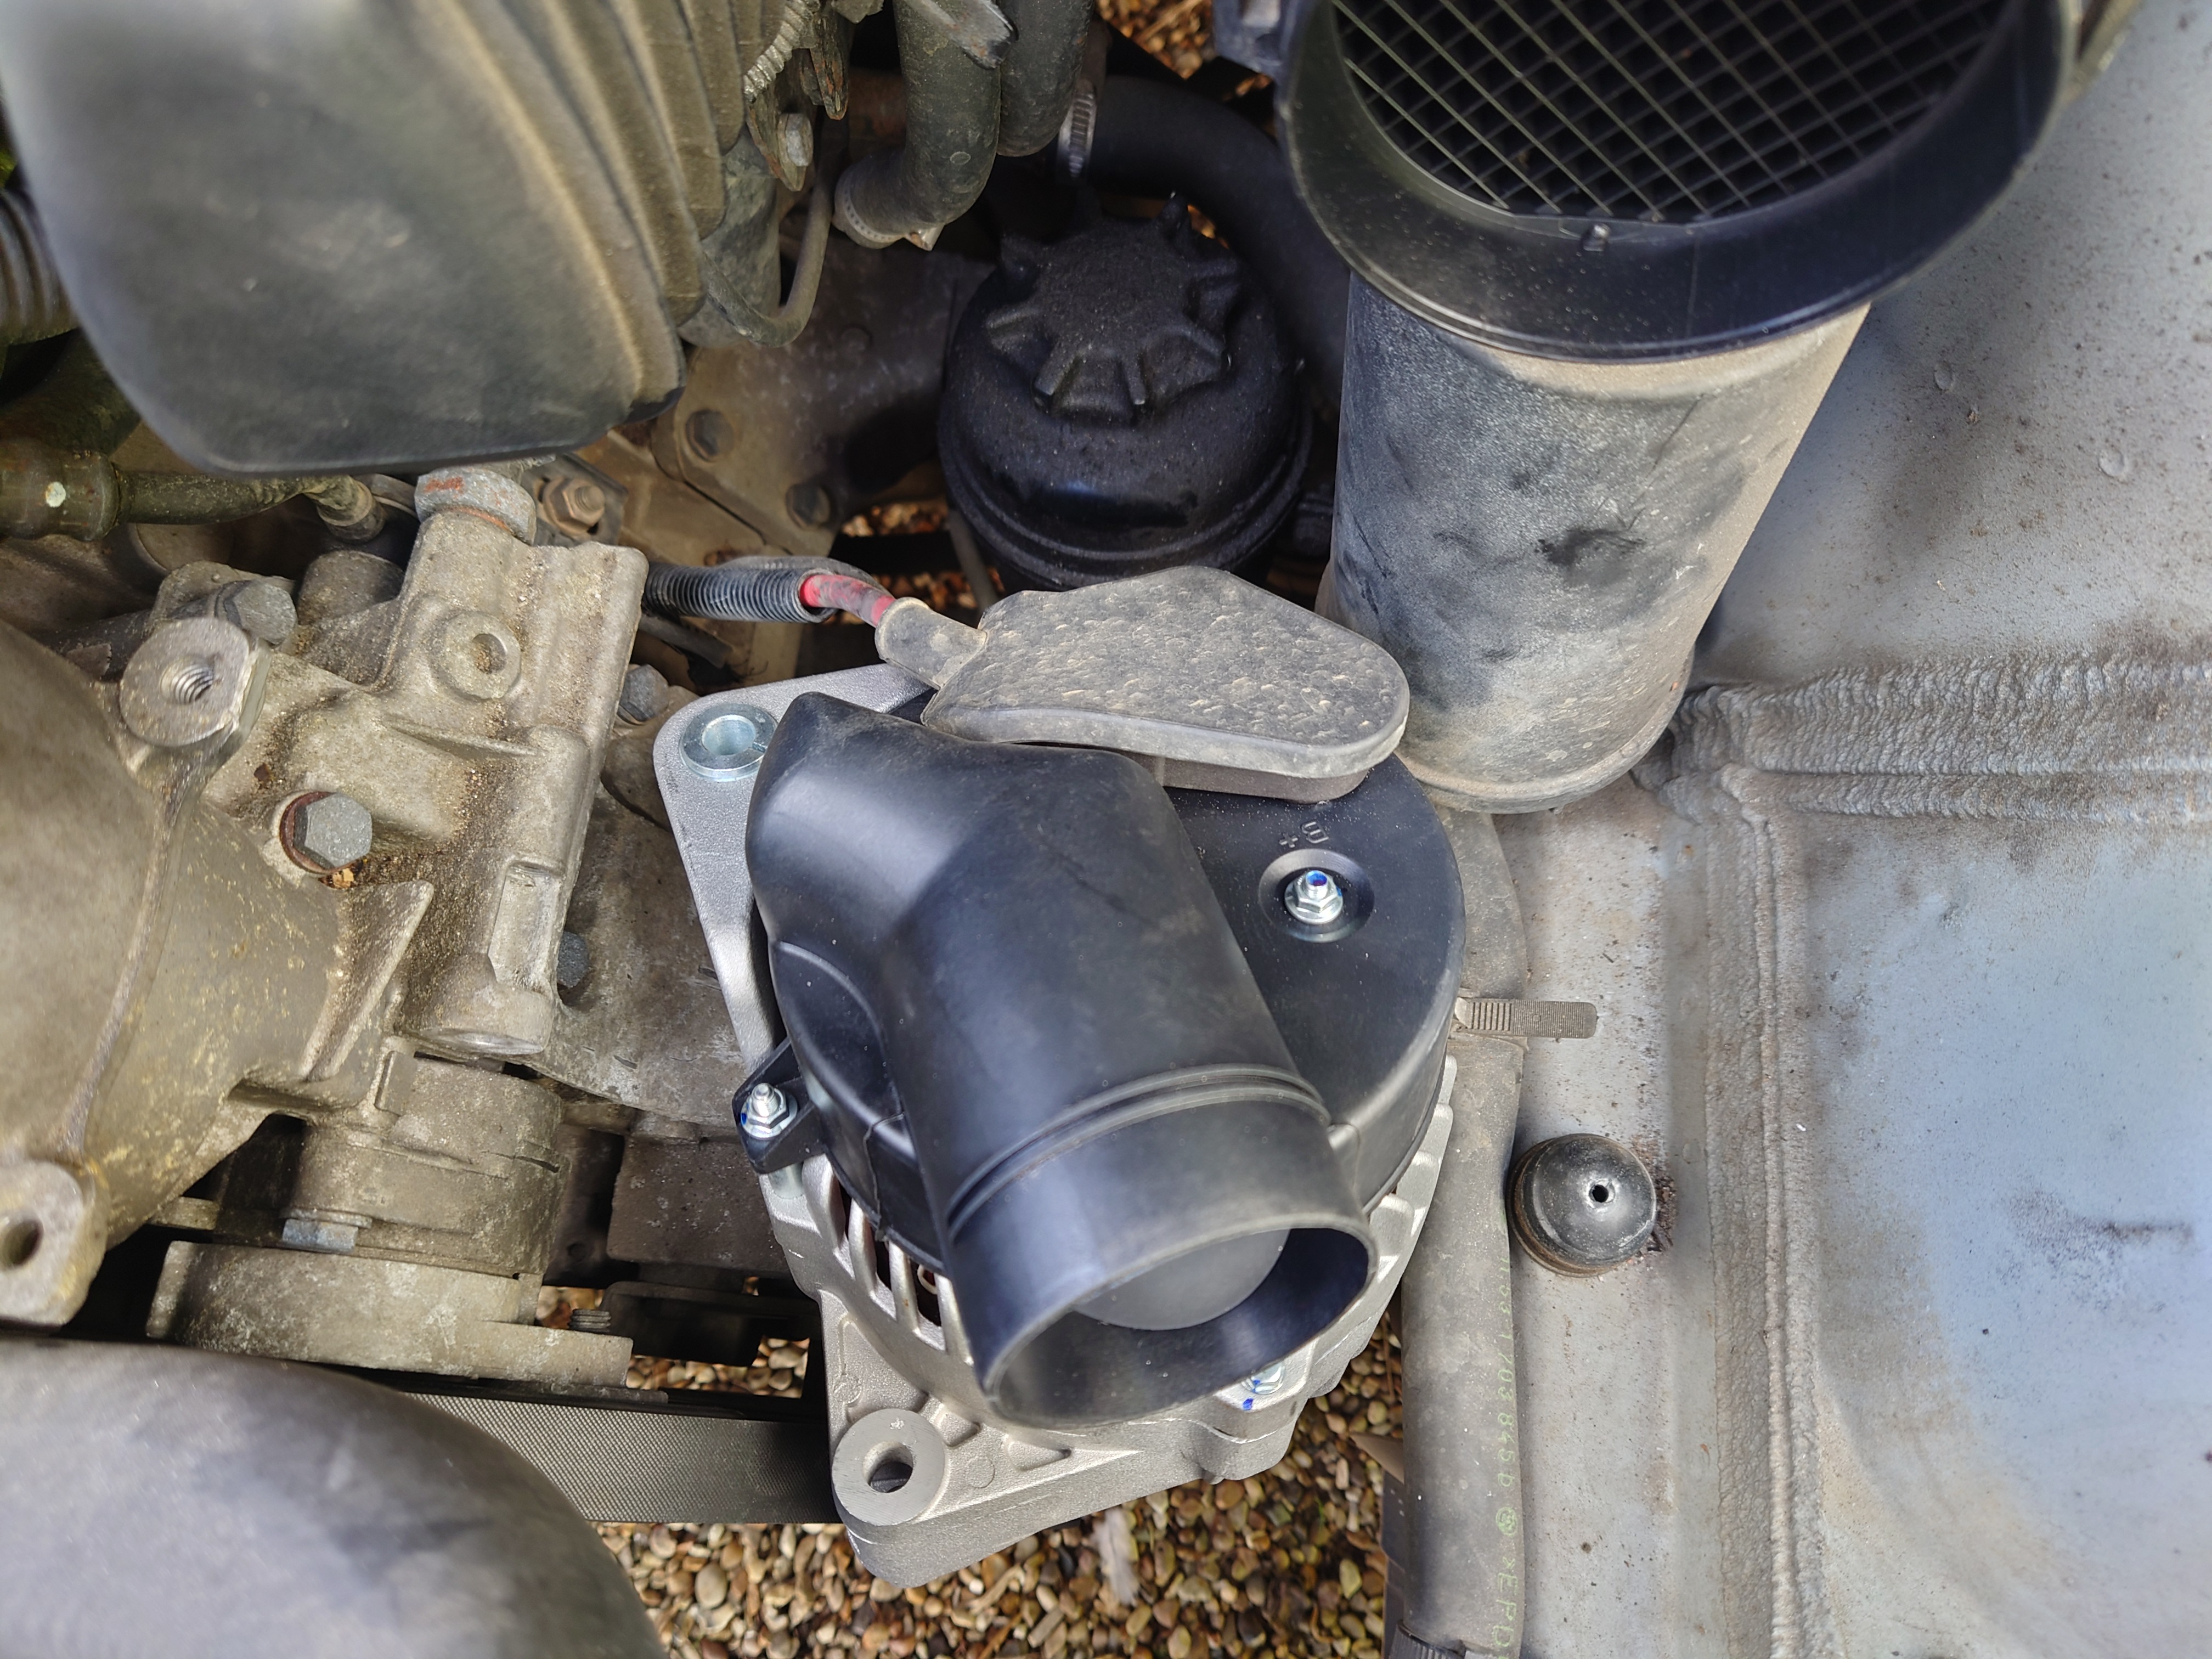
Now it's time to finally mount the new alternator. This is pretty straightforward - it just sorta fits into place. However, it isn't very well supported in its mount without the bolts, so it's probably easiest to get the top in first, slide the bolt through, then swing the bottom into place.
Remember to slide the washers onto the bolts before putting them in!
Just double checking that 150mm is enough for the bottom bolt:
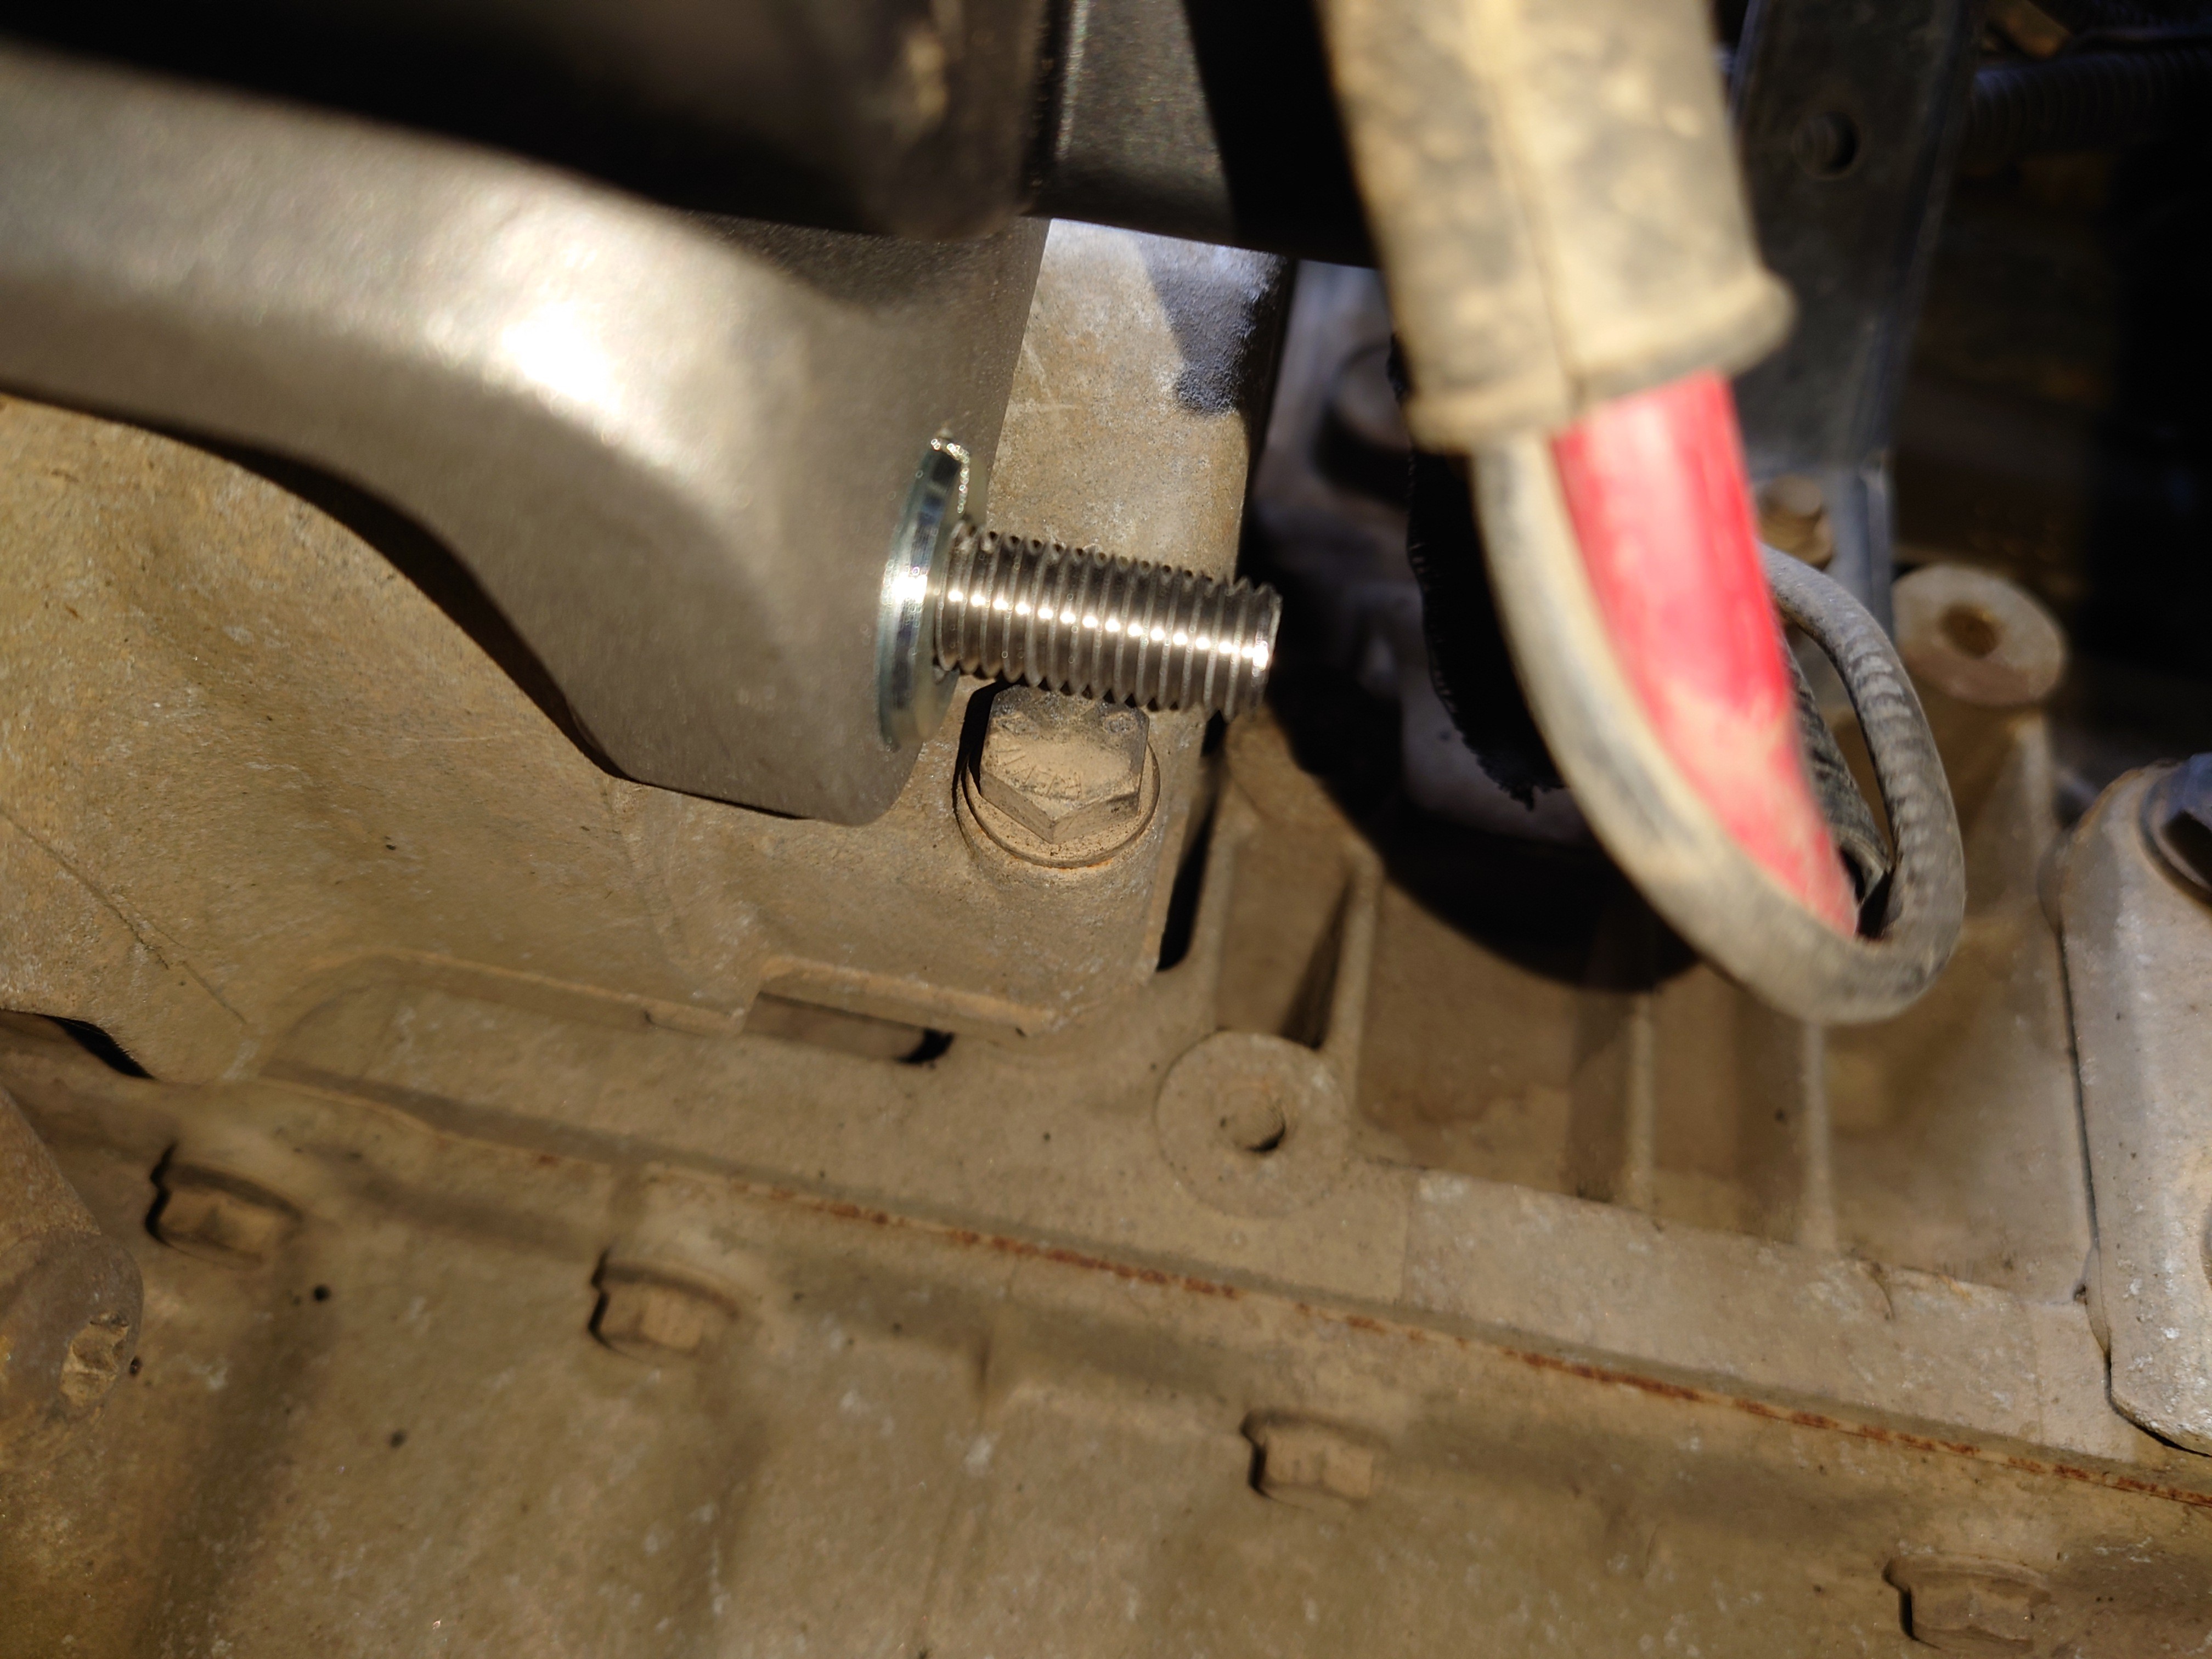
Looks like there's plenty of thread to work with there ^_^
Getting the top bolt in is rather straightforward since we can access it quite easily - do not tighten it yet!
The bottom one, however, is kinda buried behind and under the alternator, so you might struggle unless you have twink arms. Fortunately, I have twink arms, so I could feel my way around to hand tighten the nut first, then get a 15mm flat spanner onto the flanged bolt I bought with the bolts.
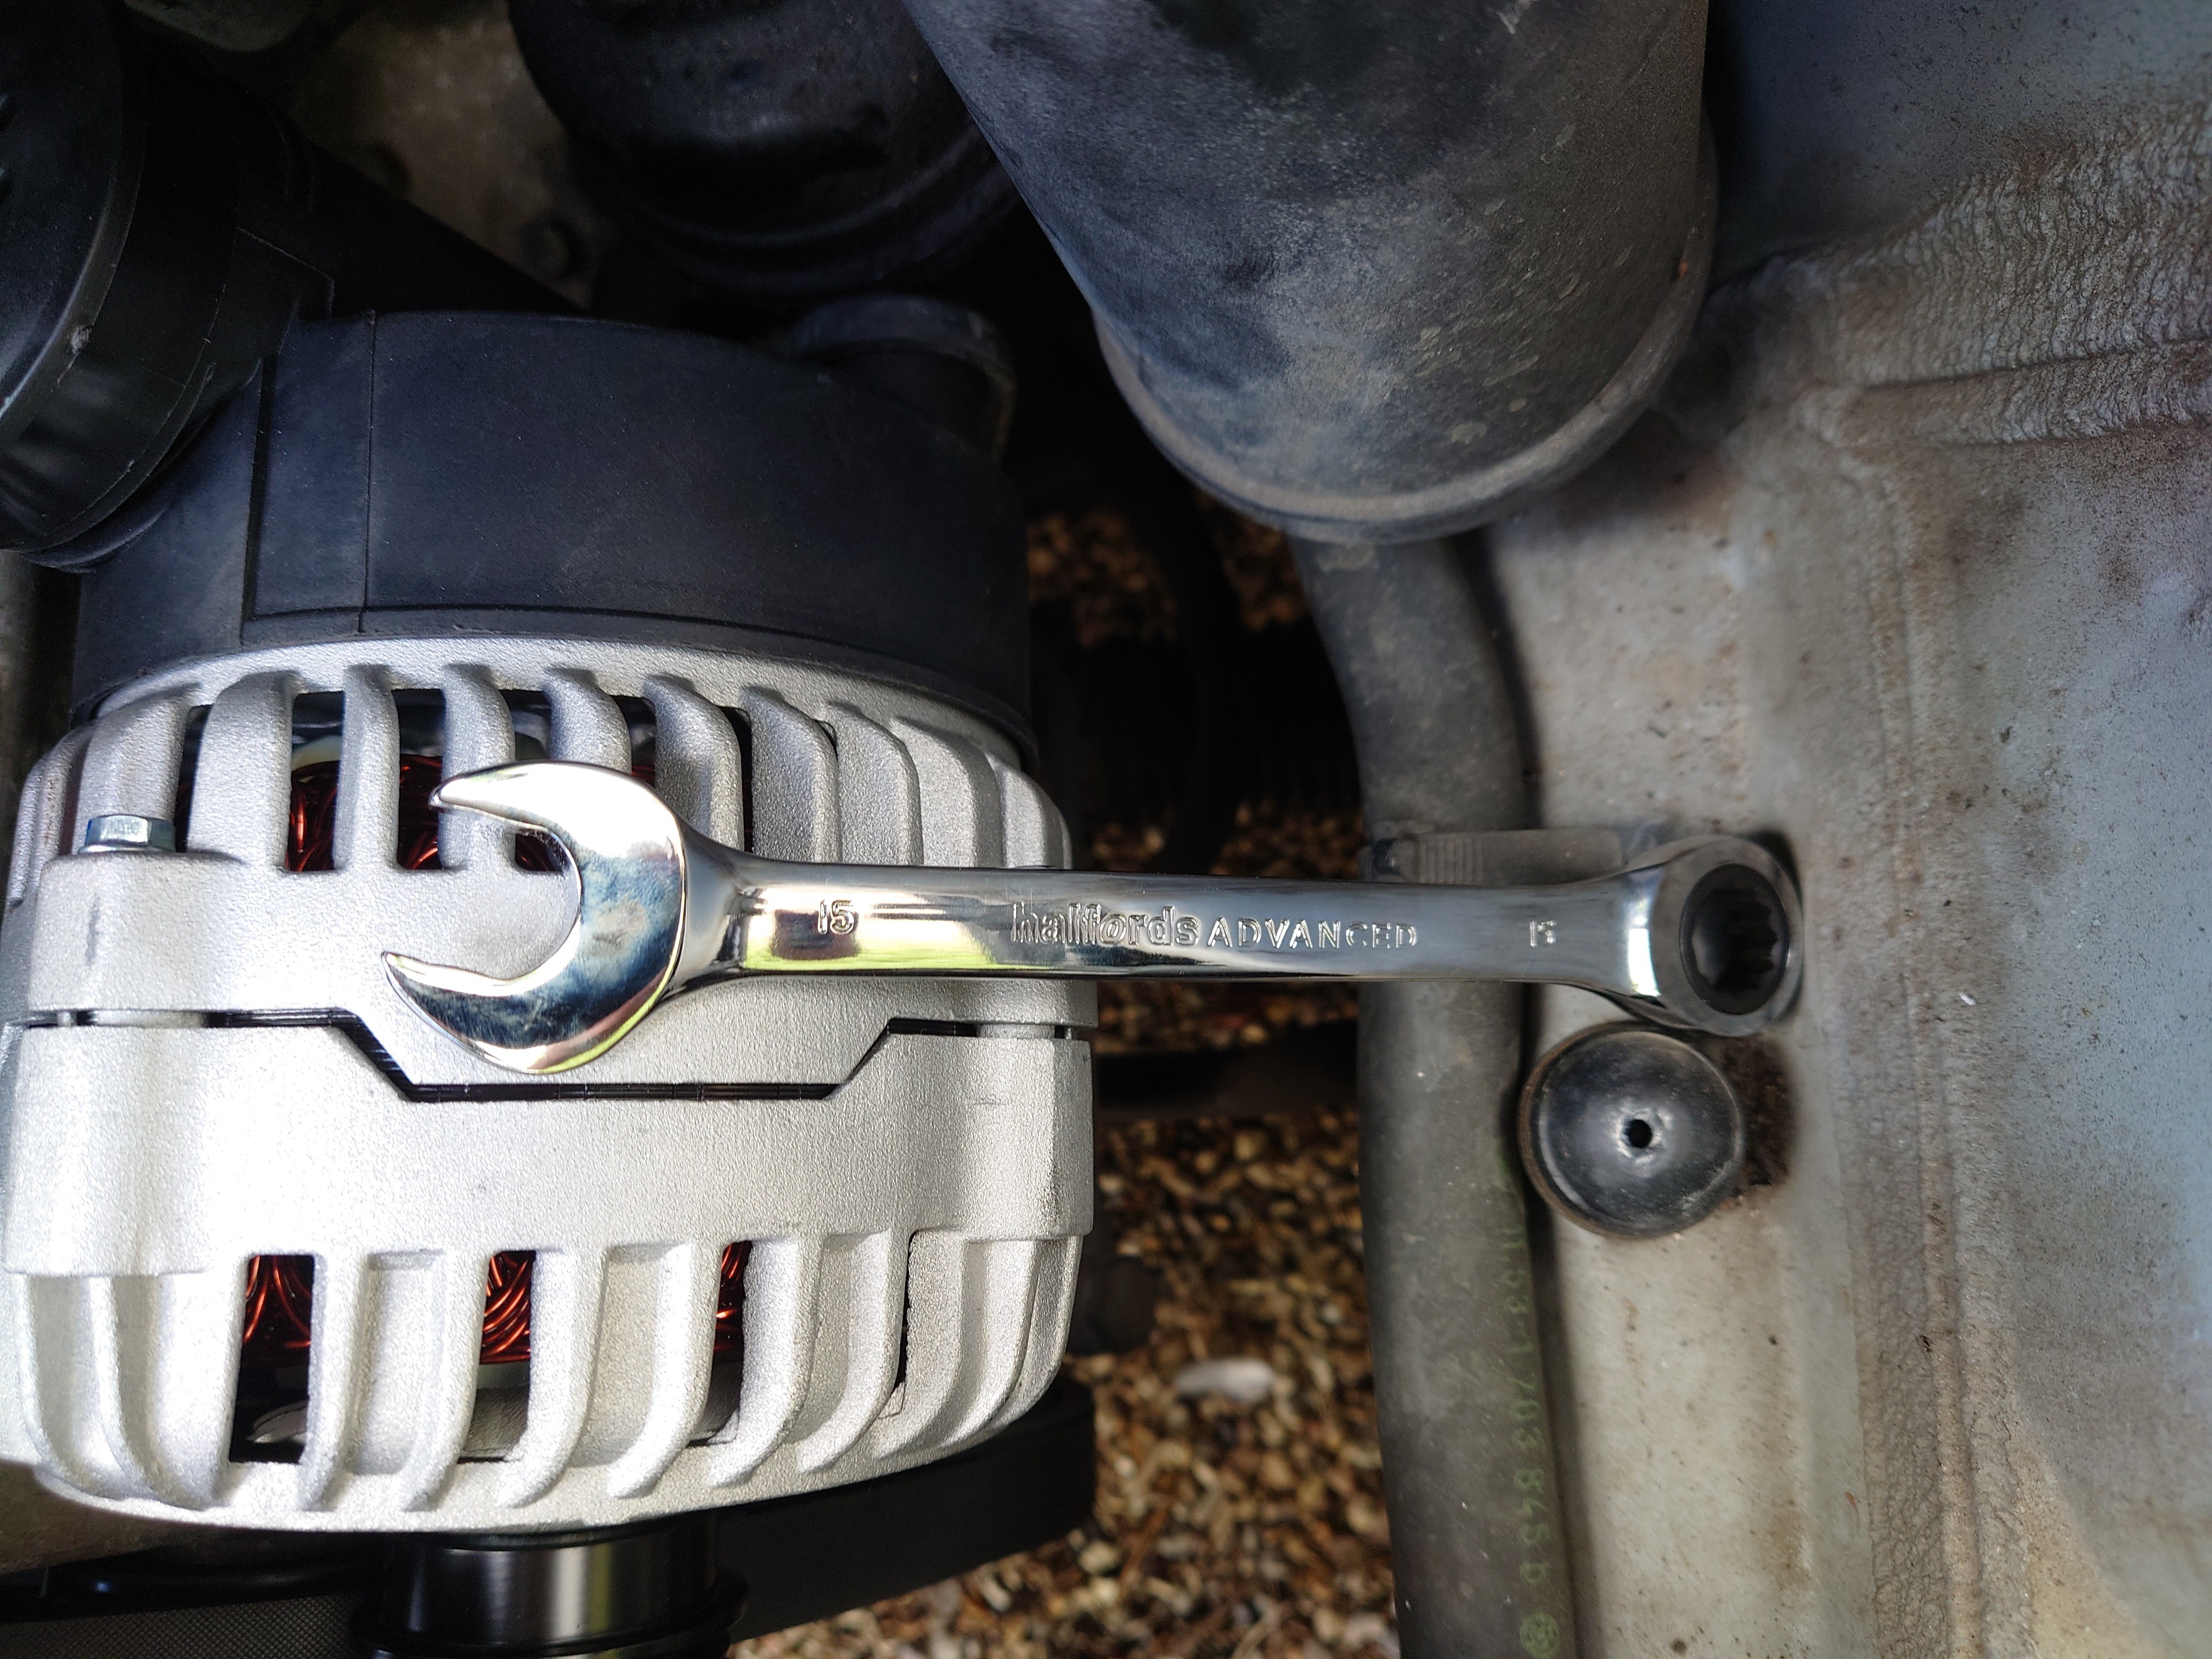
Do not tighen all the way yet!
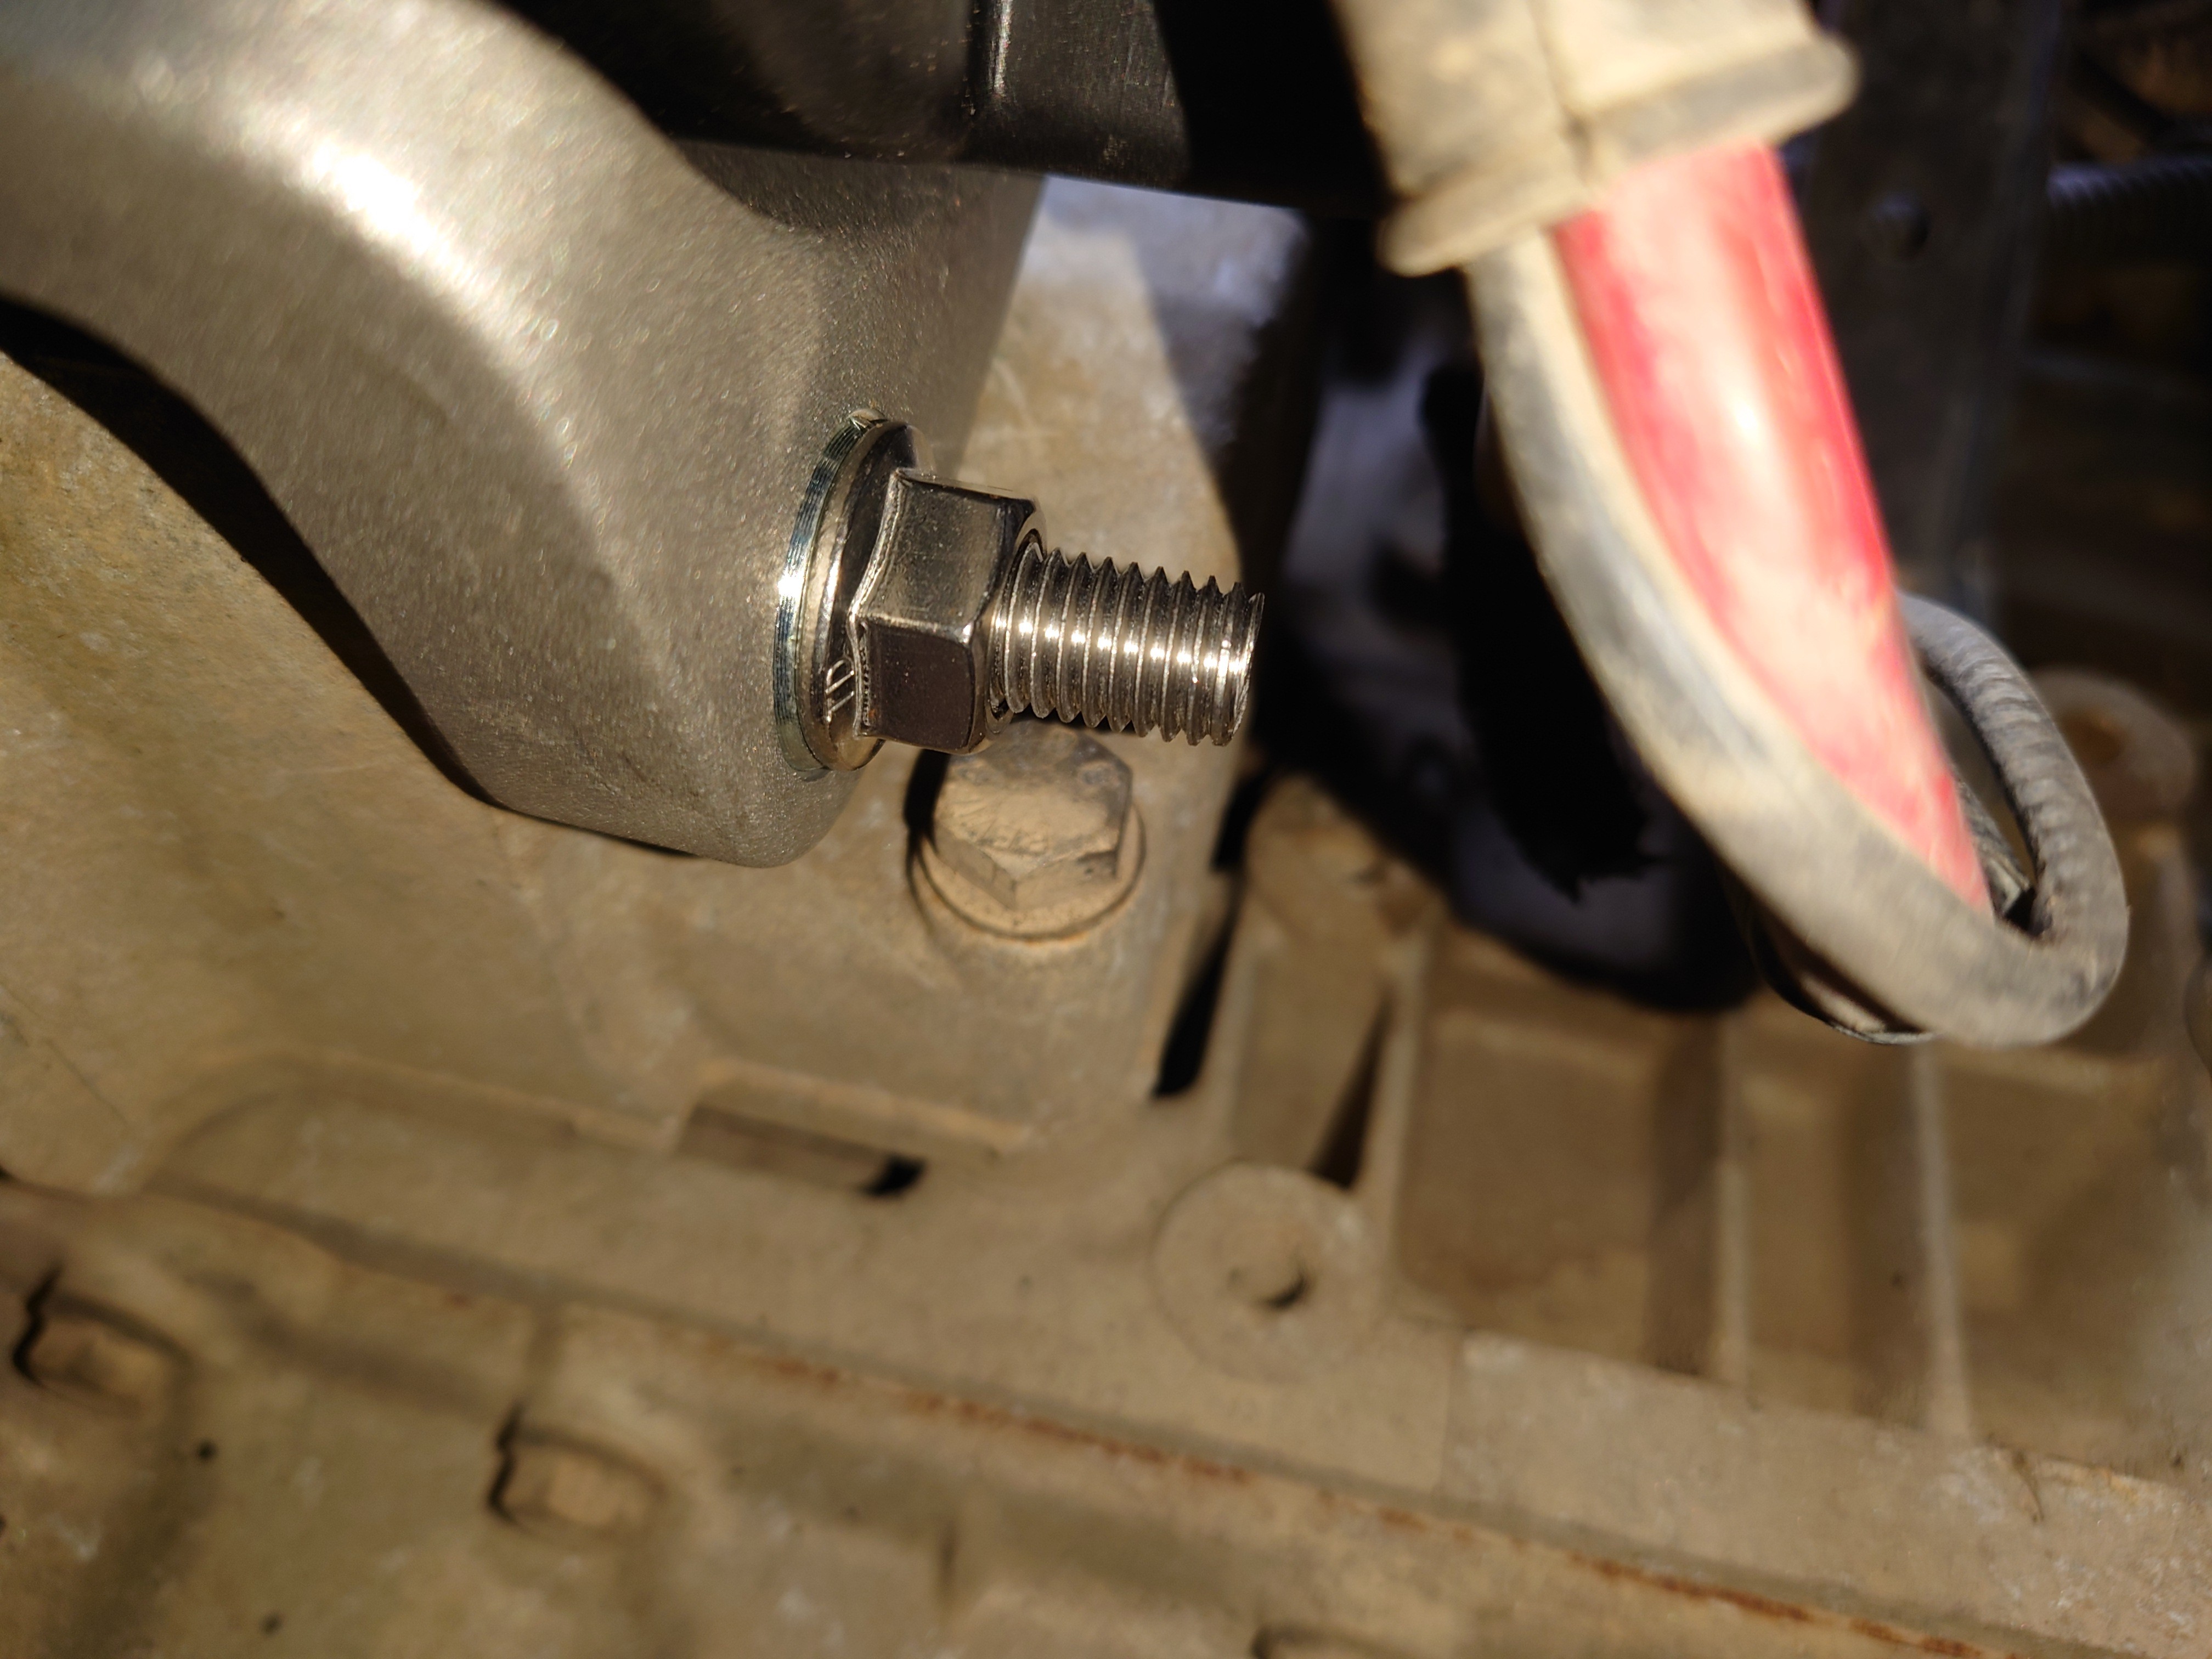
You may find that the top bolt is actually a little bit loose side to side. Line the alternator up, then tighten the top bolt all the way - the slack should disappear :)
I'm not sure what the torque specs are - I think I read somewhere a number around 30 Nm, but I don't have a torque wrench that operates in that range, so I just tightened until it felt okay. Remember, the engine block is made of aluminium, so it is humanly possible to overtighten, especially if you're using long tools.
Apparently some manuals give numbers in the 70-80 Nm range - this is almost definitely for the alternator pulley itself - you'll most likely wreck the threads in the engine block by applying that much torque to M10 bolts. Damage isn't as likely with the bottom bolt in this case, since it's screwing into a stainless steel nut, not the aluminium engine block, but still.
You can use a bit of thread locker if you're paranoid - I'll probably just check to make sure it's still tight after a while.
Once you have the top bolt tightened, go ahead and tighten the bottom. In my case, the alternator has that smooth insert for the bolt. As I tightened, the insert got pulled further in by the bolt/nut. This is probably fine - it'll likely just make the alternator more difficult to remove, like the old one was.
It's in!
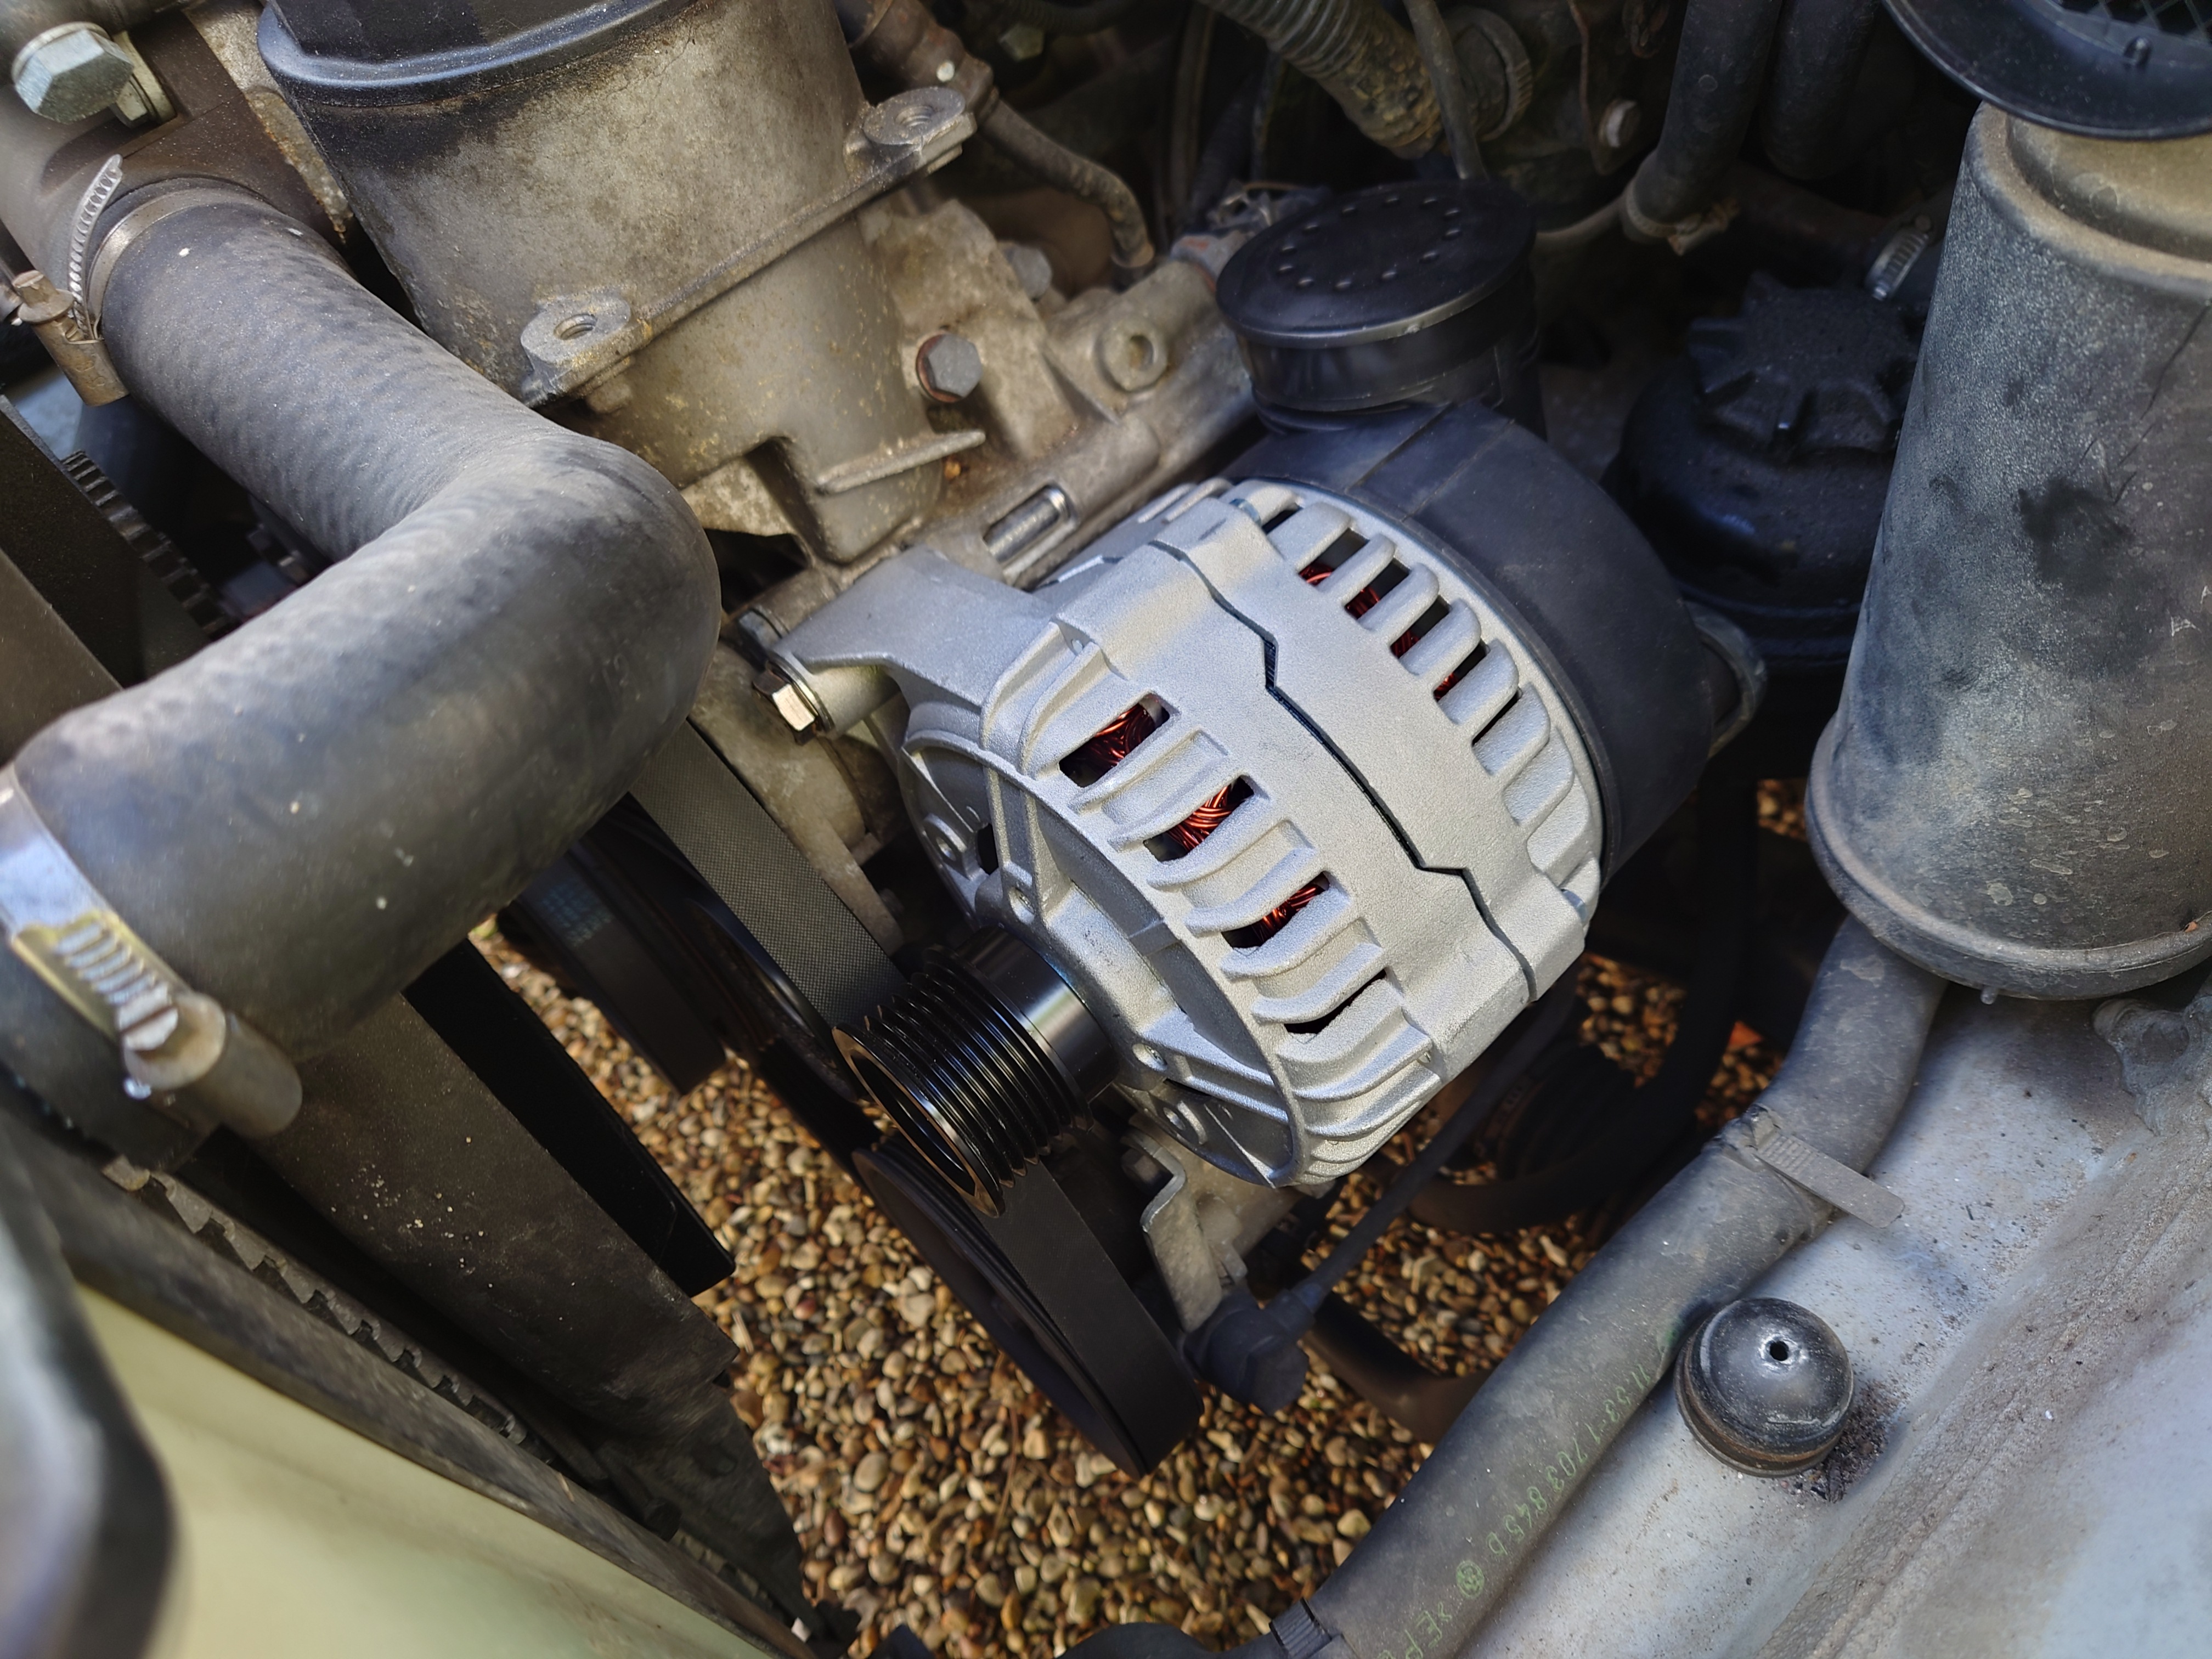
Now just to get the drive belt back on. Wipe any dirt of dust that might've accumulated on the pulley first. Same process with the tensioner pulley, get a 16mm socket on it, and loosen the belt until you can slip it over the alternator pulley.
Make sure the belt is sitting properly on all of its pulleys! That means neatly in all 6 grooves, with no overhangs!
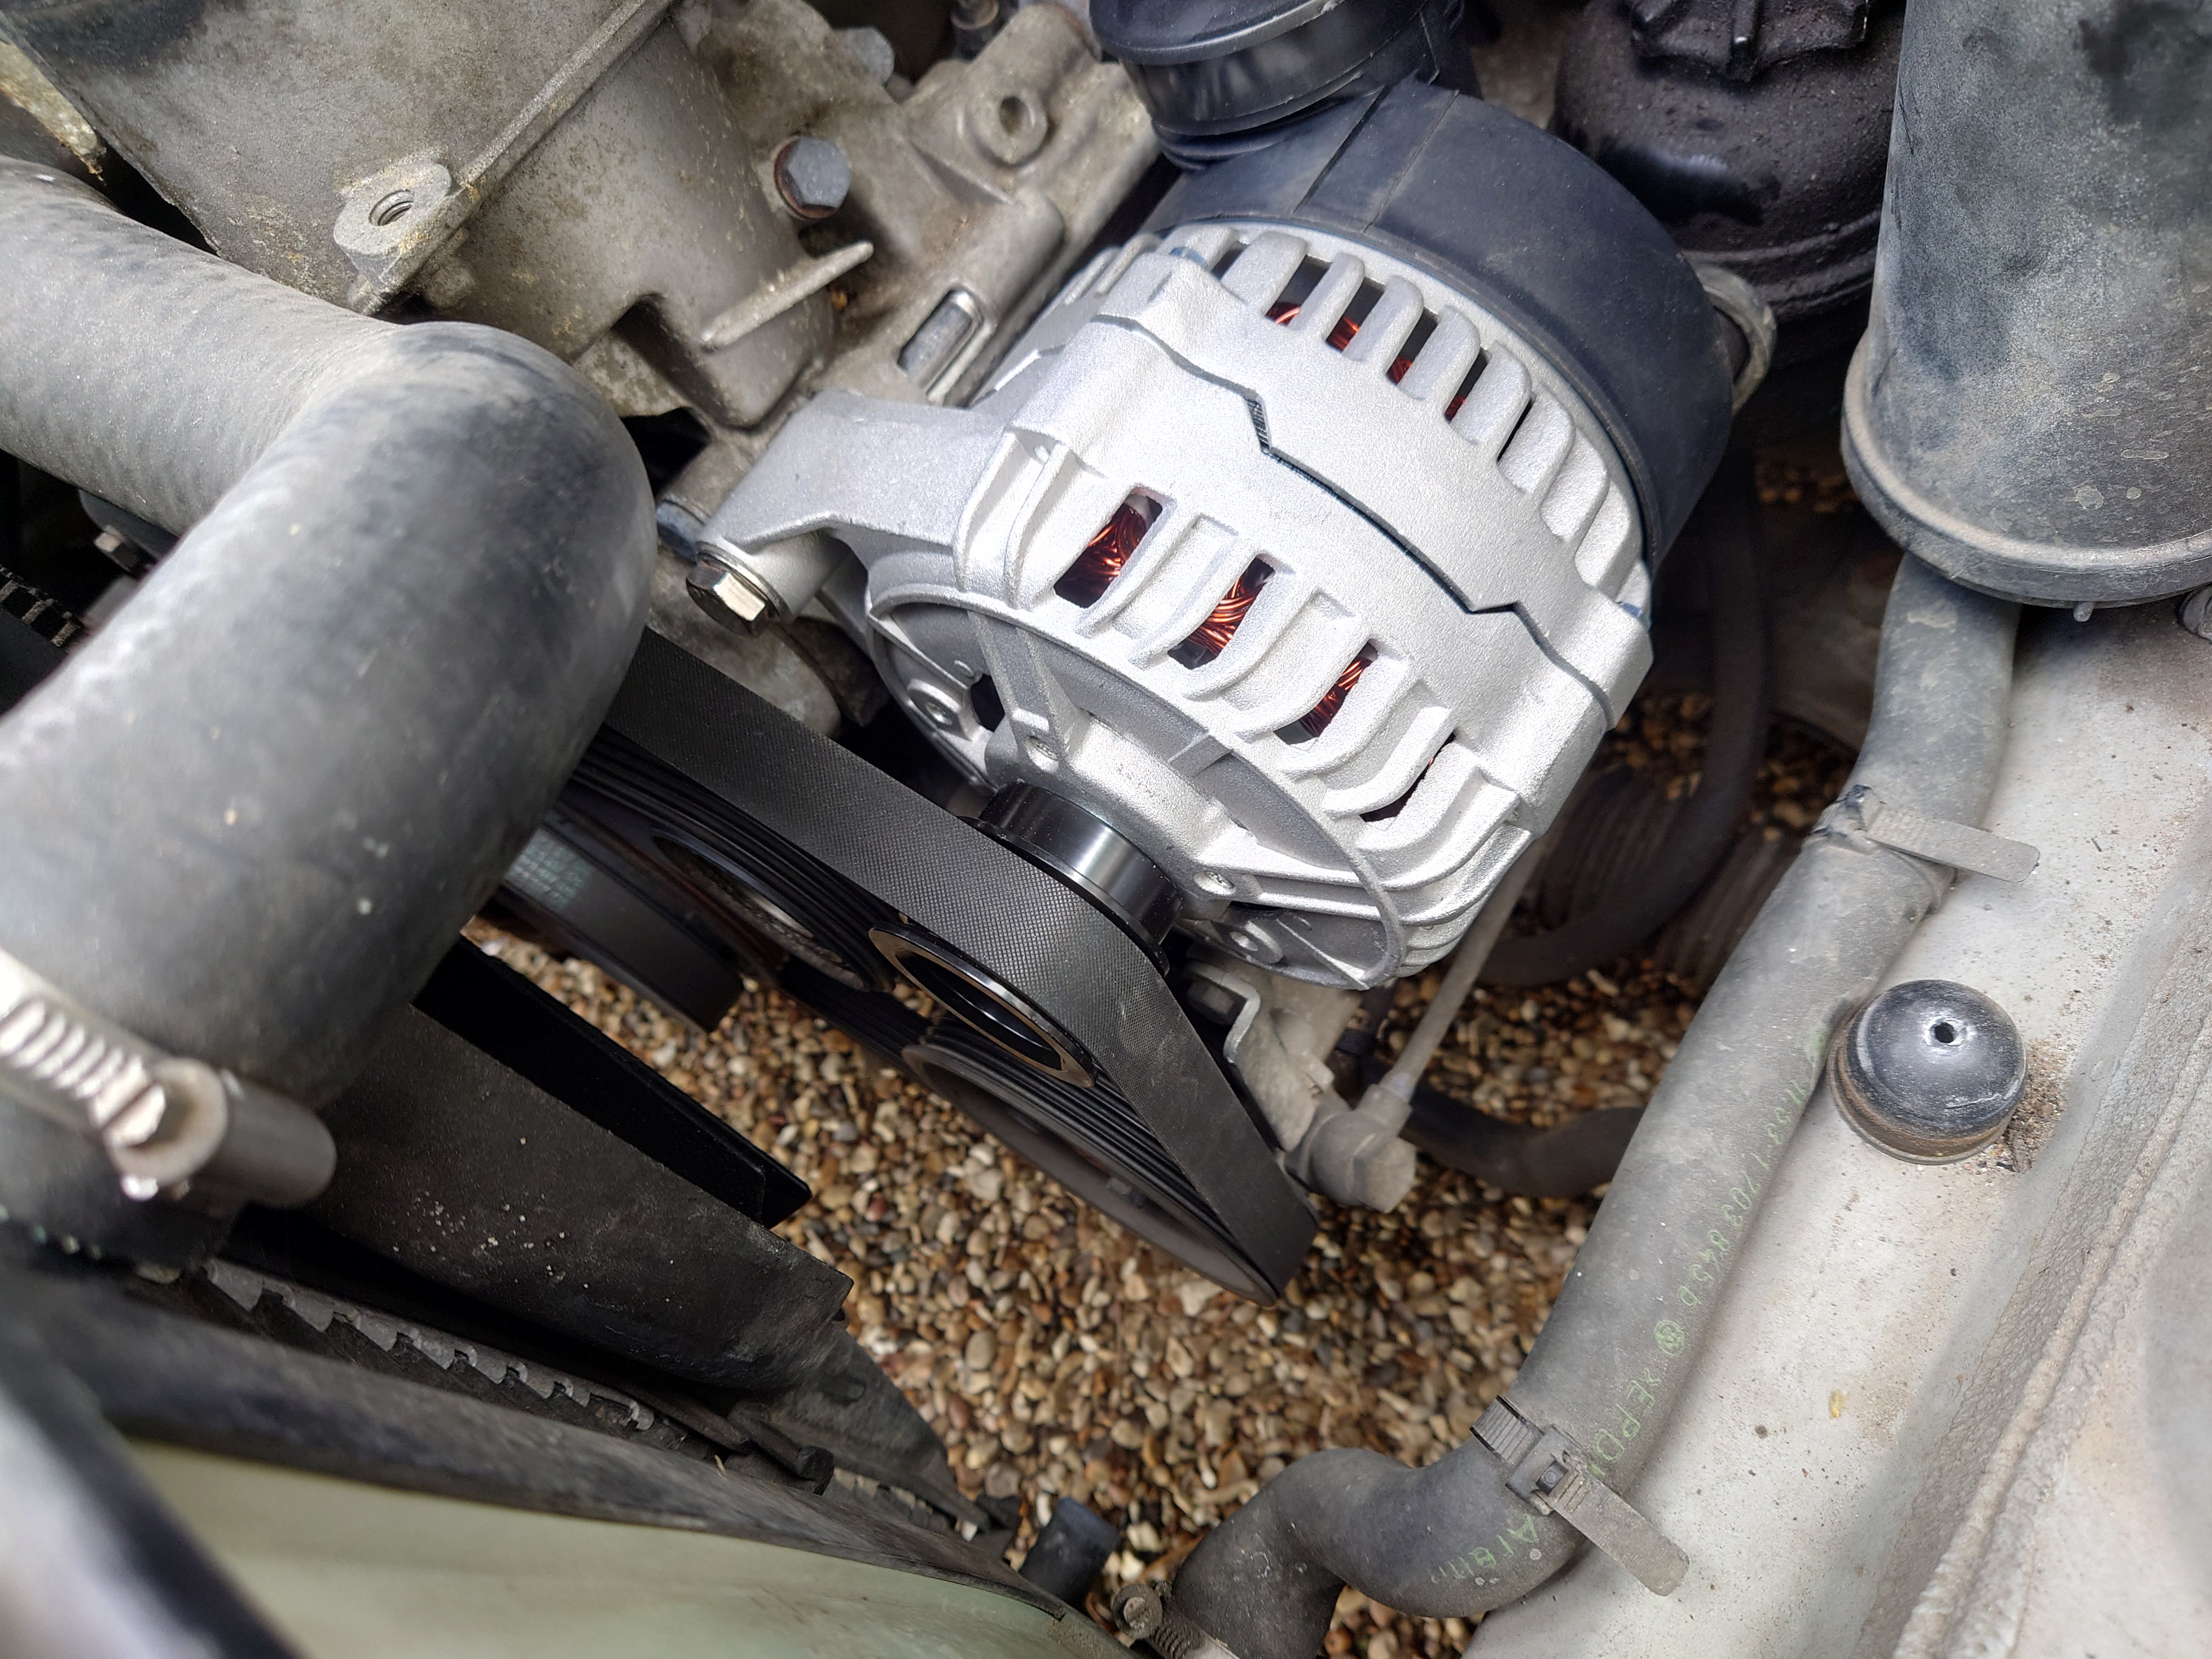
Remember to put the protective cap back on the tensioner!
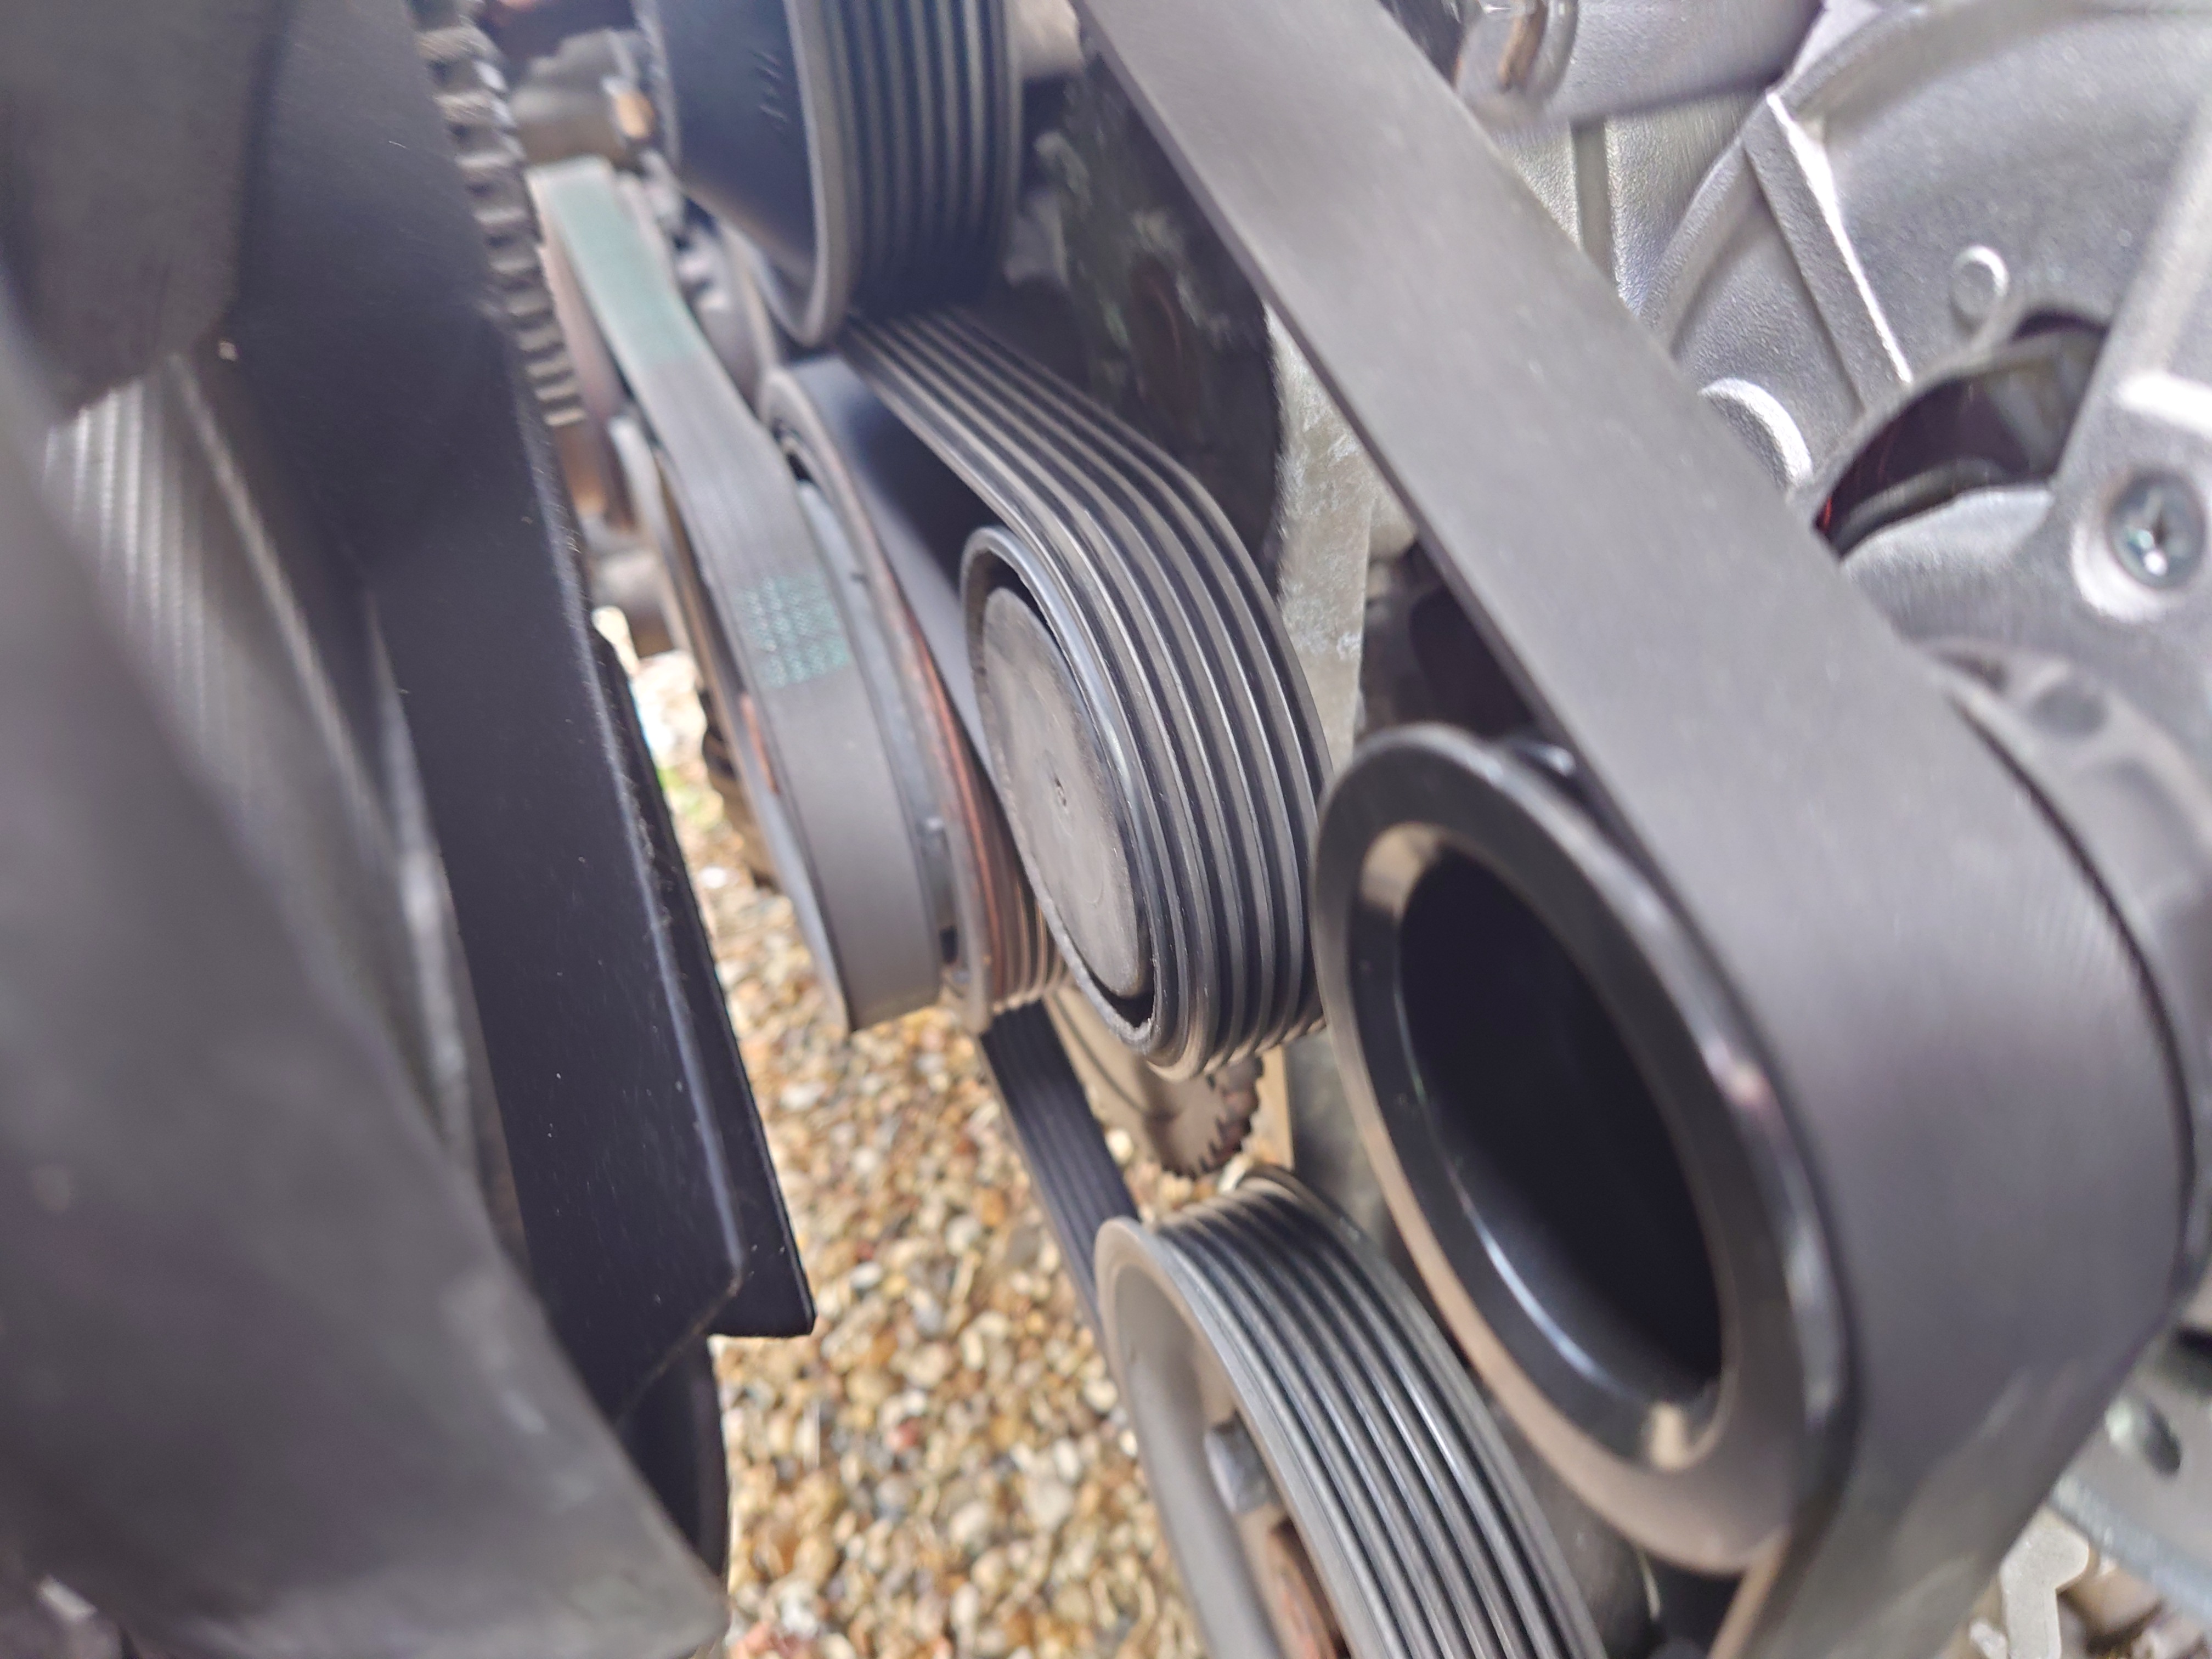
Now all that's left is to get the air ducting all back in. Start with the alternator's air intake. Make sure that no crap has fallen in before you reassemble everything.
This is all quite old plastic at this point - I probably would just replace it if I was do this again. The duct for the alternator intake is split on the intake side to allow it to more snugly fit with the hose clamp tightened. It can help to pull these "tabs" apart a bit, and to unscrew the hose clamp all the way without opening it.
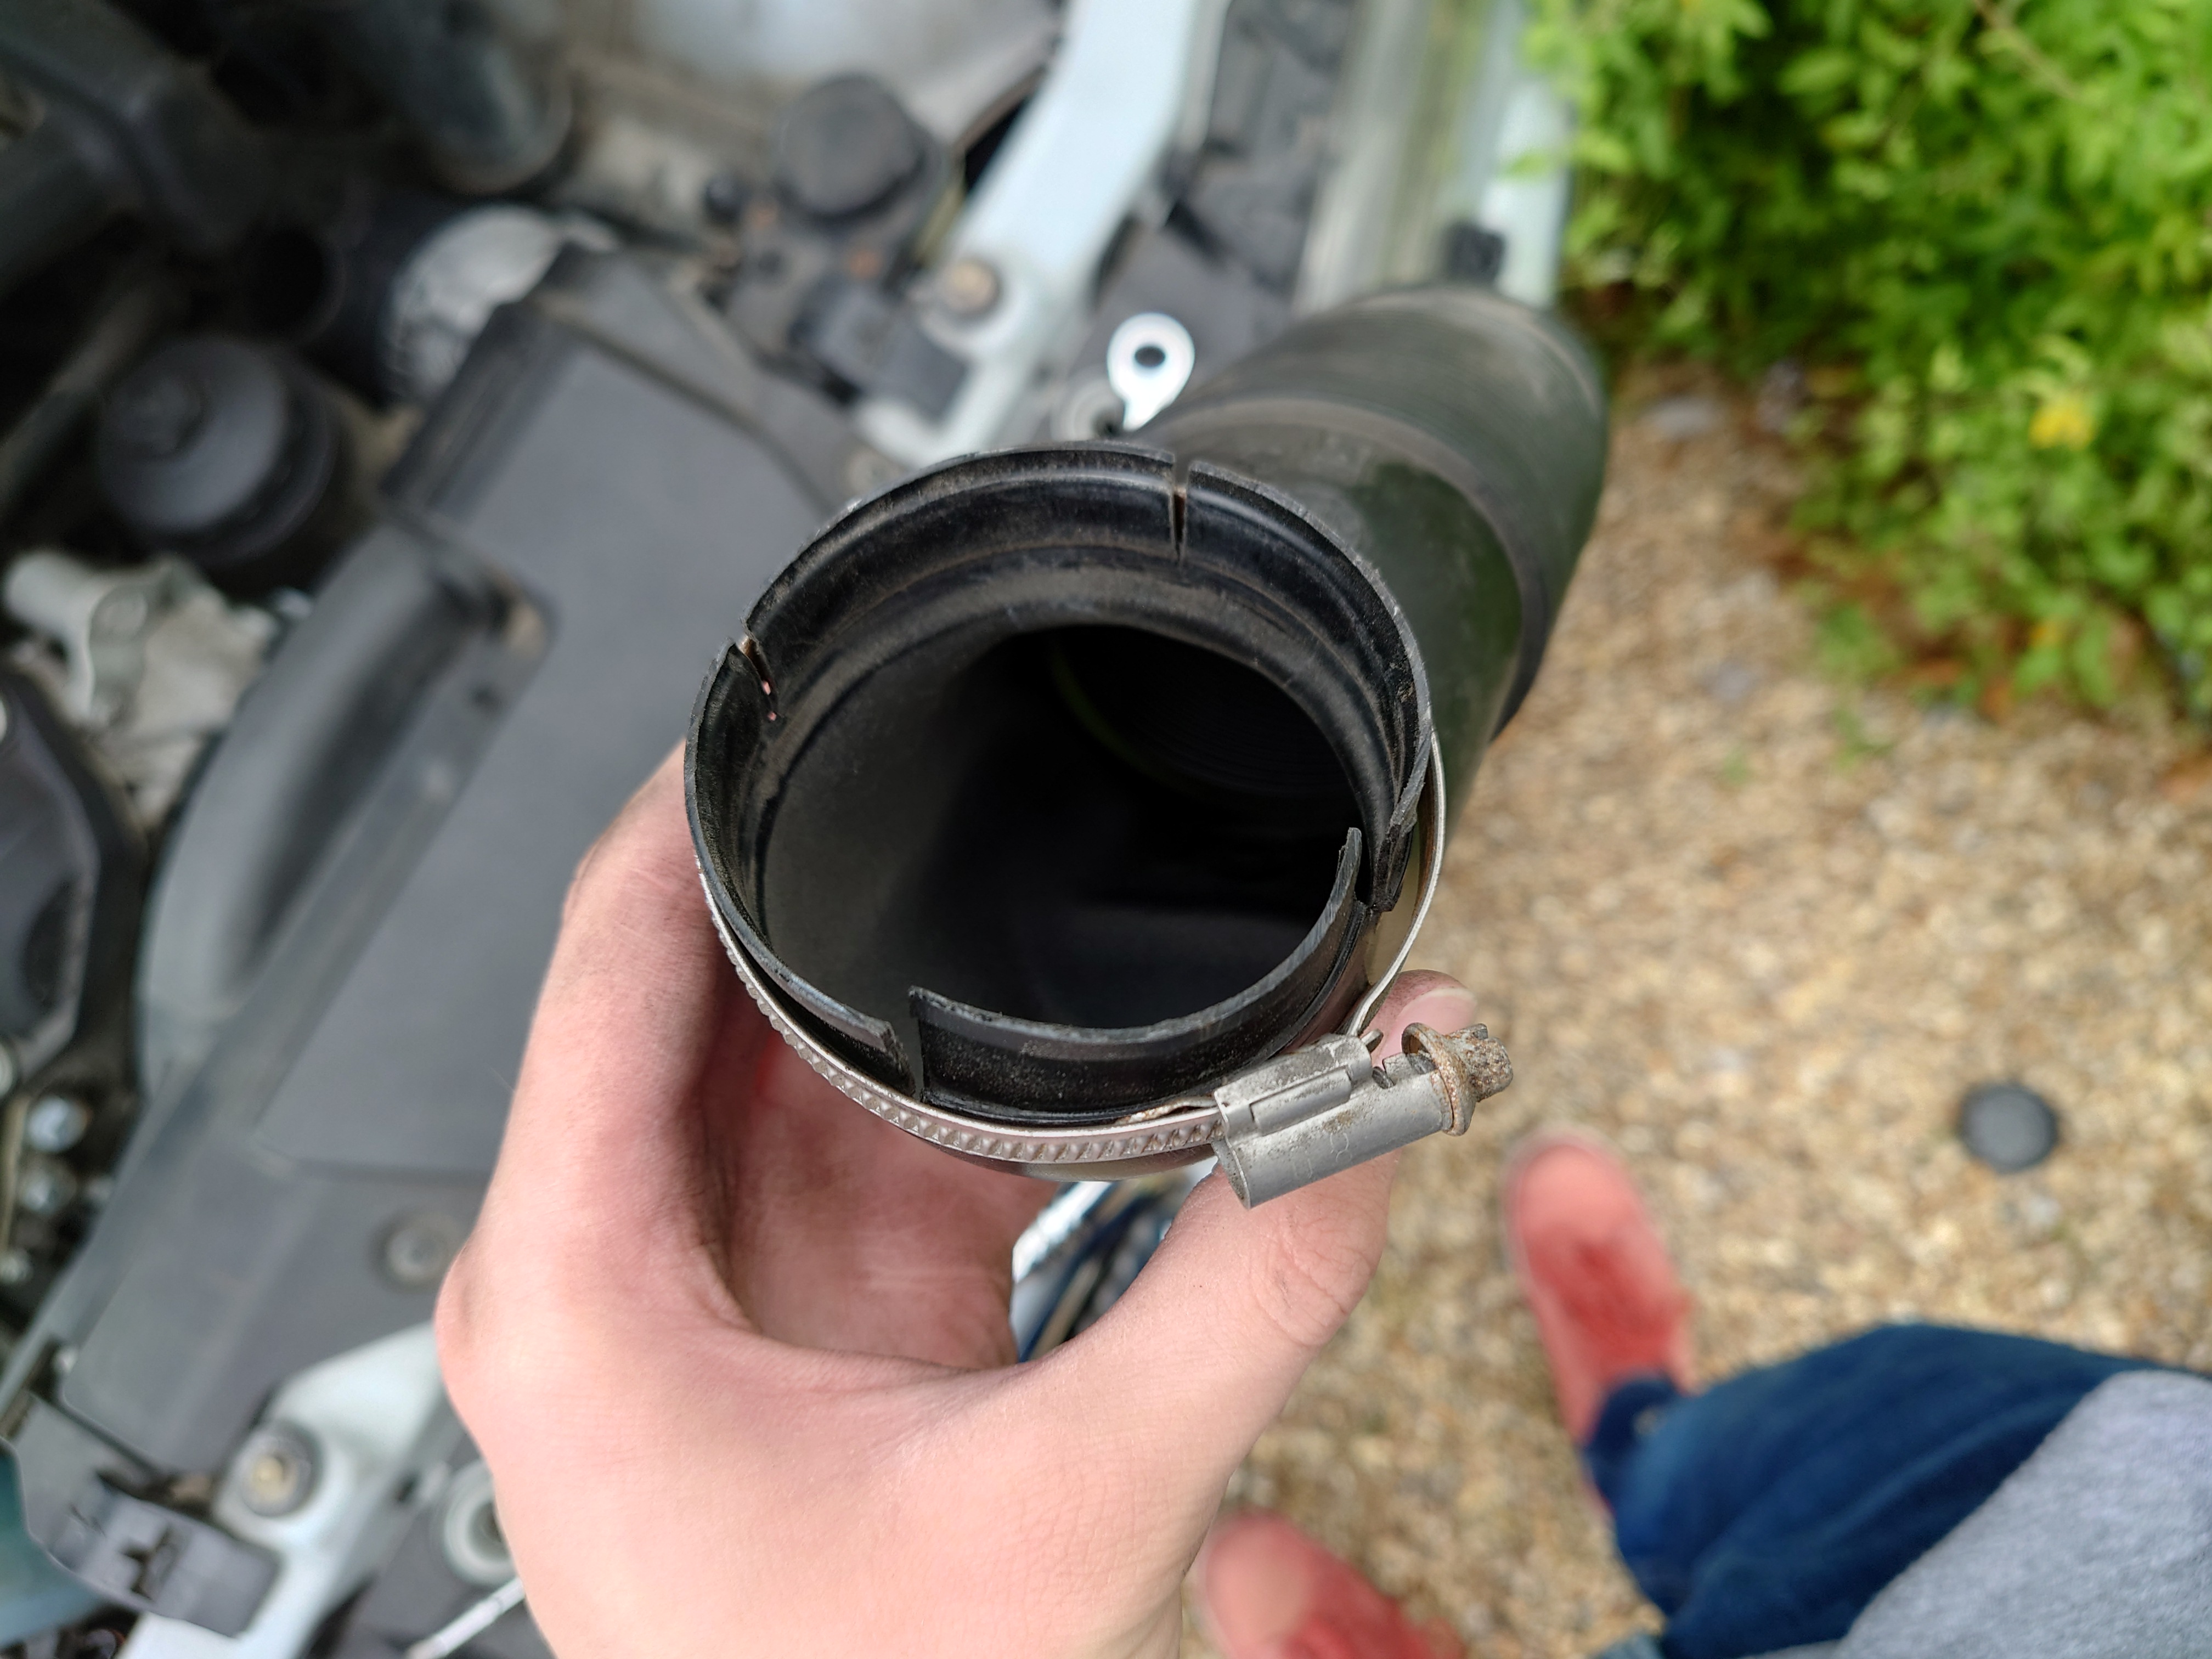
Since the alternator end has some wiggle room thanks to these tabs, it was easier for me to get the front end in first, and then to shimmy the alternator end in. Make sure to tighten the hose clamp. Not too tight though - remember, it's brittle plastic. Just enough to secure it.
In hindsight, it looks like that corrugated bit should detatch from the front bit - that might've made it a bit easier.
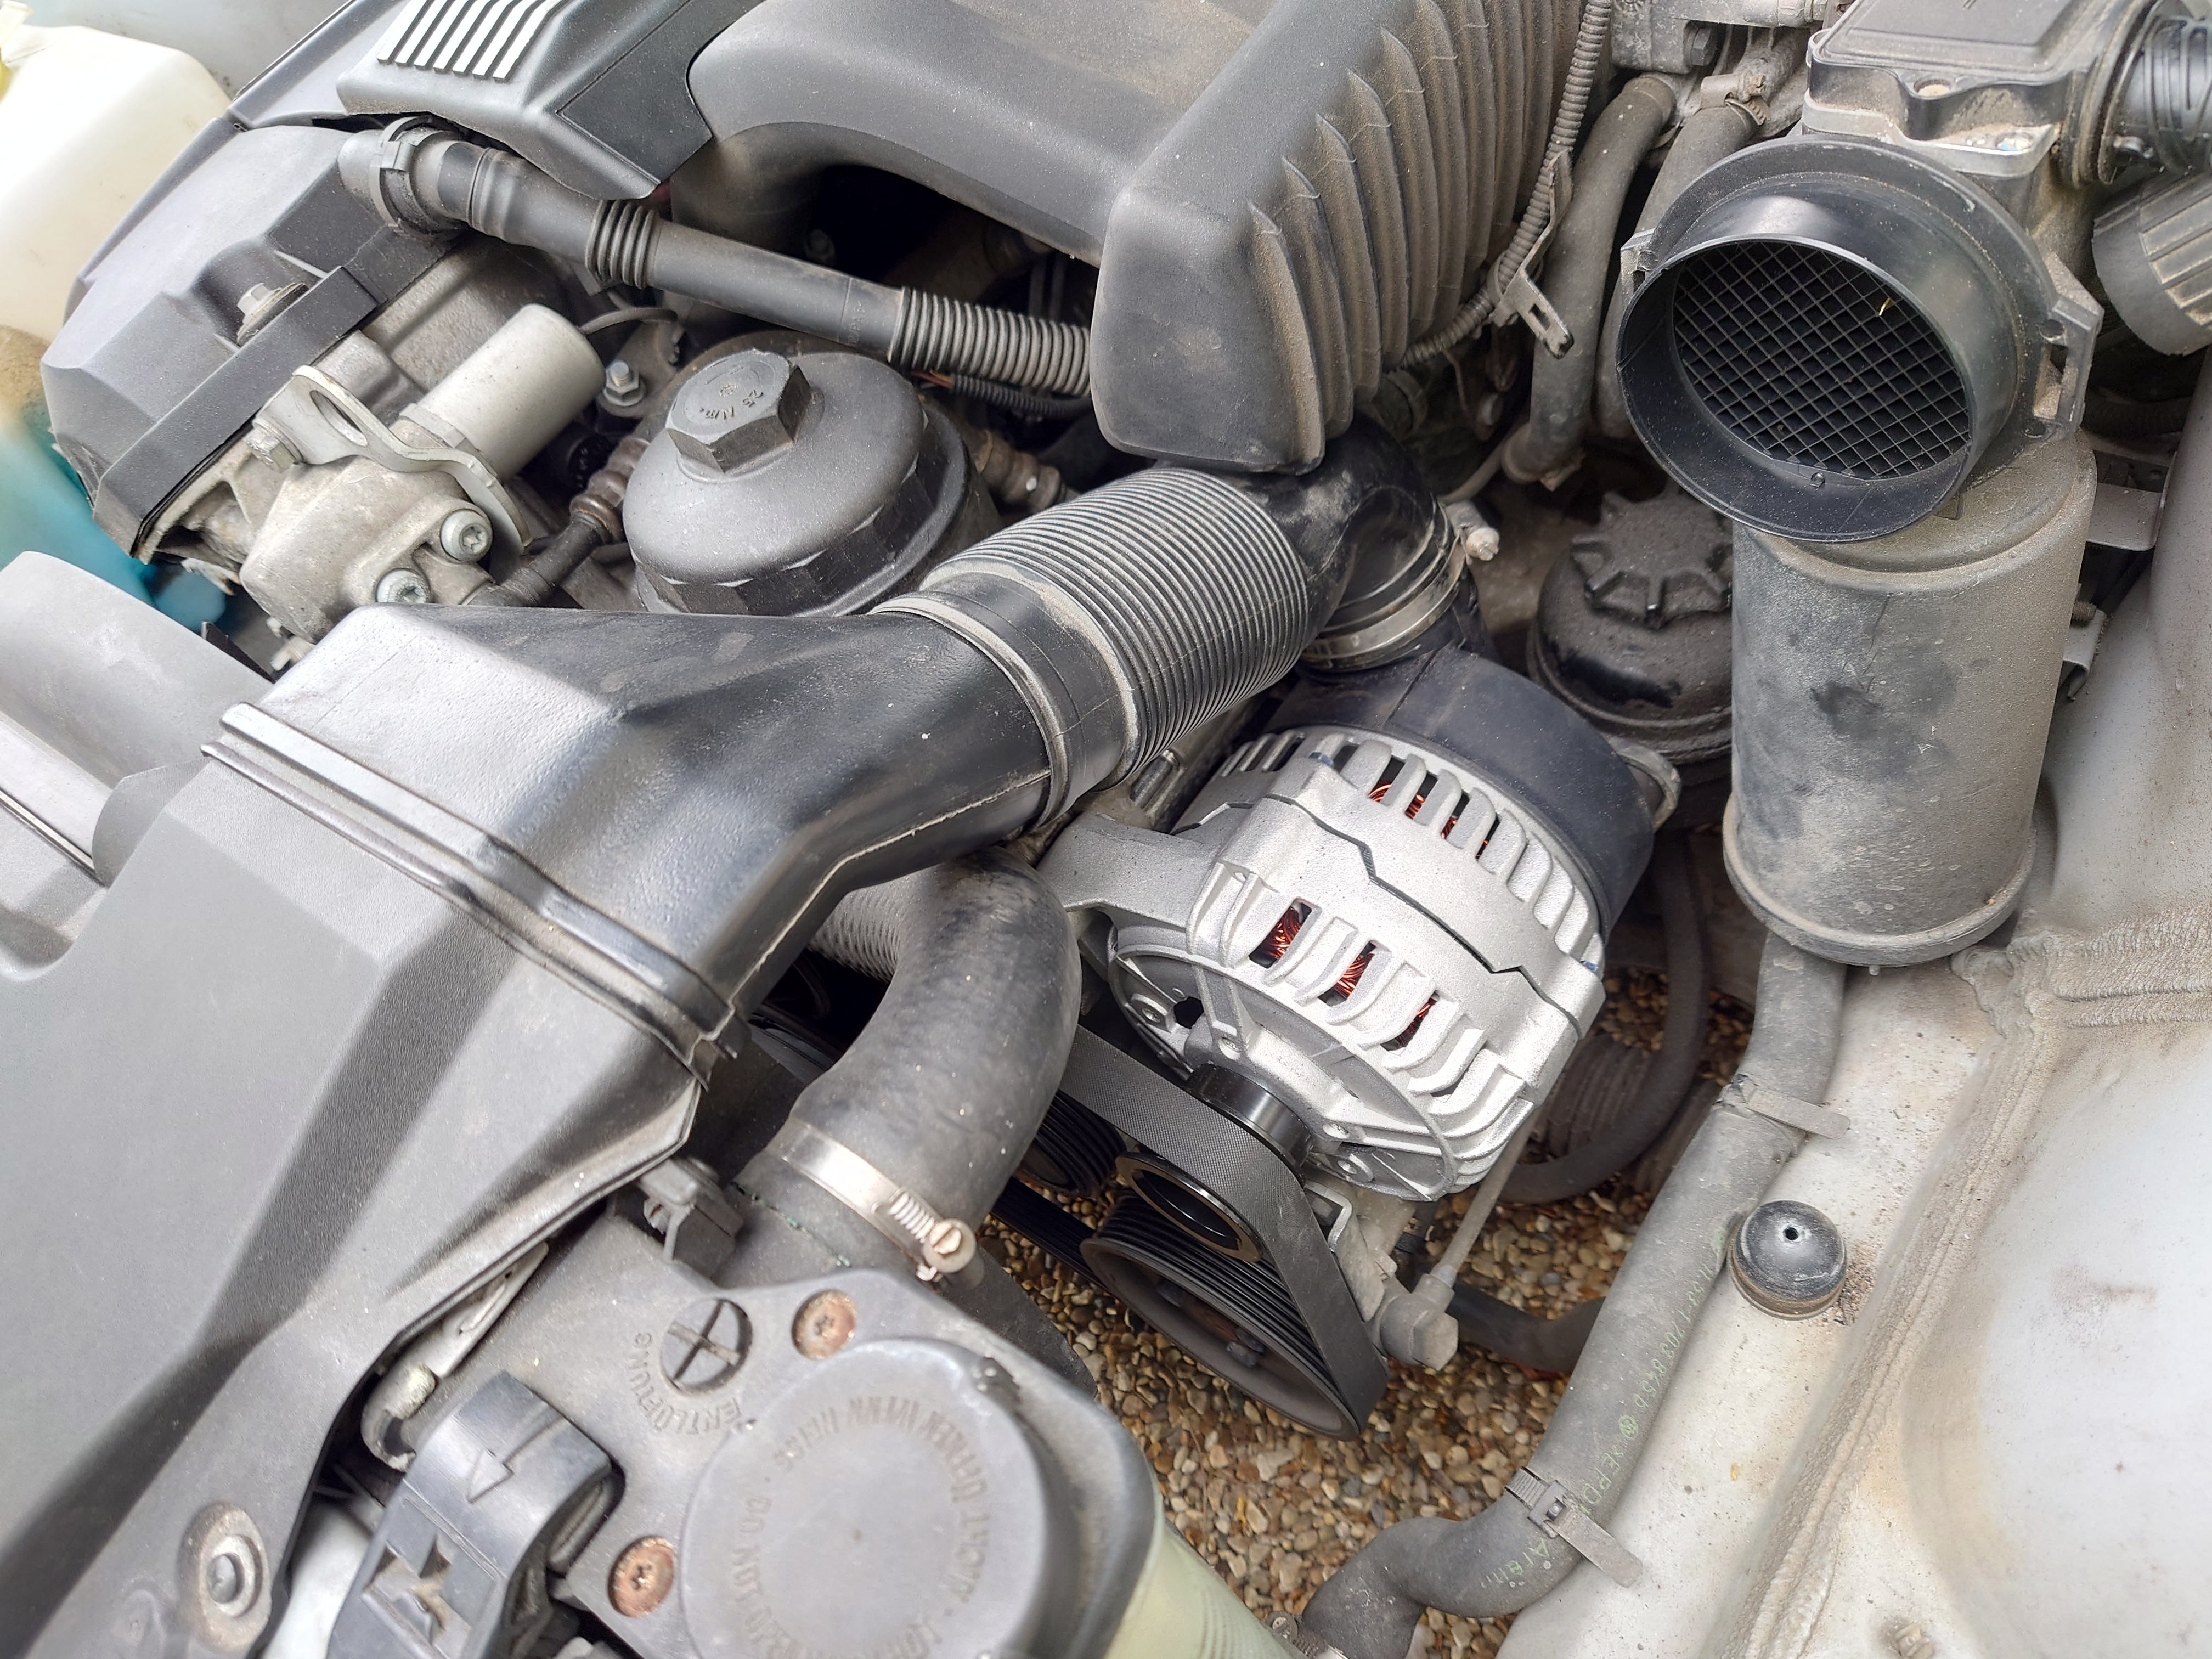
Now to refit the intake. You'll notice that the duct has this little hook in the middle.
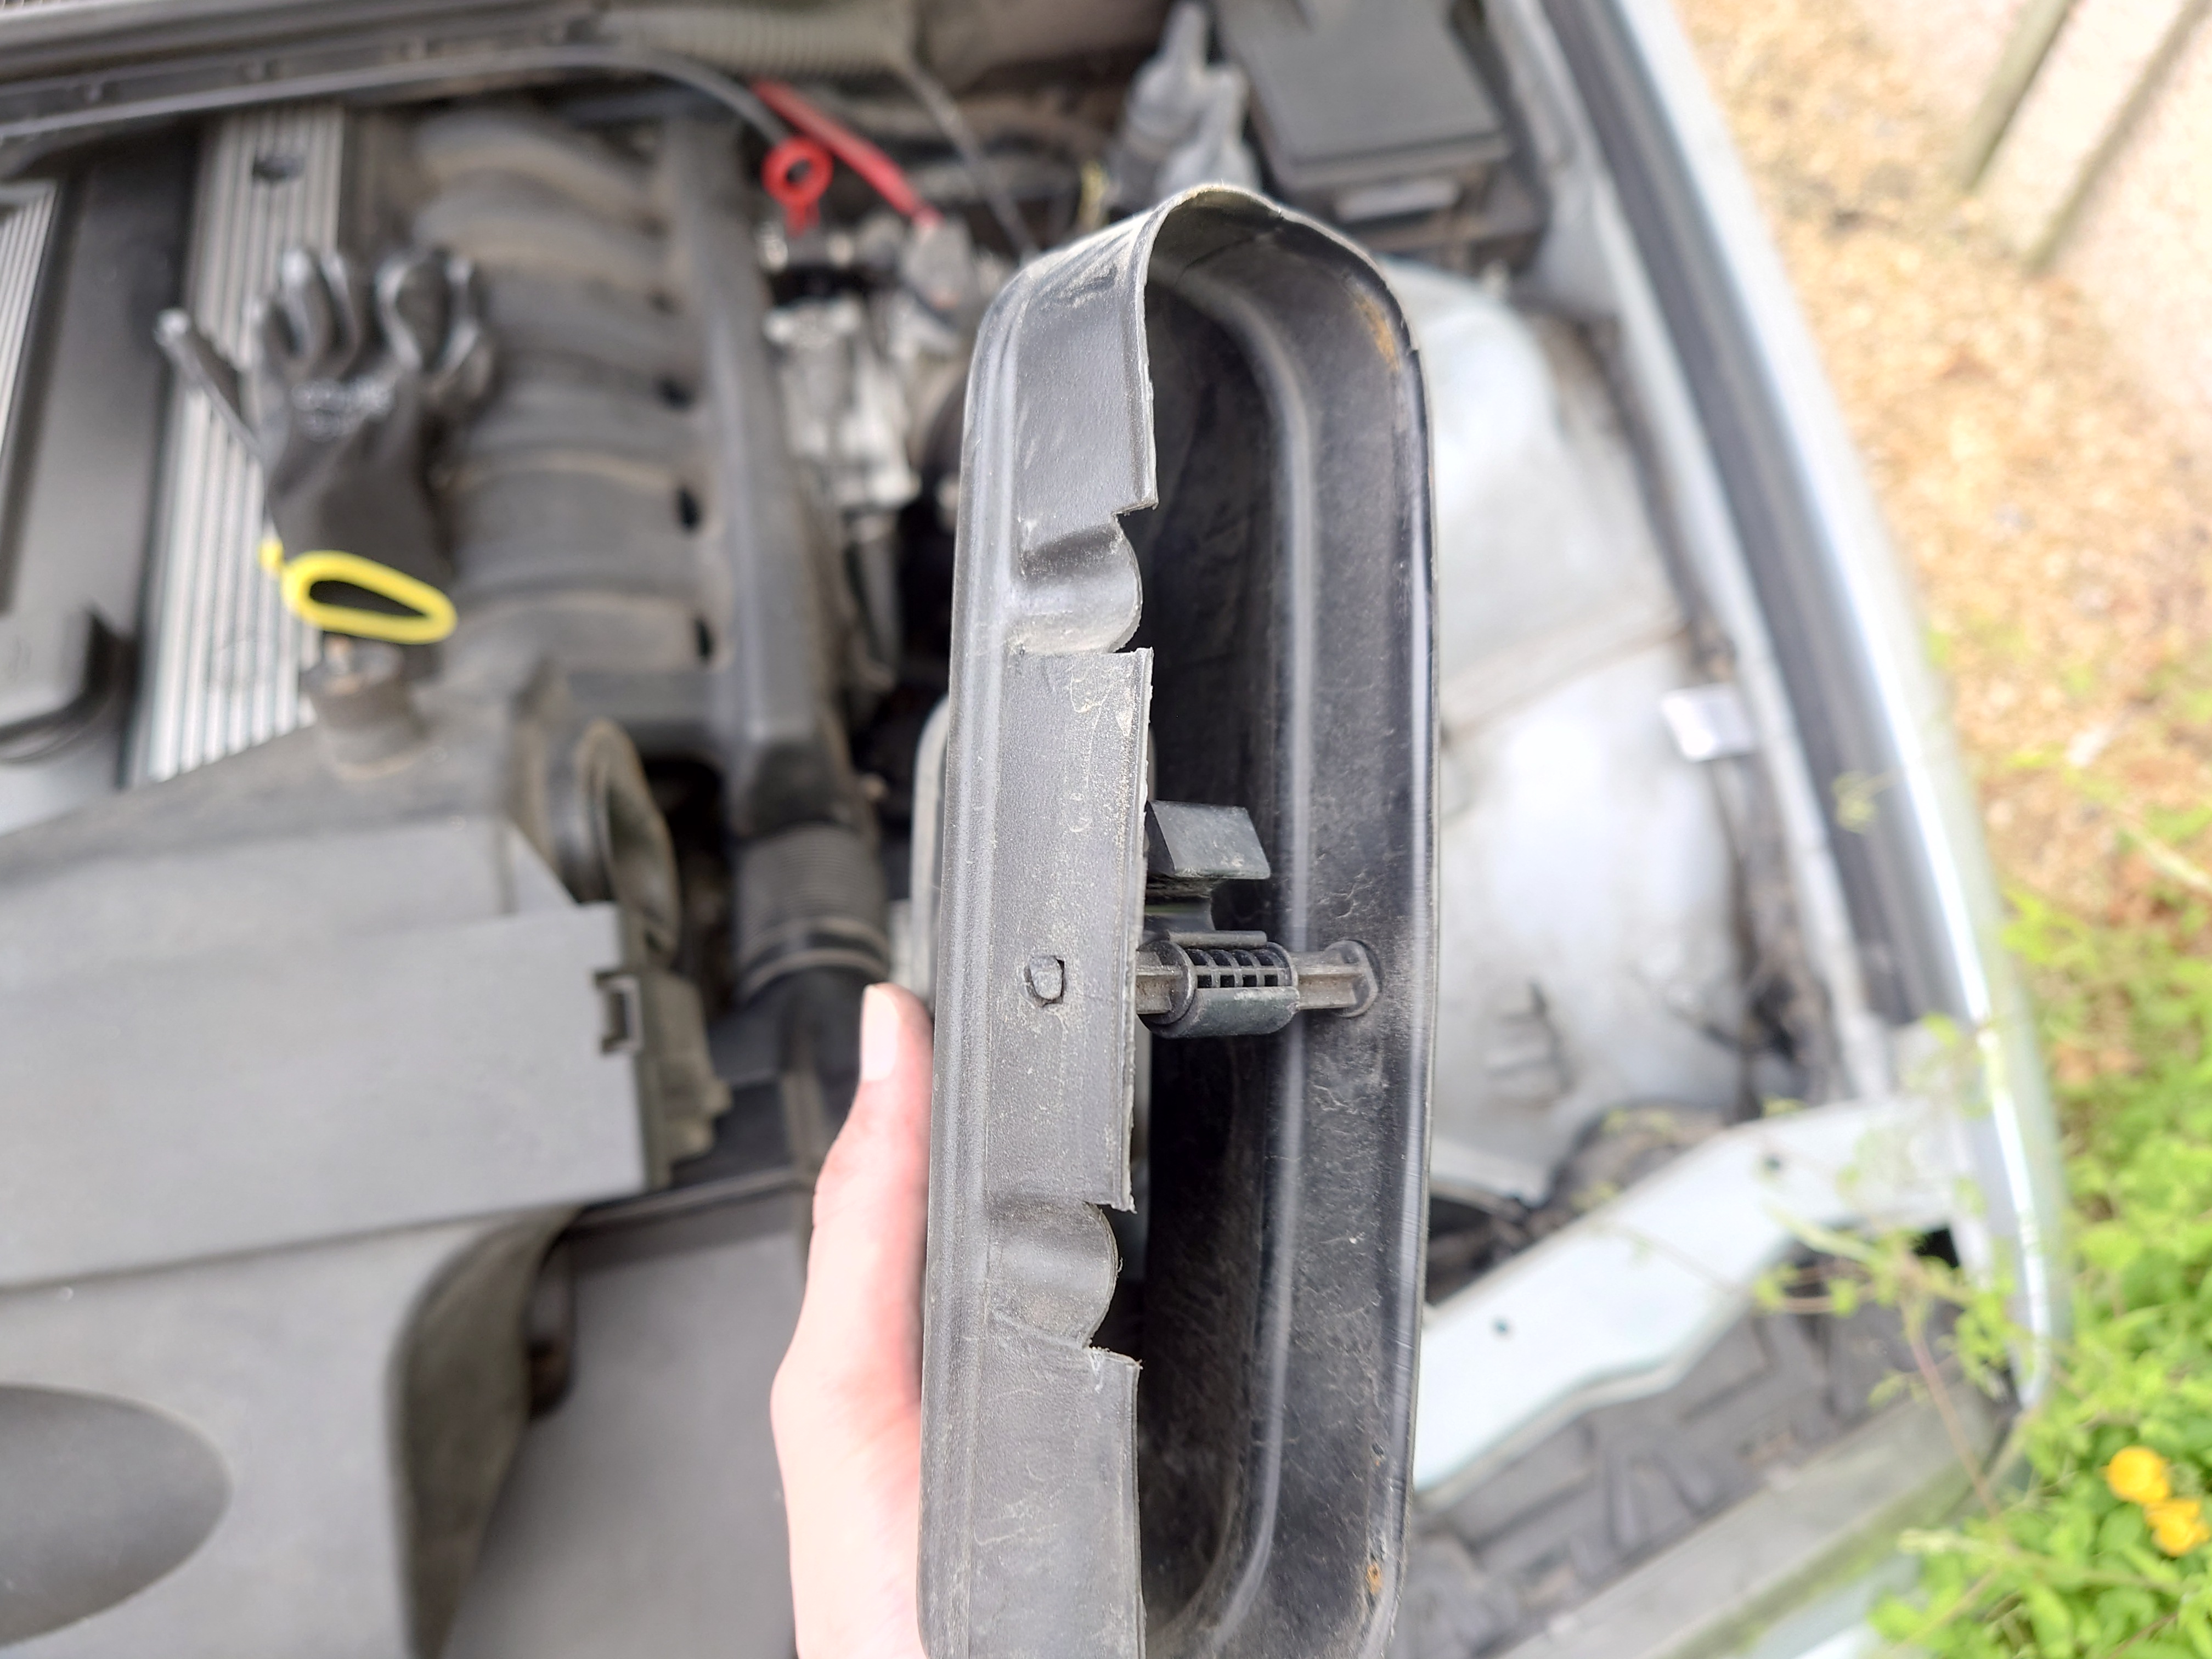
As far as I can tell this is supposed to hook onto the bit of bodywork that the duct is pushed against. But there's nowhere near enough space to get your fingers or any tool into there to turn the hook - you'd probably have to go through the front grille. I can't be arsed to do that - the airbox holds it in securely anyway.
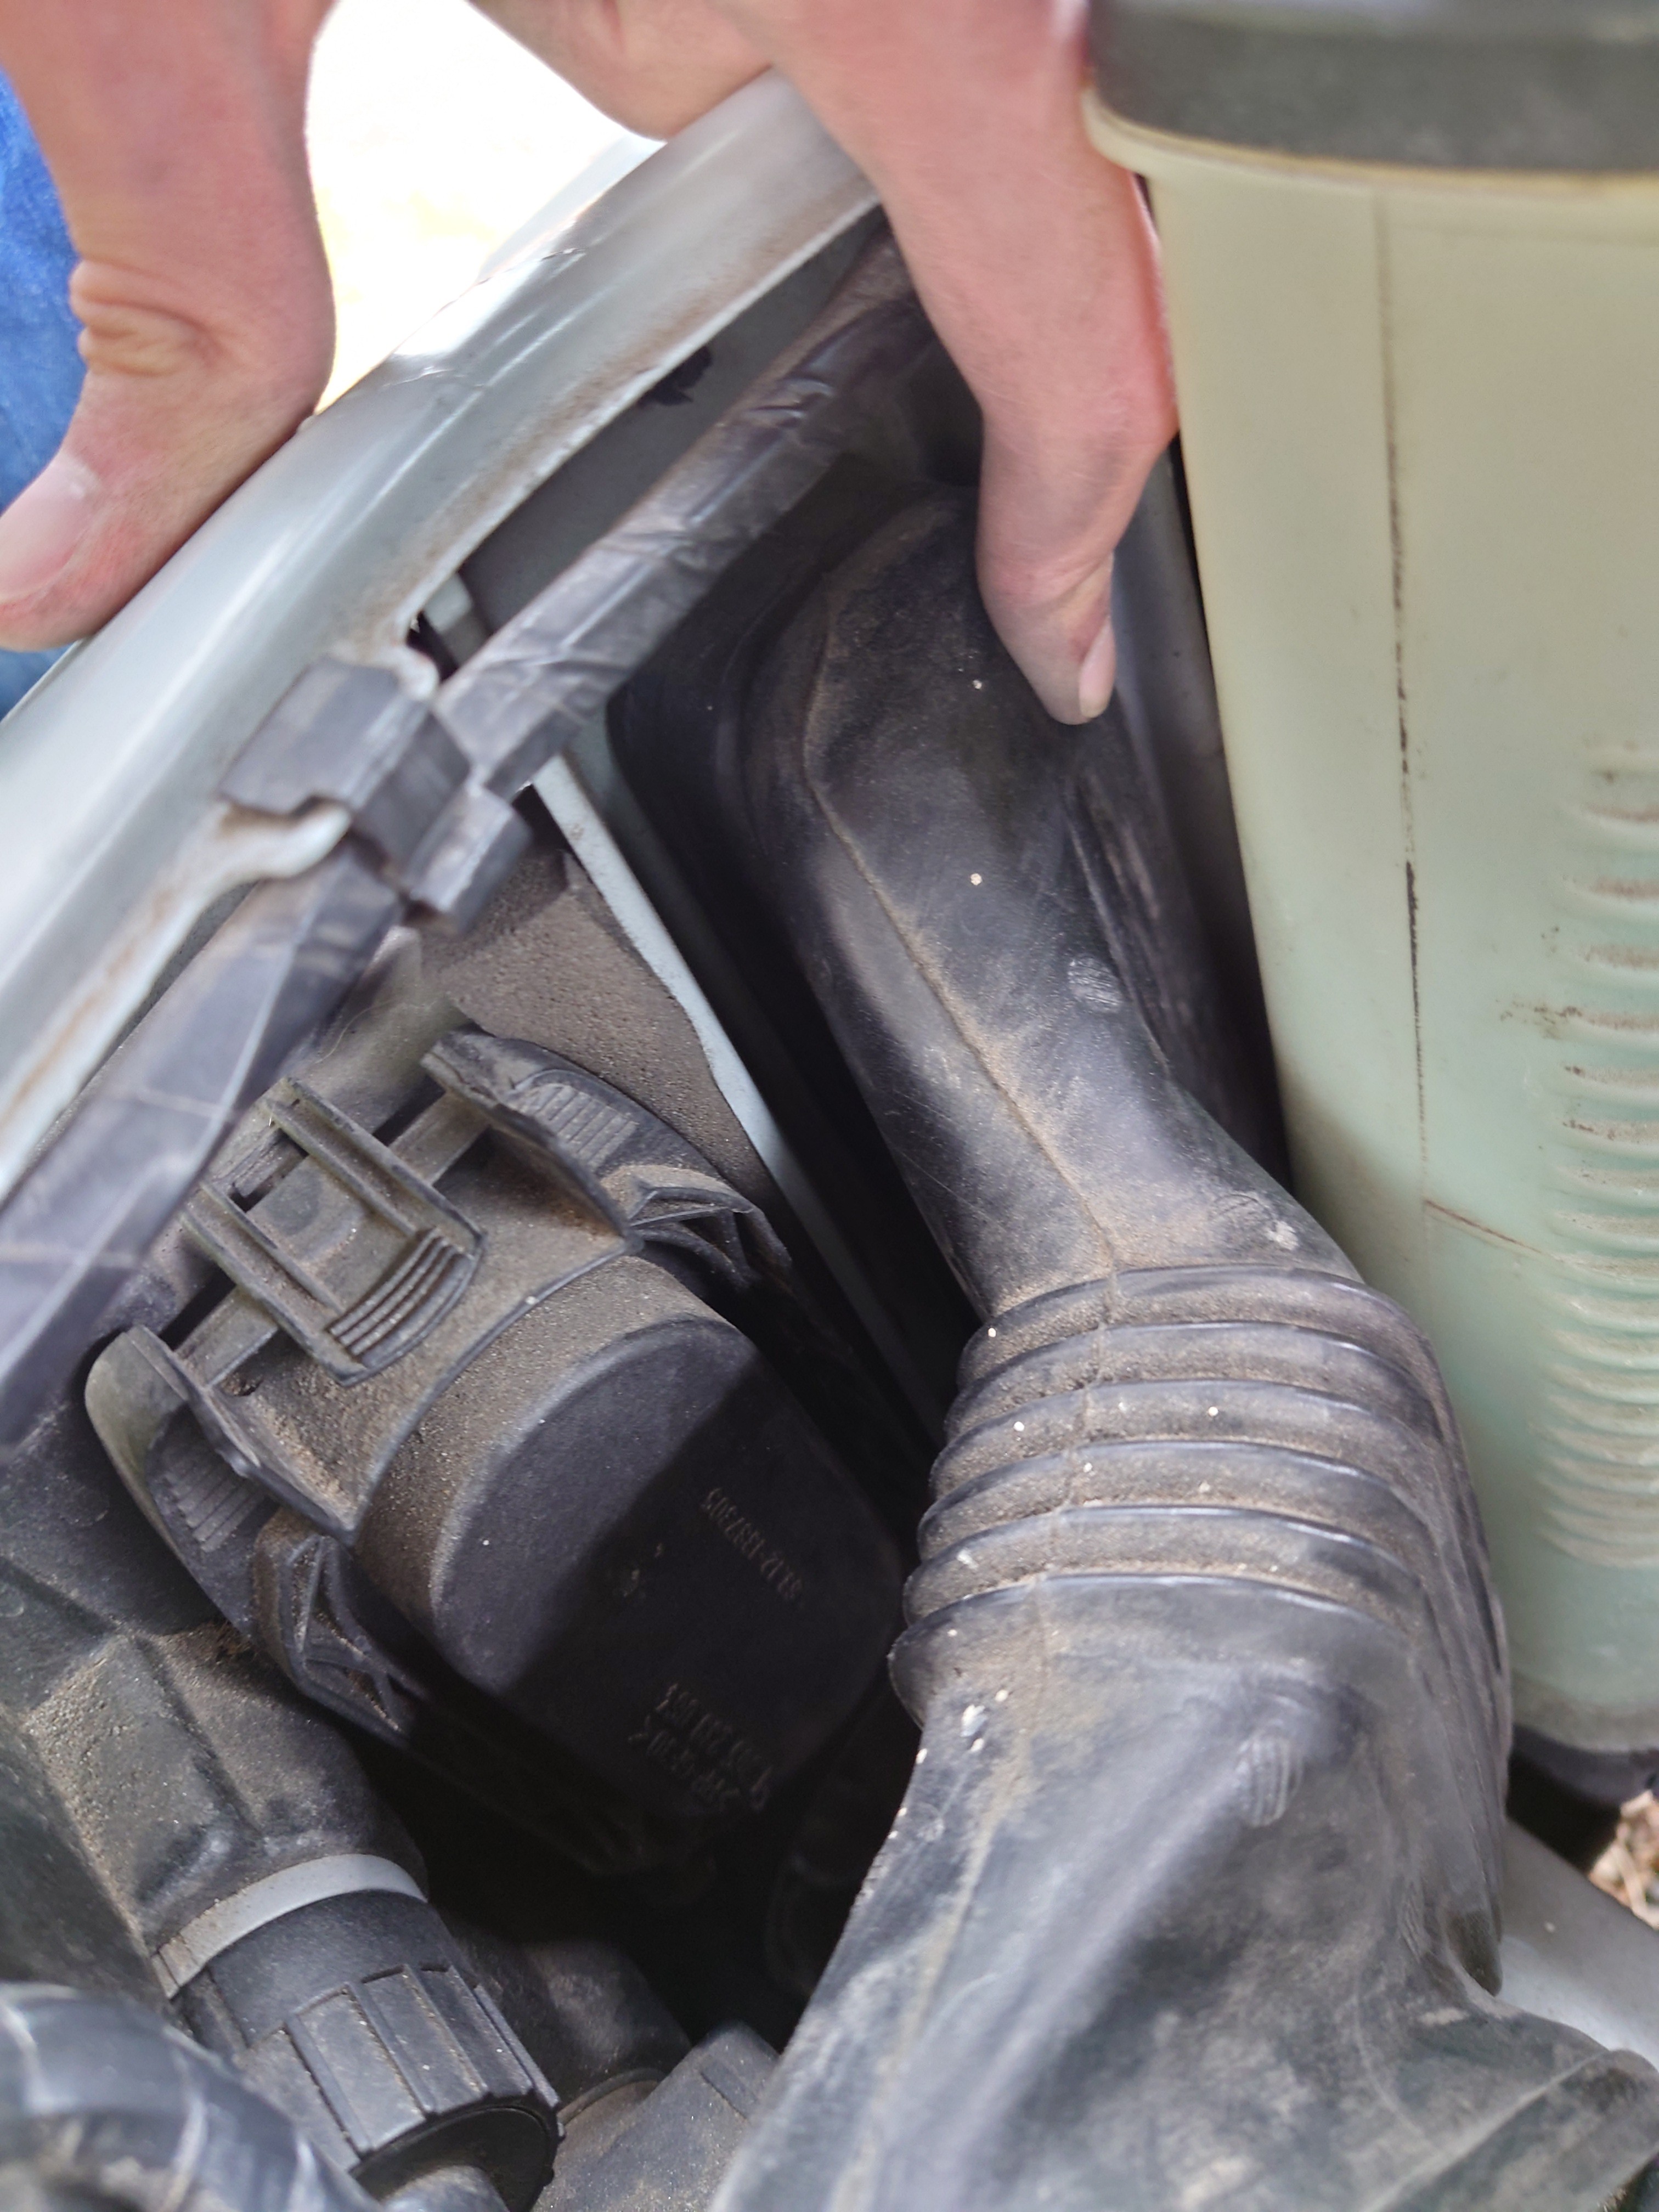
I found it easiest to reattach the duct onto the airbox first, since there is absolutely zero wiggle room for the duct once the airbox is mounted.
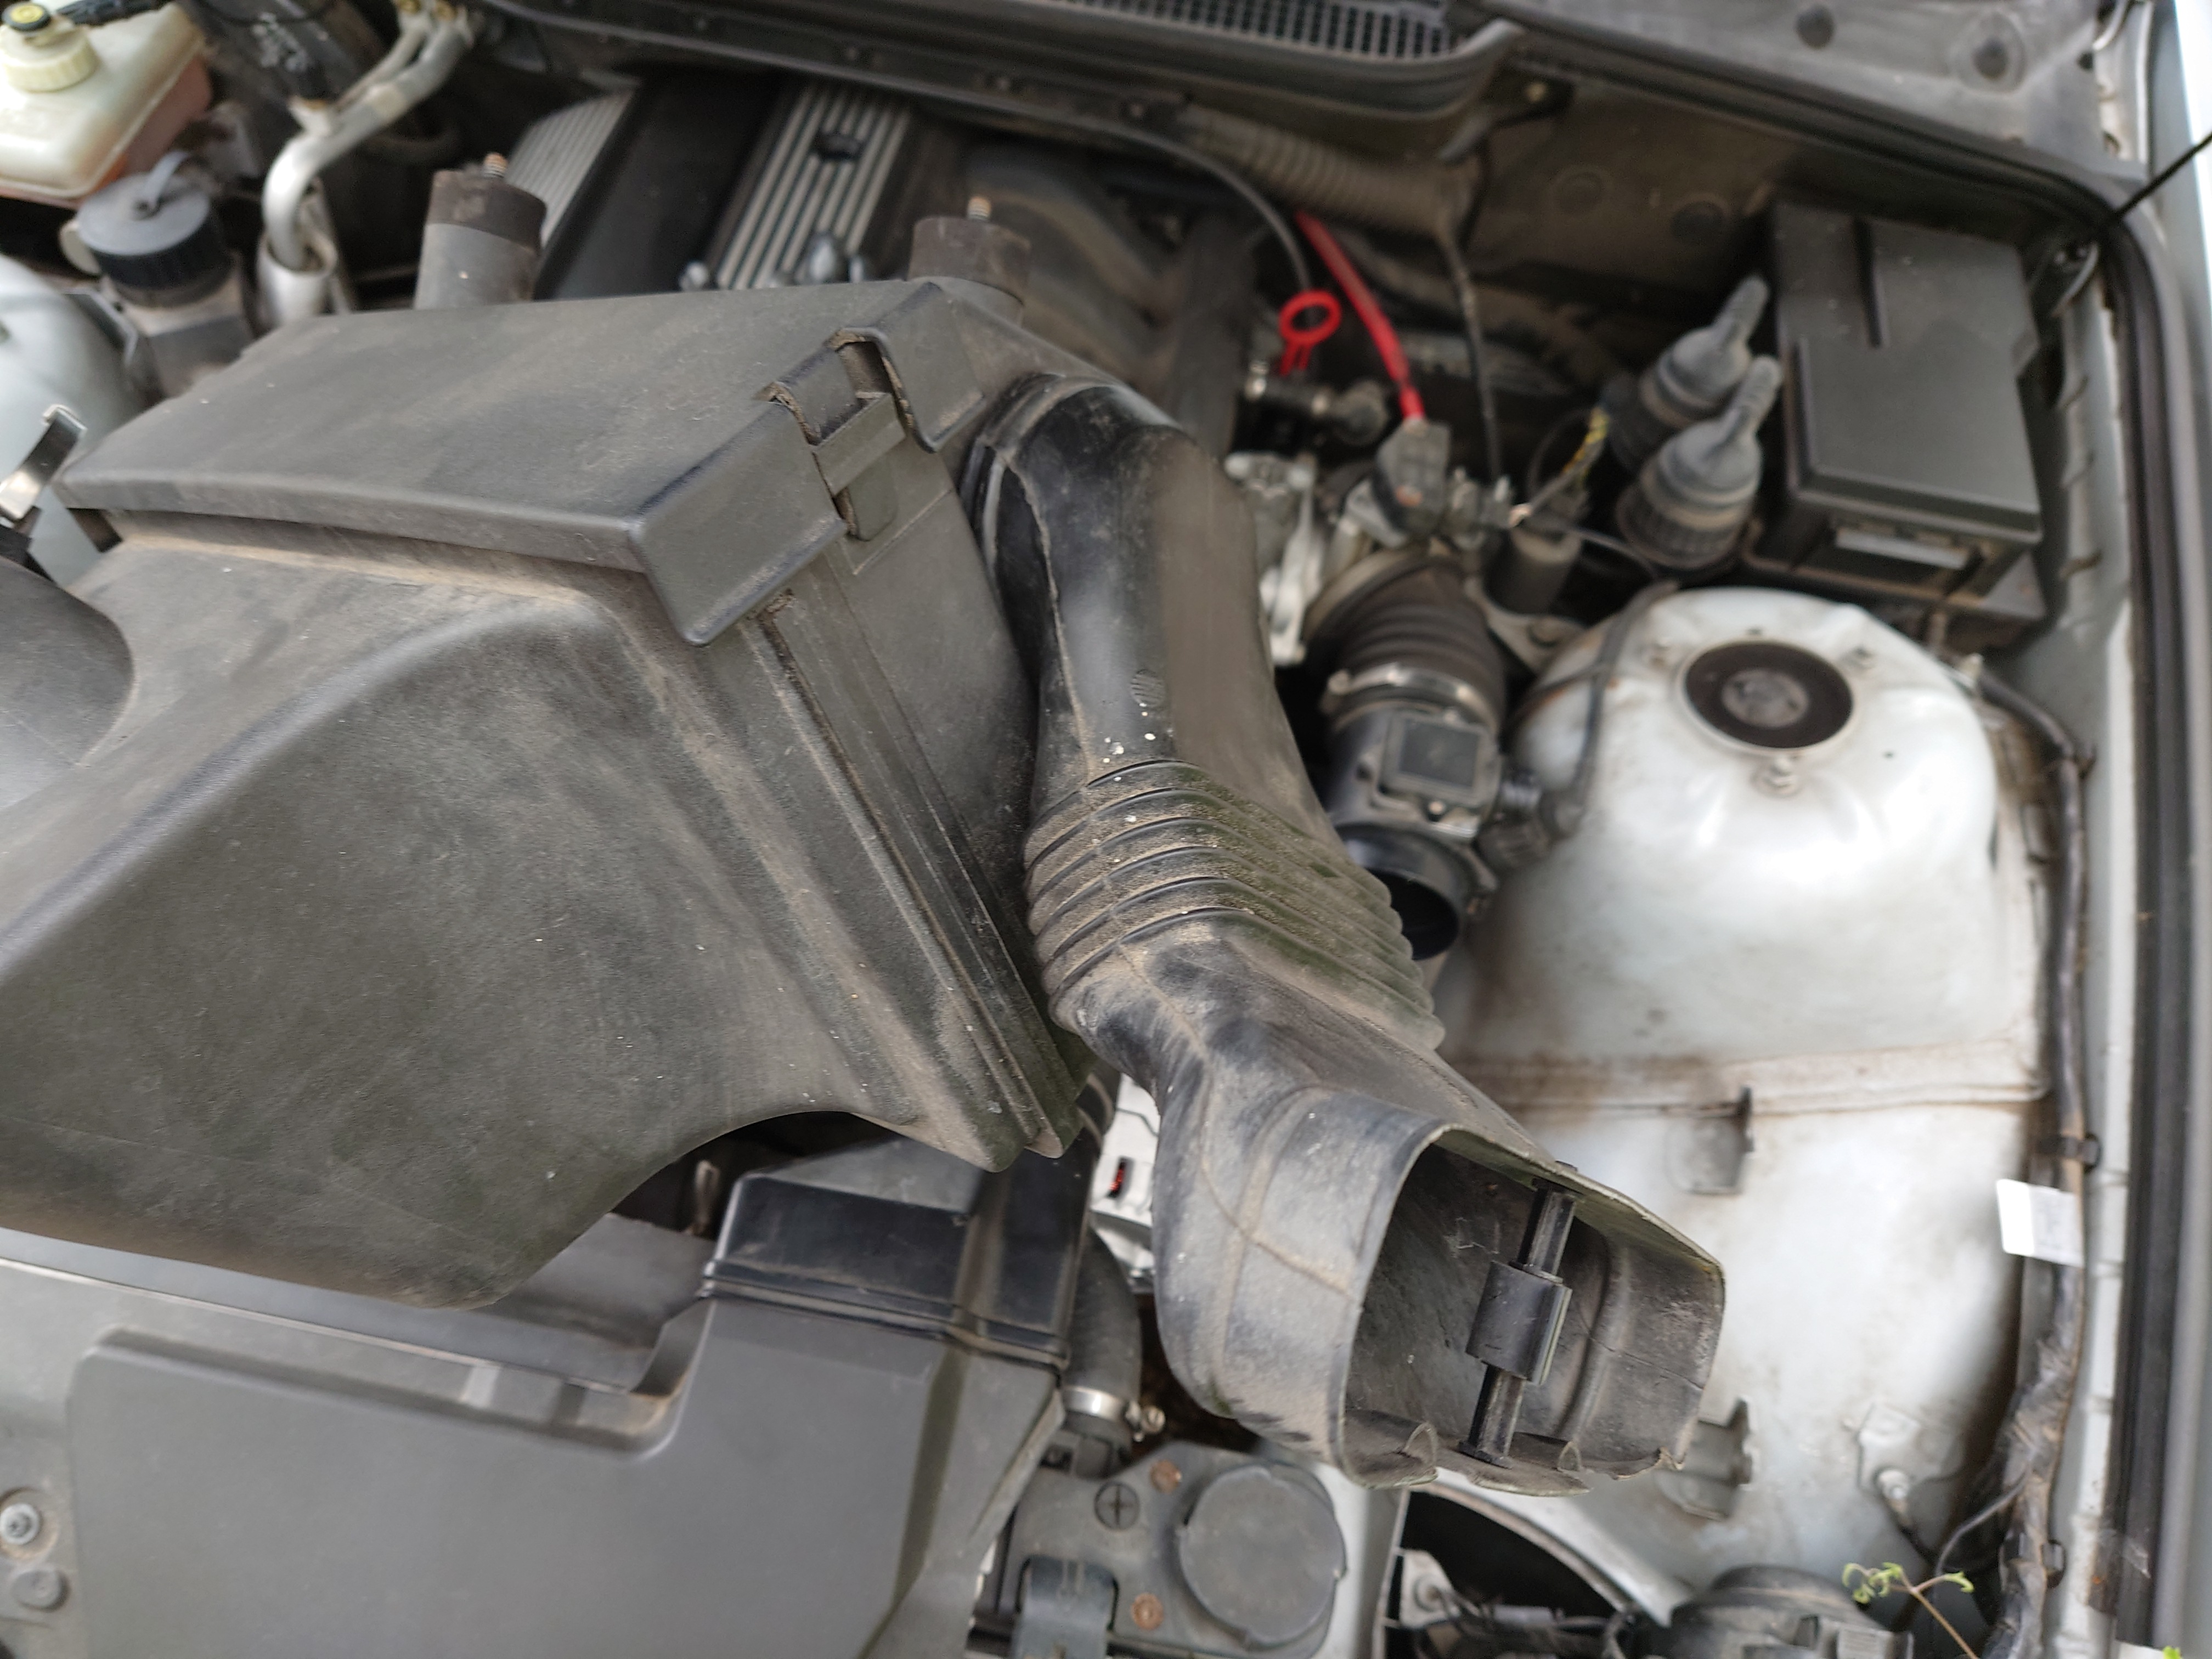
Shove the airbox into position in its mounts, but leave the nuts loose for now. The slight bit of slack will be helpful when reseating the MAF sensor into the airbox. It's already seated in the images below, but because it all seems to be rubberised, it was really quite difficult to get it in. You just have to shimmy it in, slowly, but with quite a lot of force. Secure it with the metal clips.
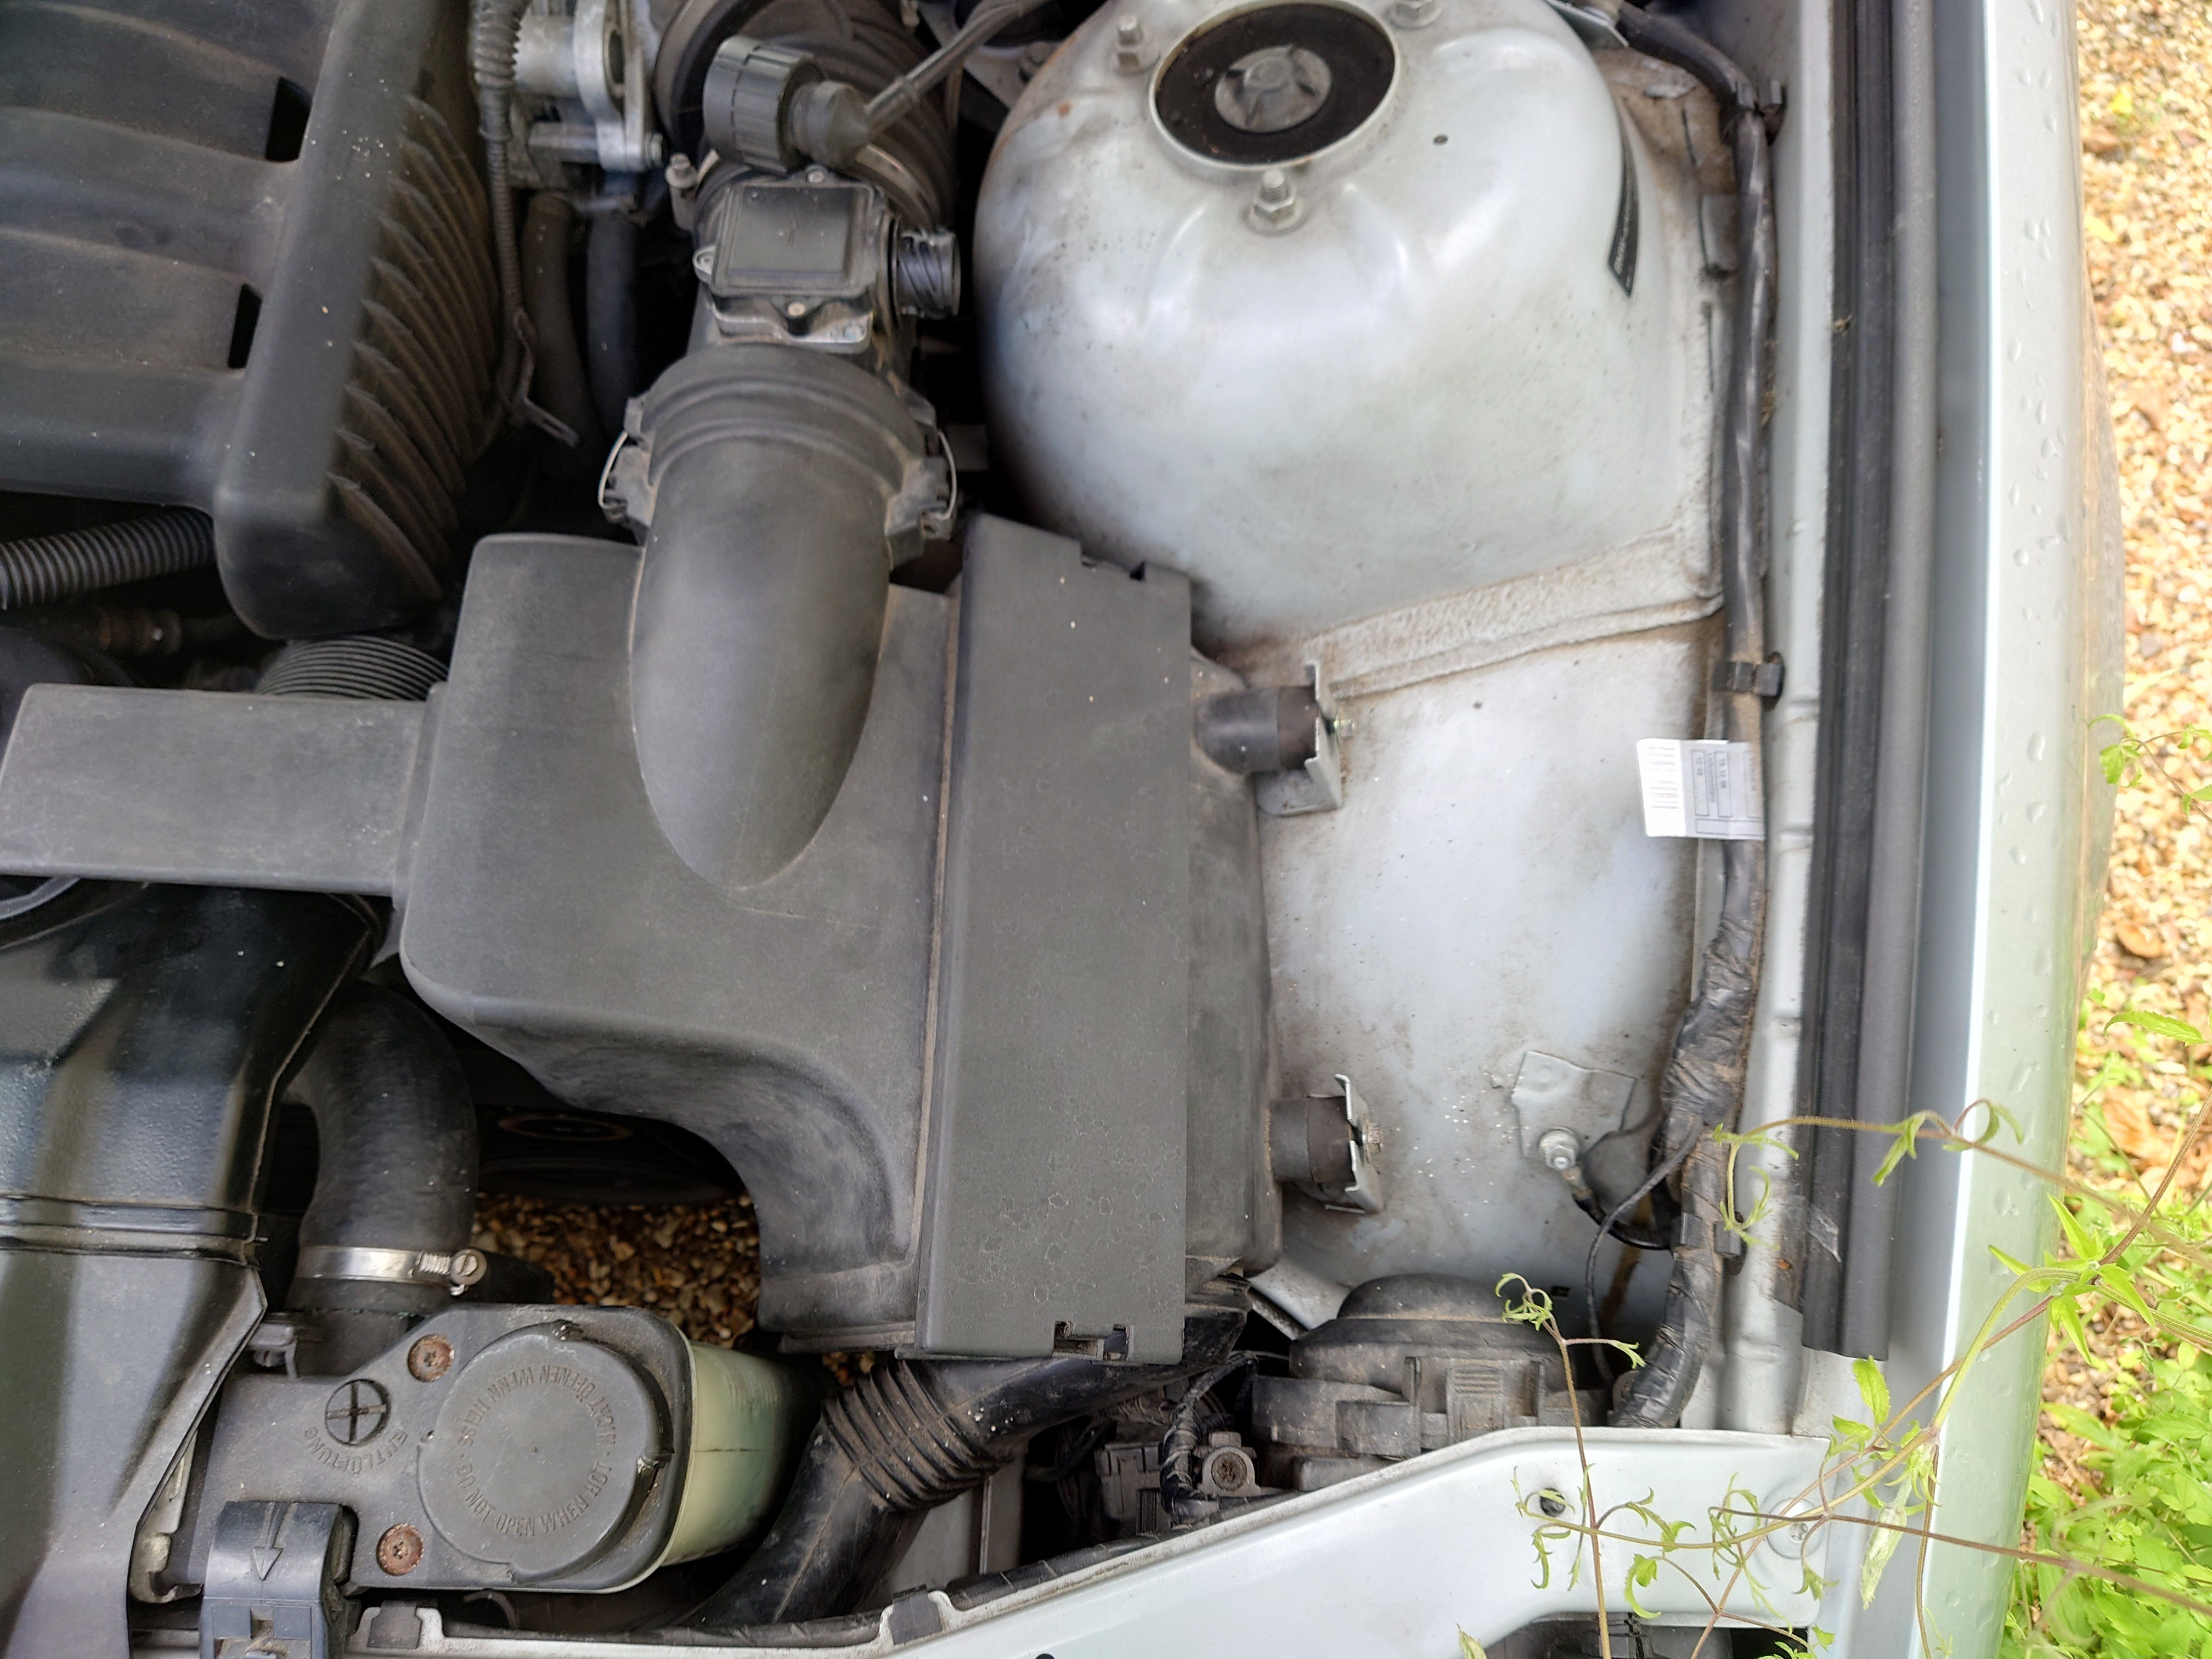
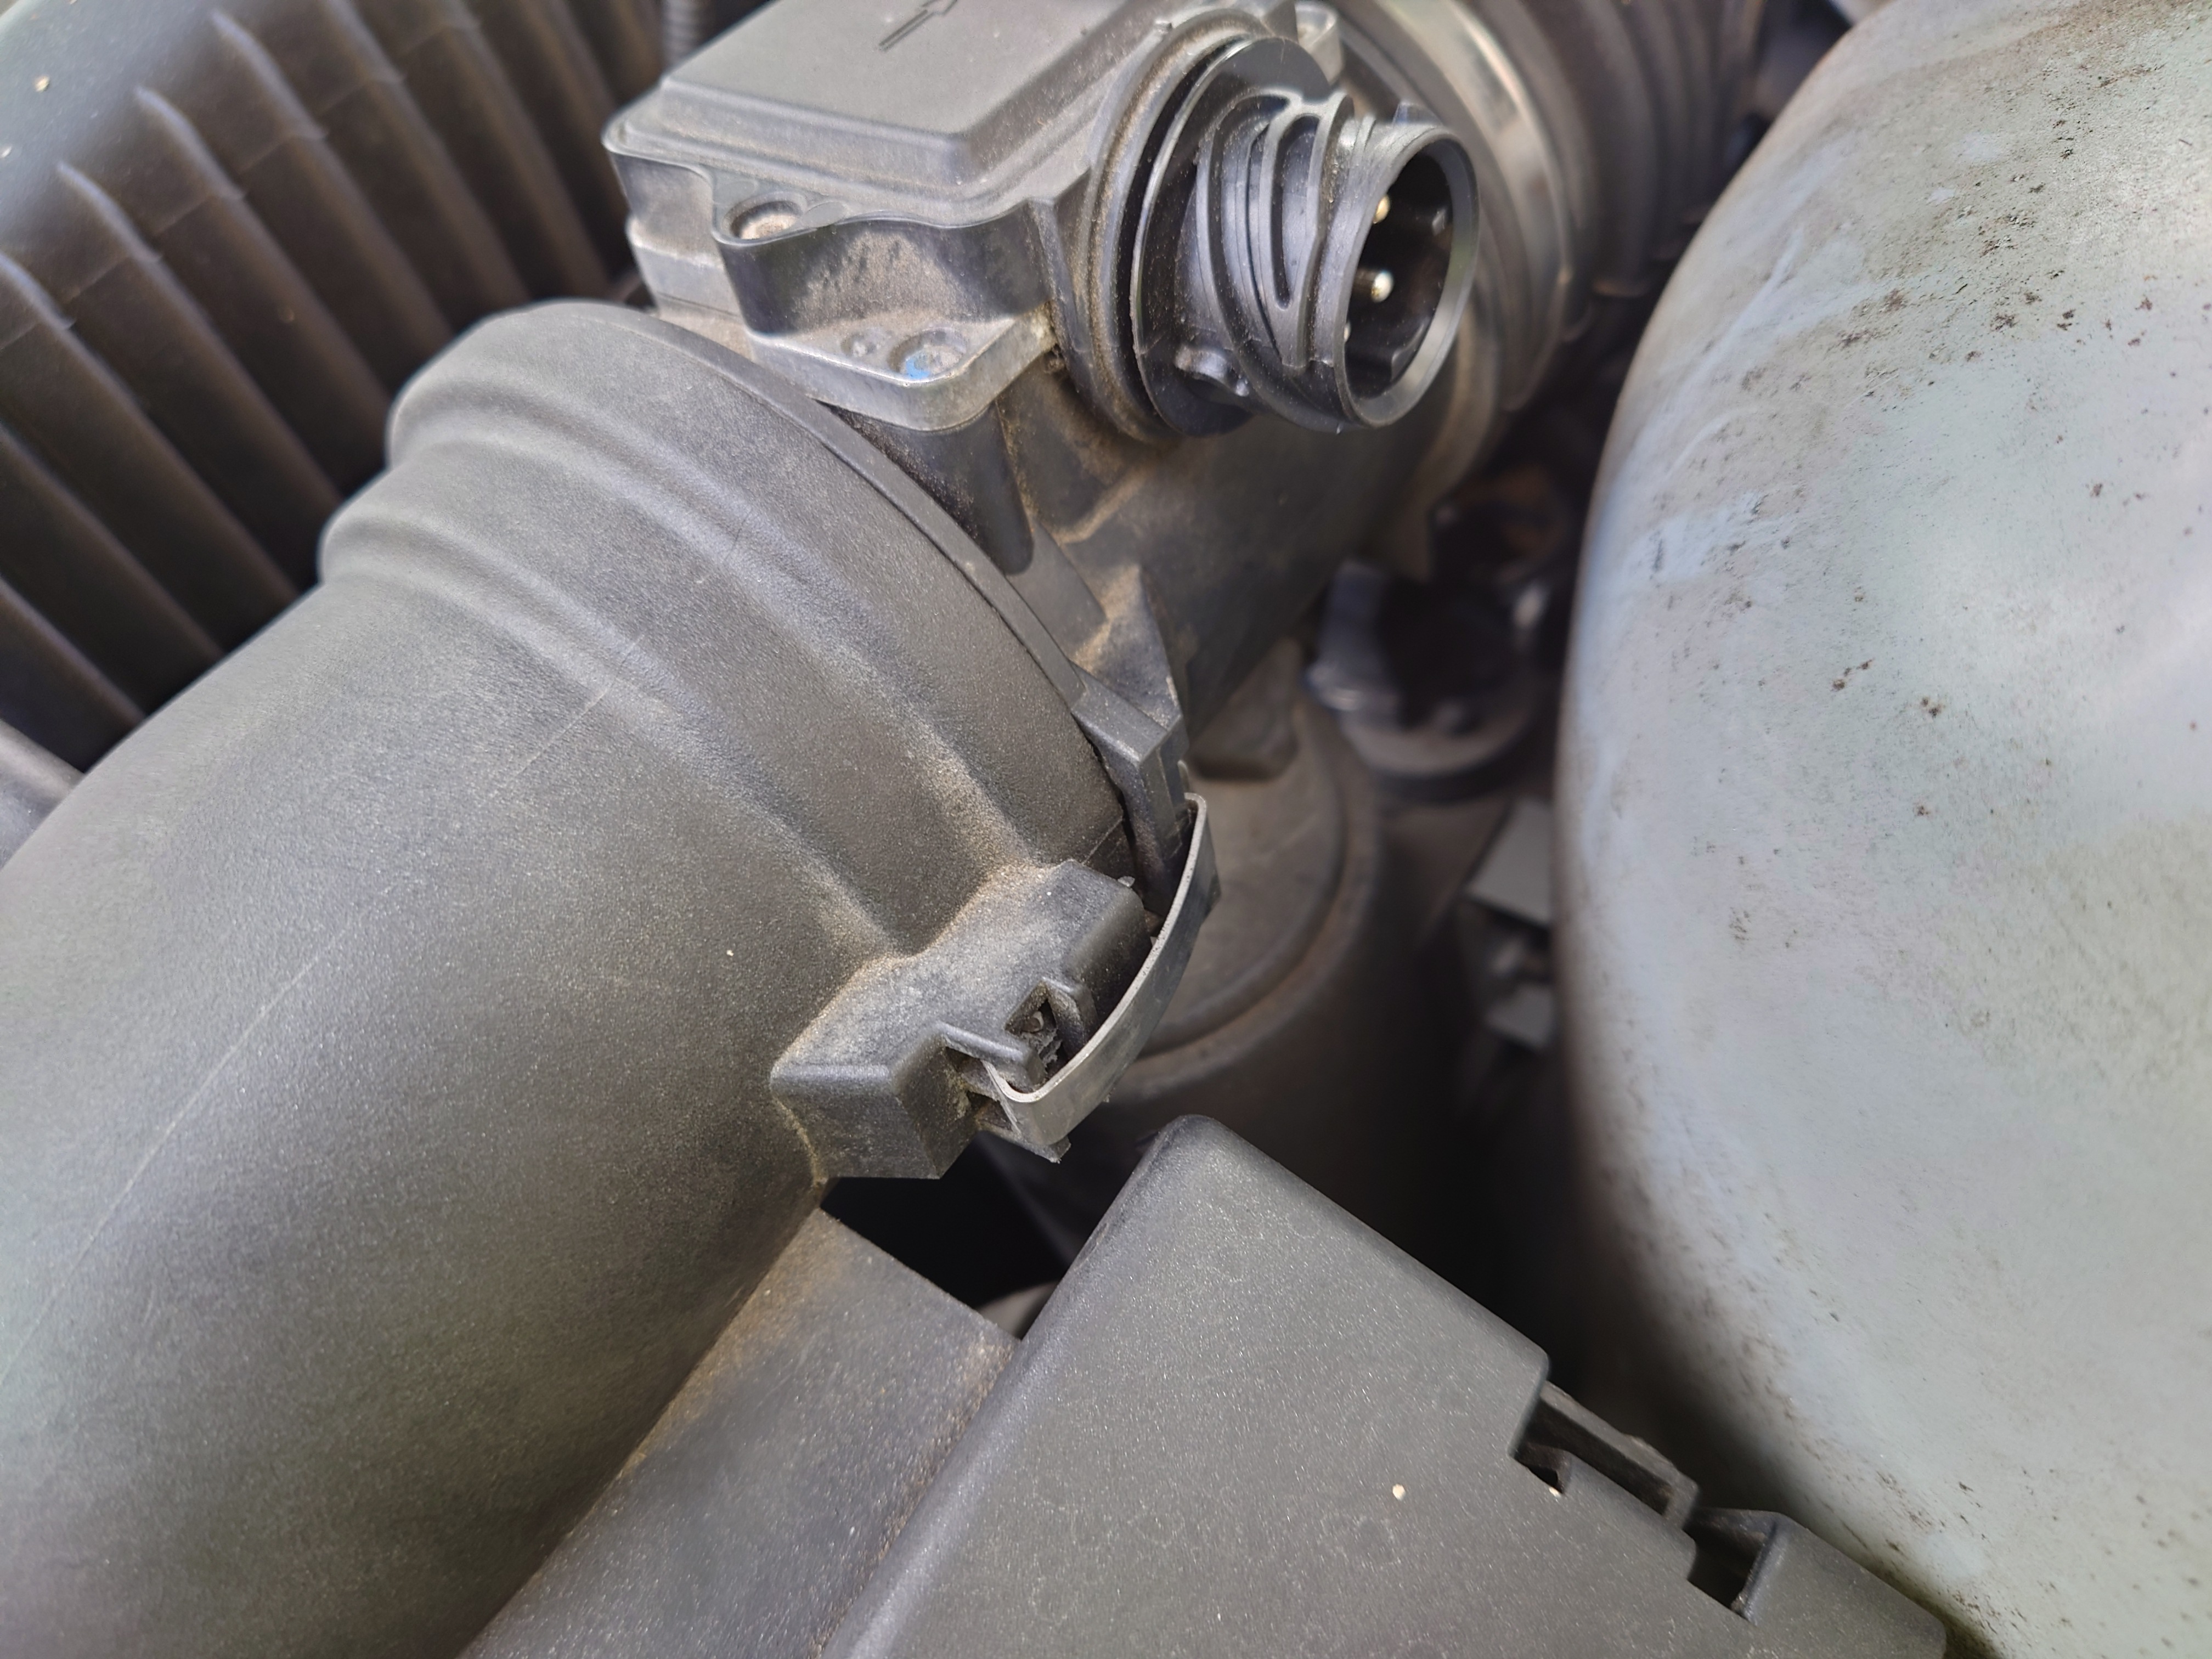
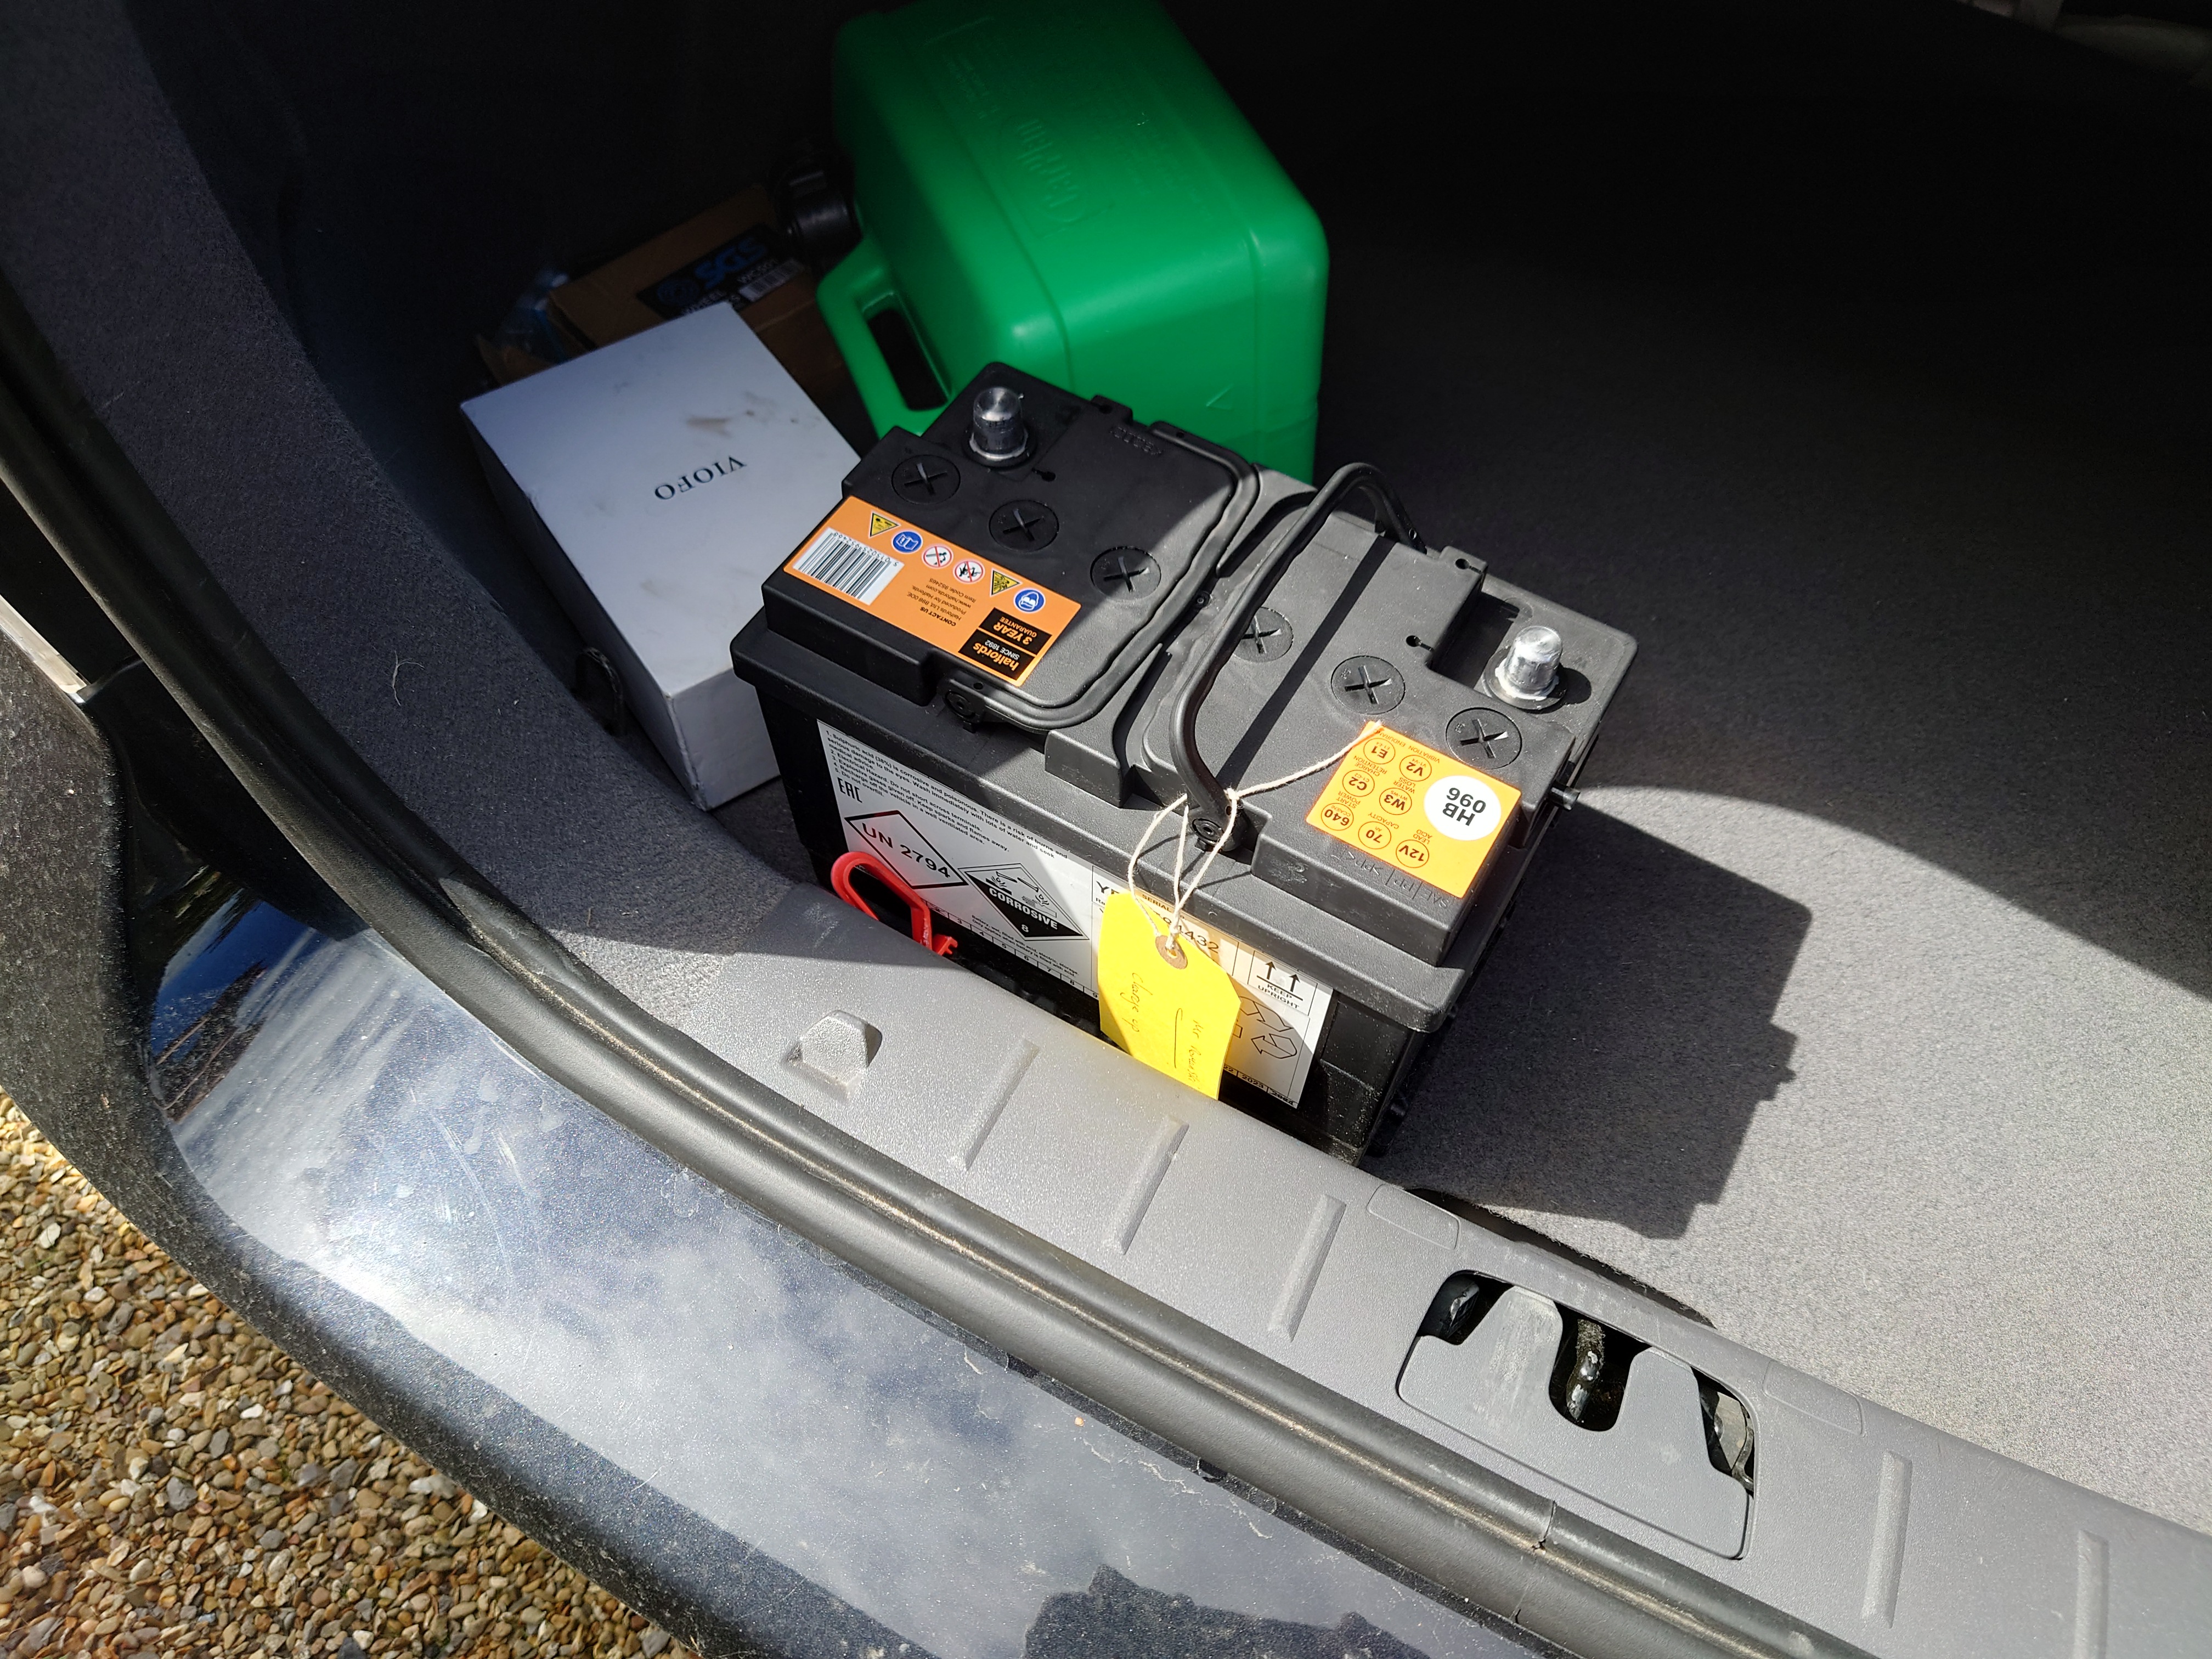
Now to reinstall the battery! Mine was just in the boot of my Volvo, since I had collected it from the garage from which I borrowed another battery to get the E36 home.
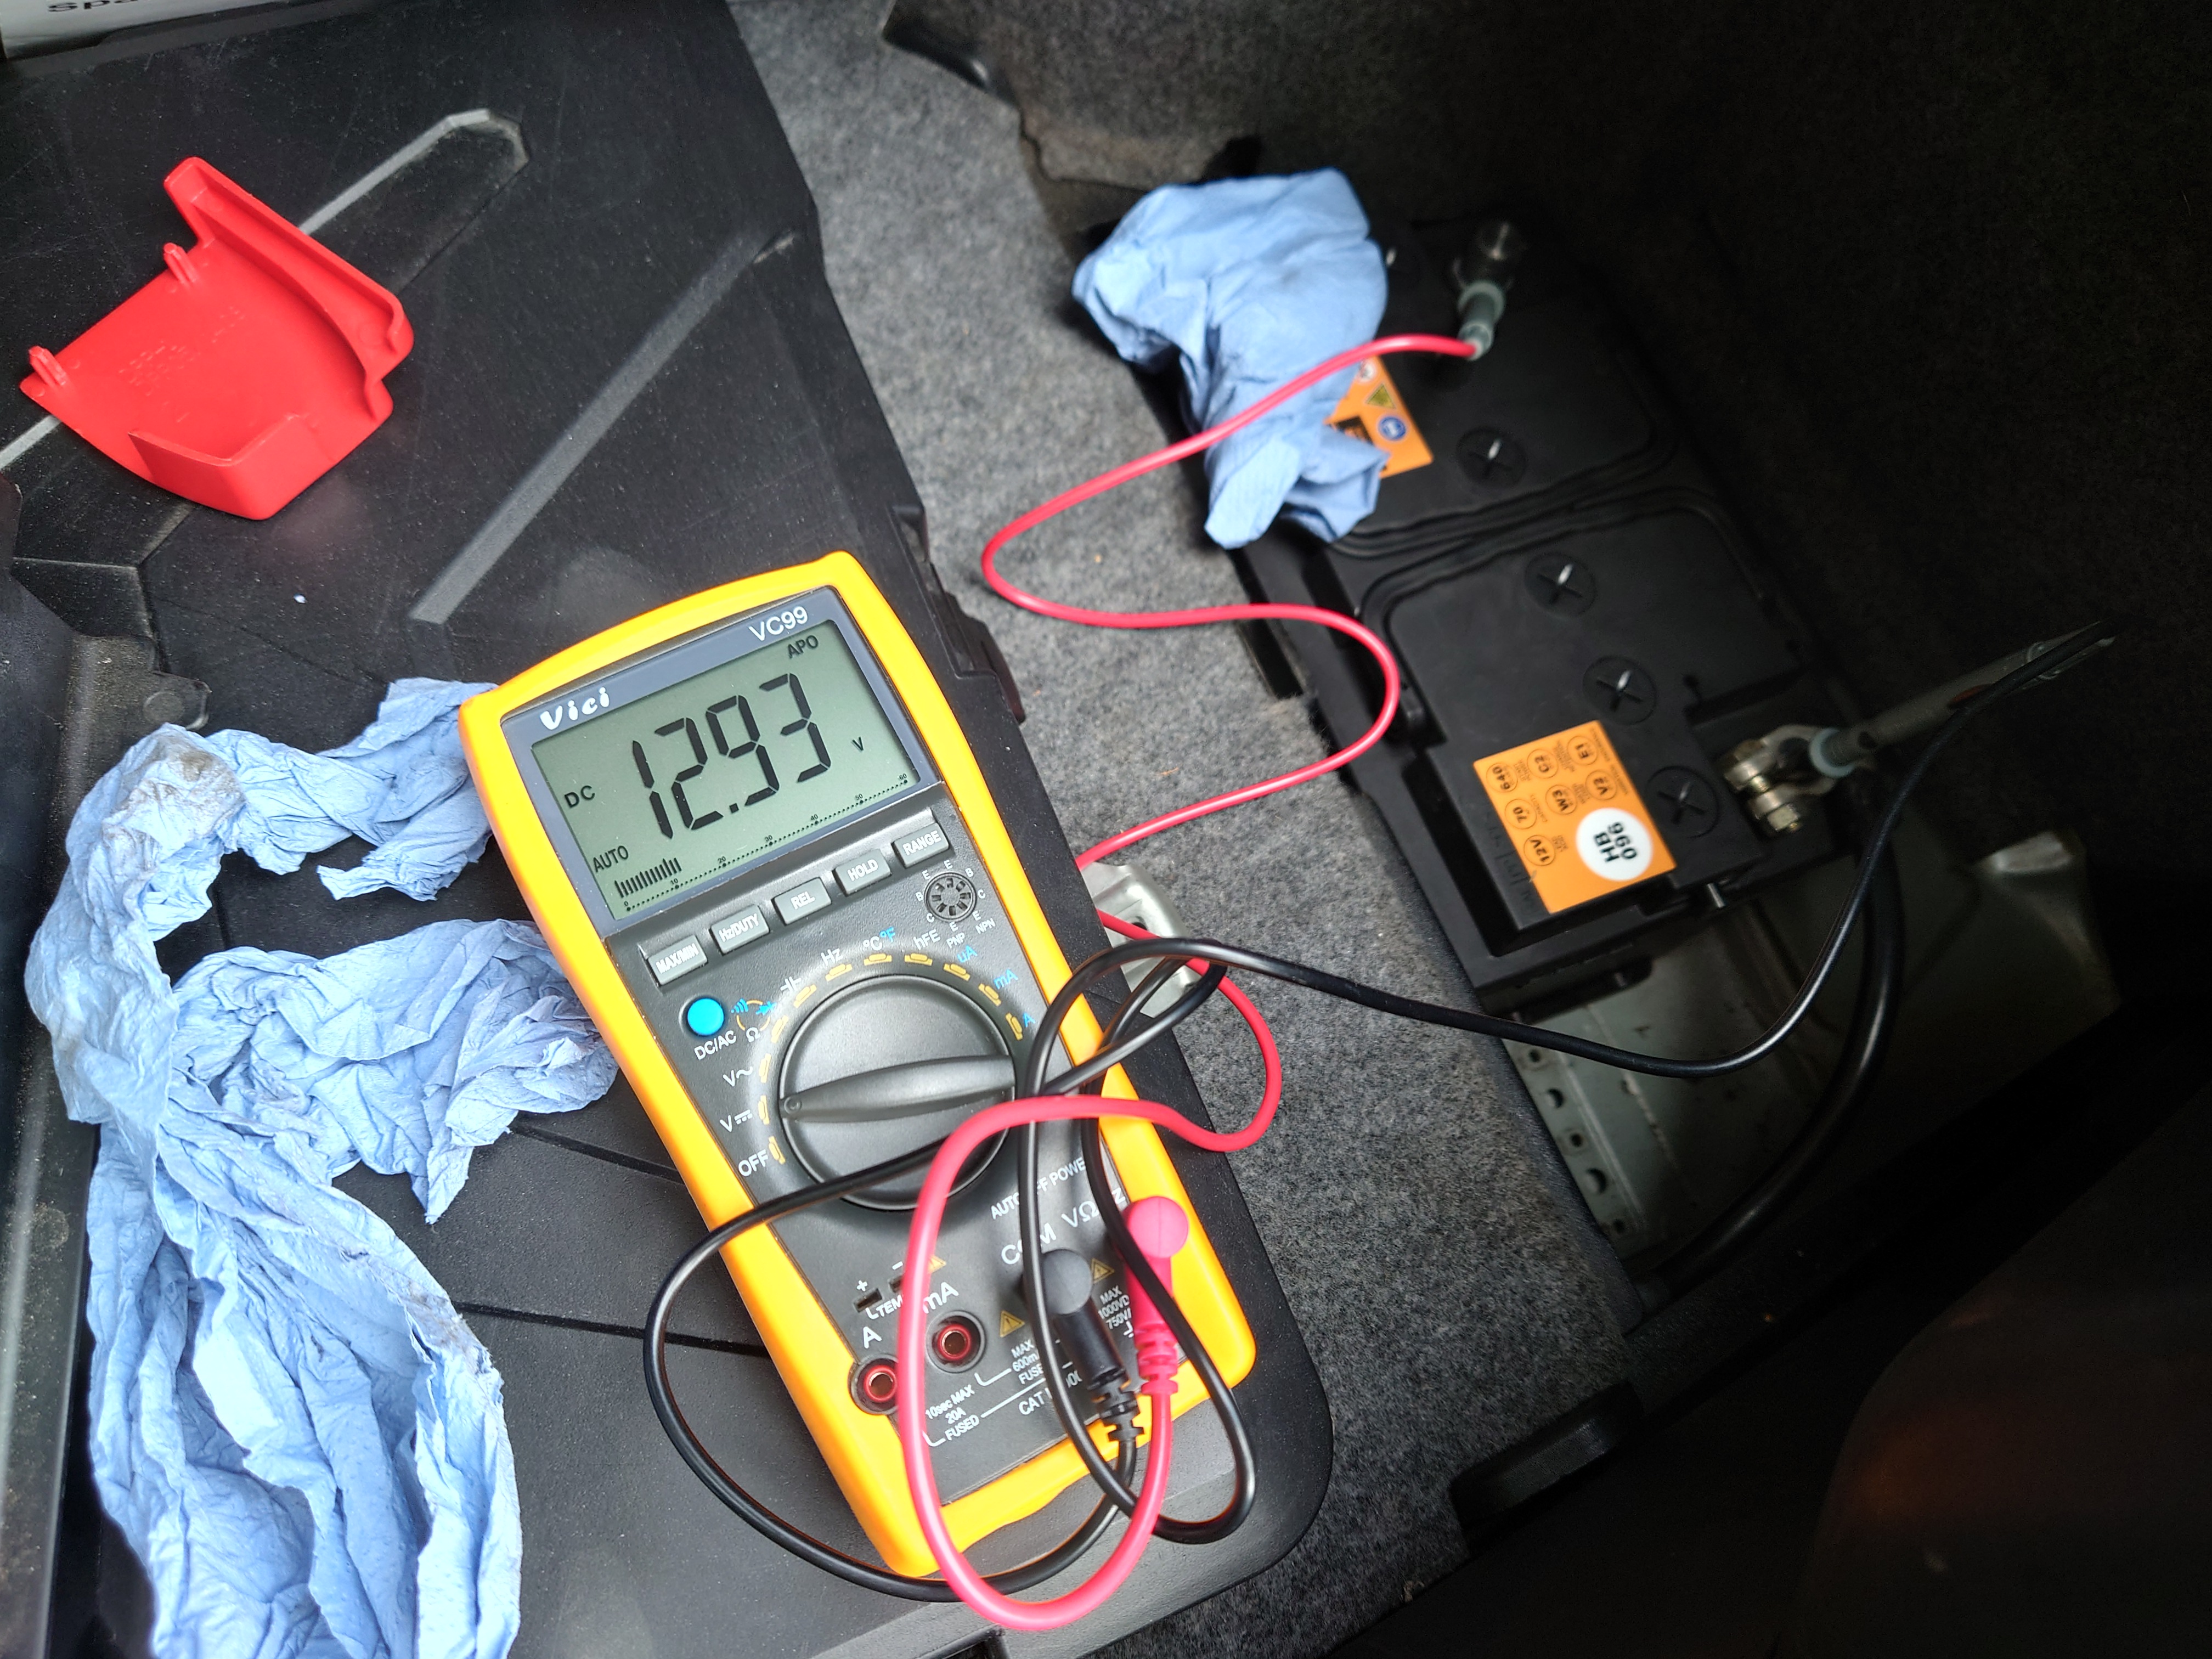
Just a quick sanity check before I hook it all up. 12.9 V should be more than adequate. A fully charged lead-acid battery usually sits at around 12.8 V for a 12 V.
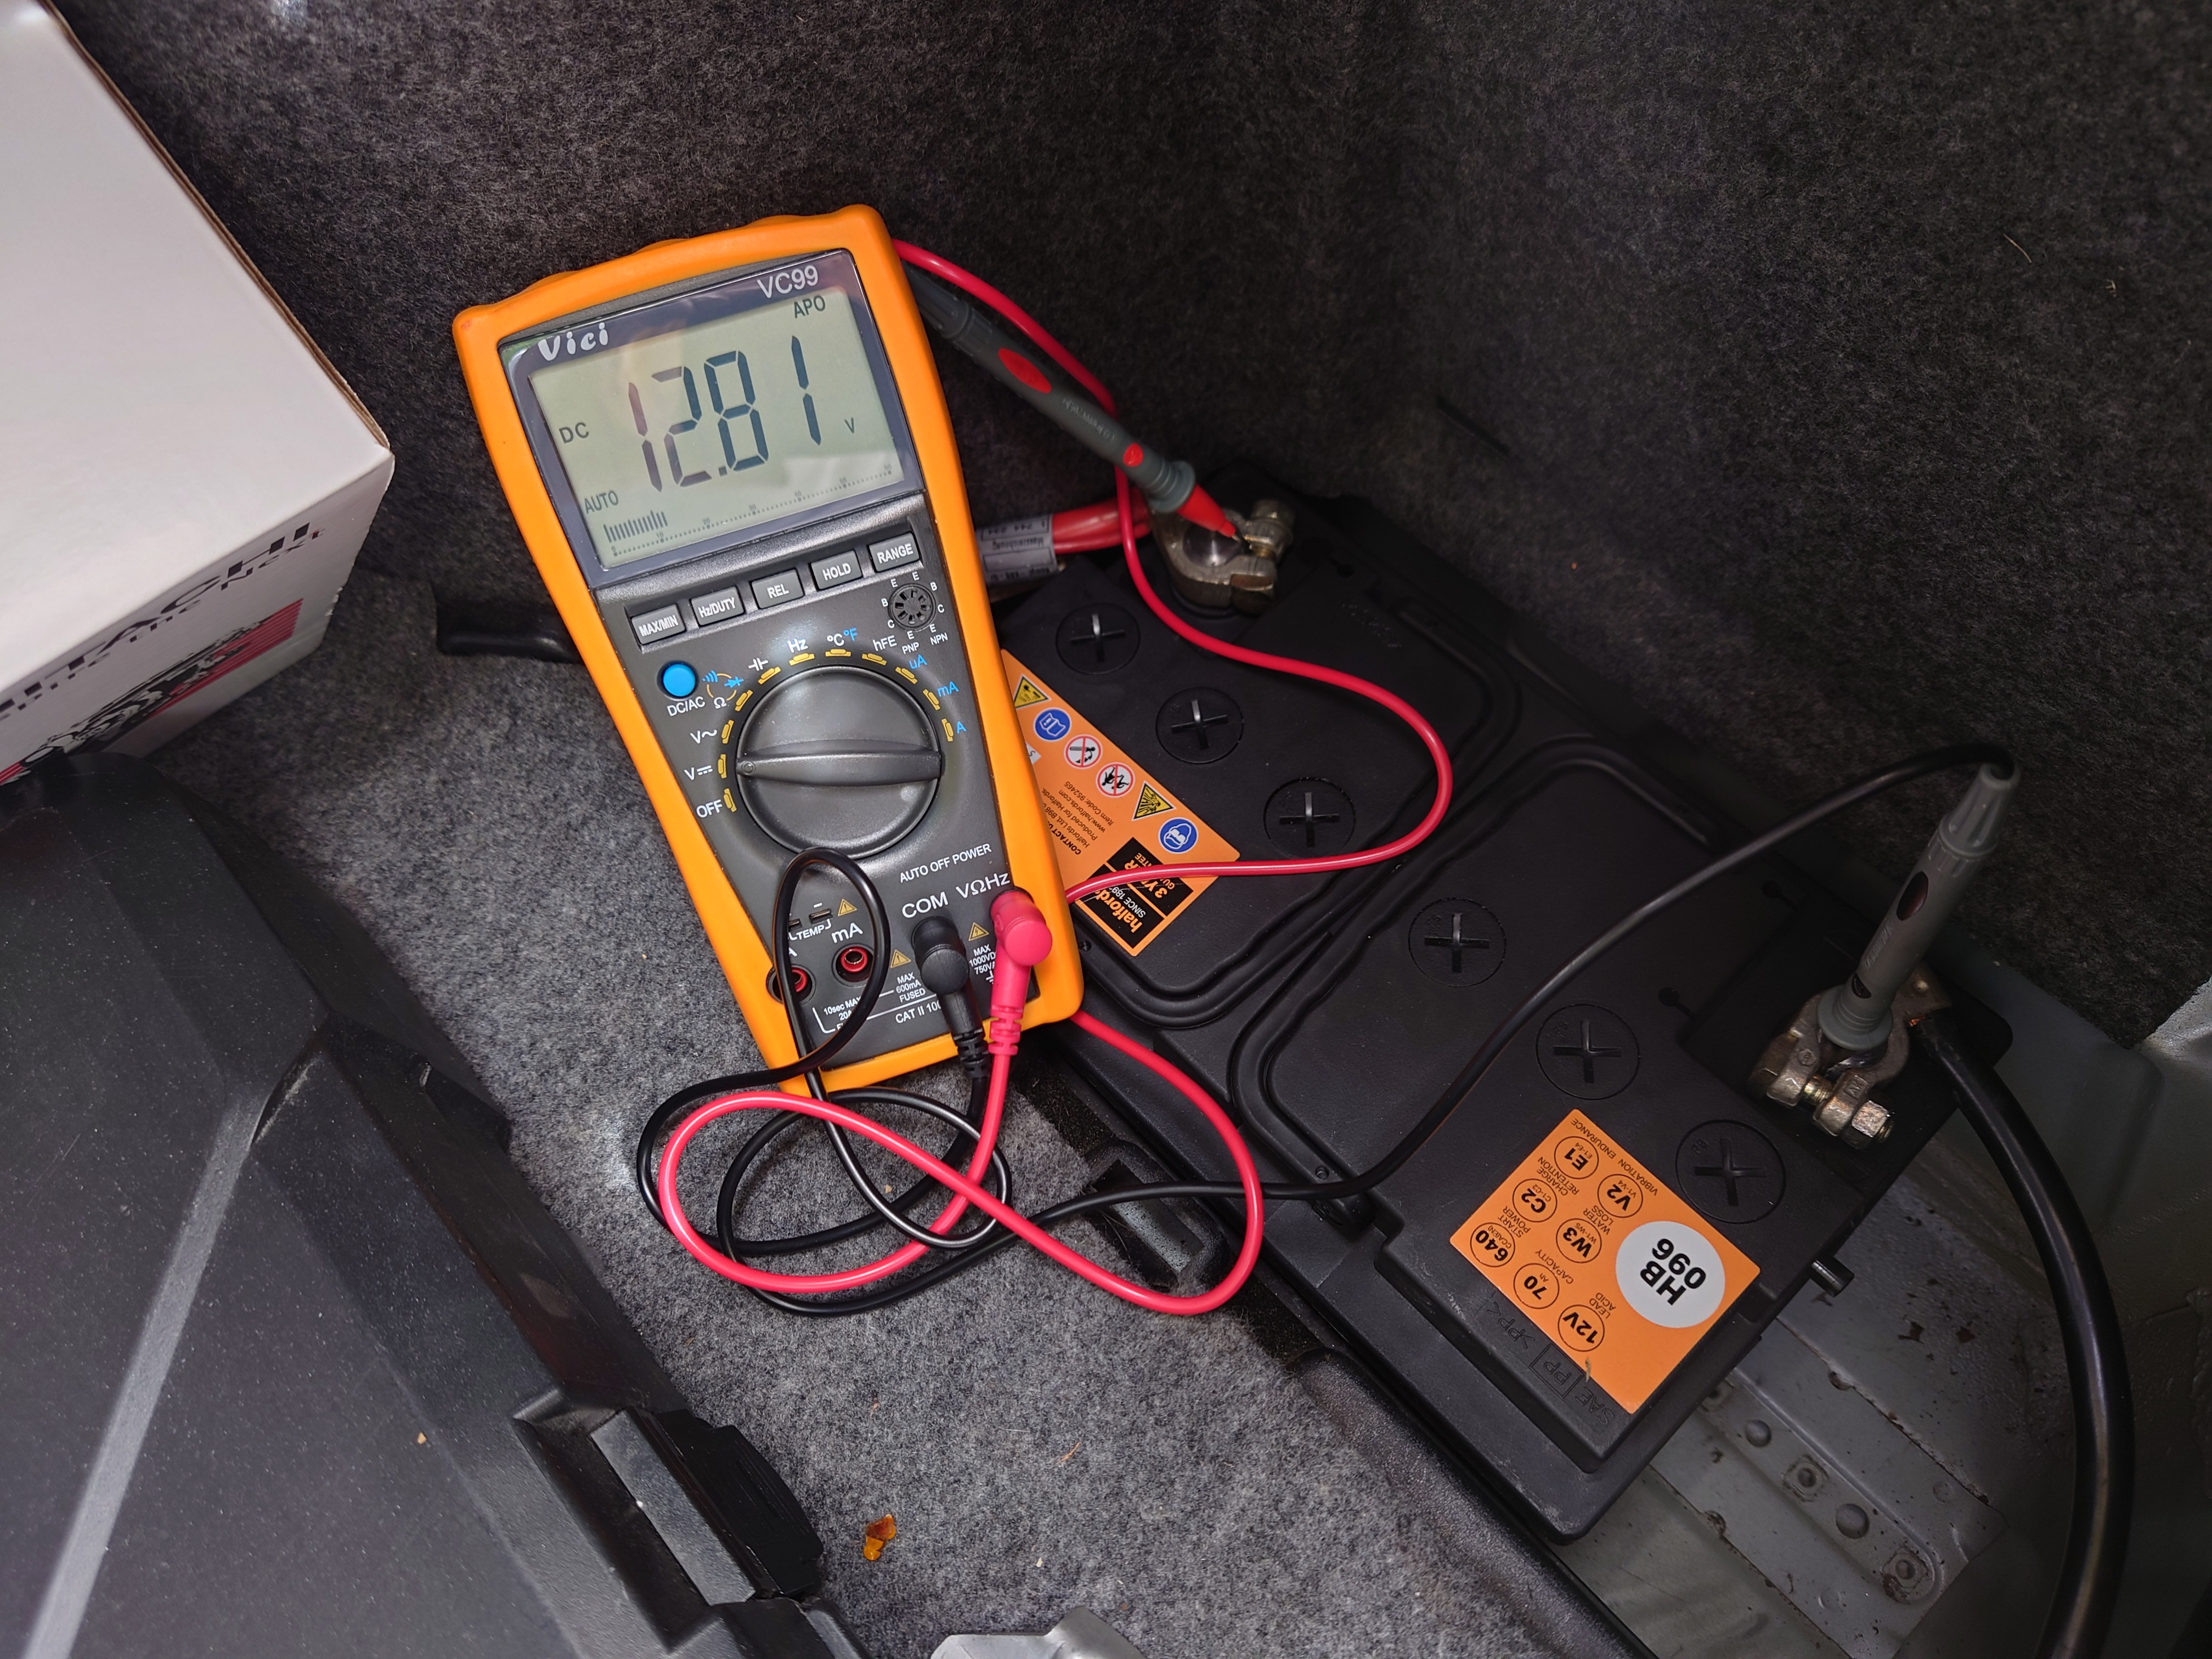
After connecting both terminals, a slight voltage drop is to be expected, as the electronics start pulling current from the battery. But the drop is only slight, so we don't have any shorts :)
Now, for the moment of truth!
She lives! And sounds terrible!
So there seems to be some sort of rattle, and a whistling noise.
Well, first thing's first... let's remember to actually plug the MAF sensor back in >_>
That didn't help though v_v.
So the rattle I initially assumed was the belt. Perhaps it was loose or improperly seated. But no, it was fine. Fortunately though, it went away after a while. Whatever it was must've just settled into place after being moved around.
To this day, however, the whistle remains. It's either only present or only audible at idle or low revs. I'm unsure as to whether it's a vacuum leak of some sort, or maybe the new alternator is just noisy. The noise definitely originates from the front of the engine bay.
I've been driving the car daily since the installation (13th of August), so whatever it is doesn't seem to be too detrimental, but it is at least quite annoying.
If anyone has any ideas, please share >_<
I took the old alternator to a local-ish place to be repaired, so hopefully I can just go back to that one if it's the new alternator that's super noisy.